Firebase 인증 및 Parse

이 시리즈의 1부와 2부에서는 앱을 만들고 프레임워크를 XCode 프로젝트에 통합하는 과정과 사용 사례에 더 적합할 수 있는 유사하면서도 다른 특징을 가진 Firebase 및 Parse 데이터베이스를 비교했습니다.
이 세 번째 파트에서는 코딩을 시작하고 두 플랫폼에서 가입/로그인 프로세스를 작동시키는 데 필요한 코드의 양을 평가해 보겠습니다.
구축할 내용
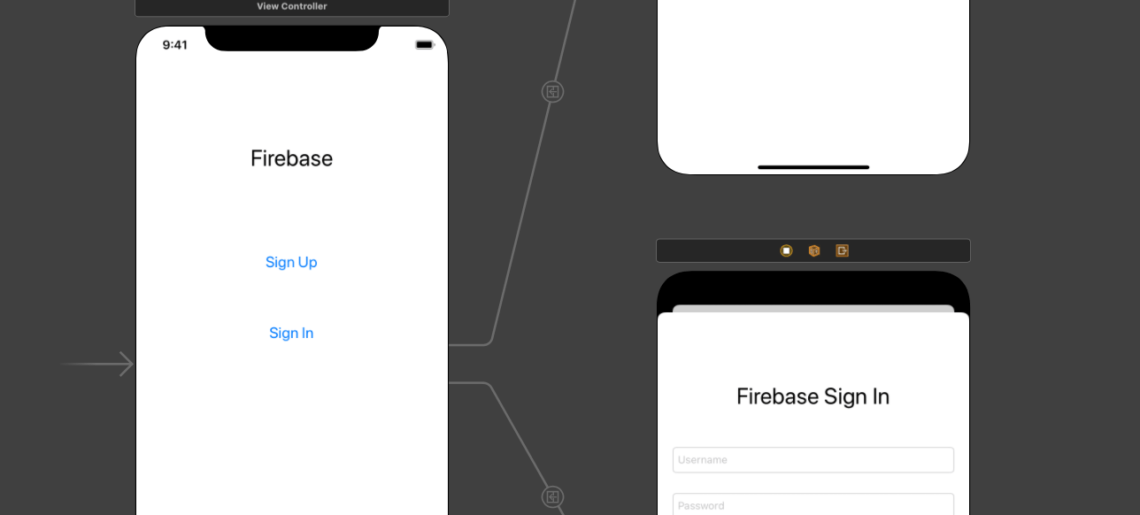
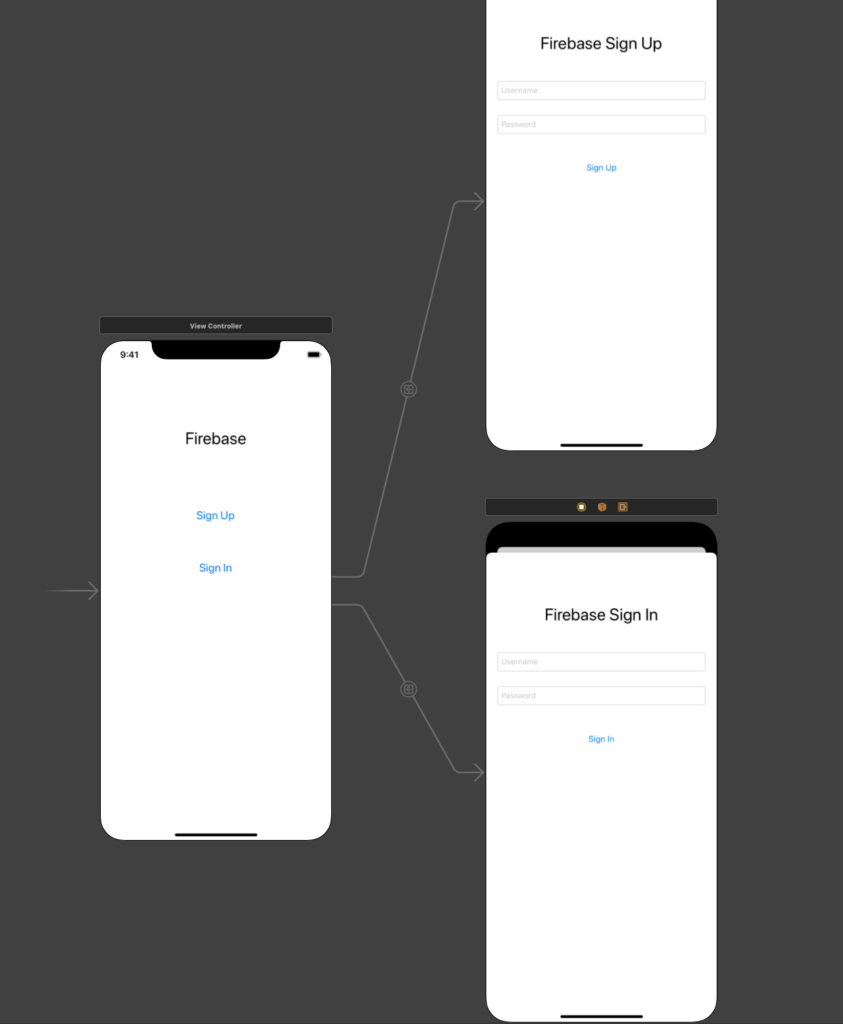
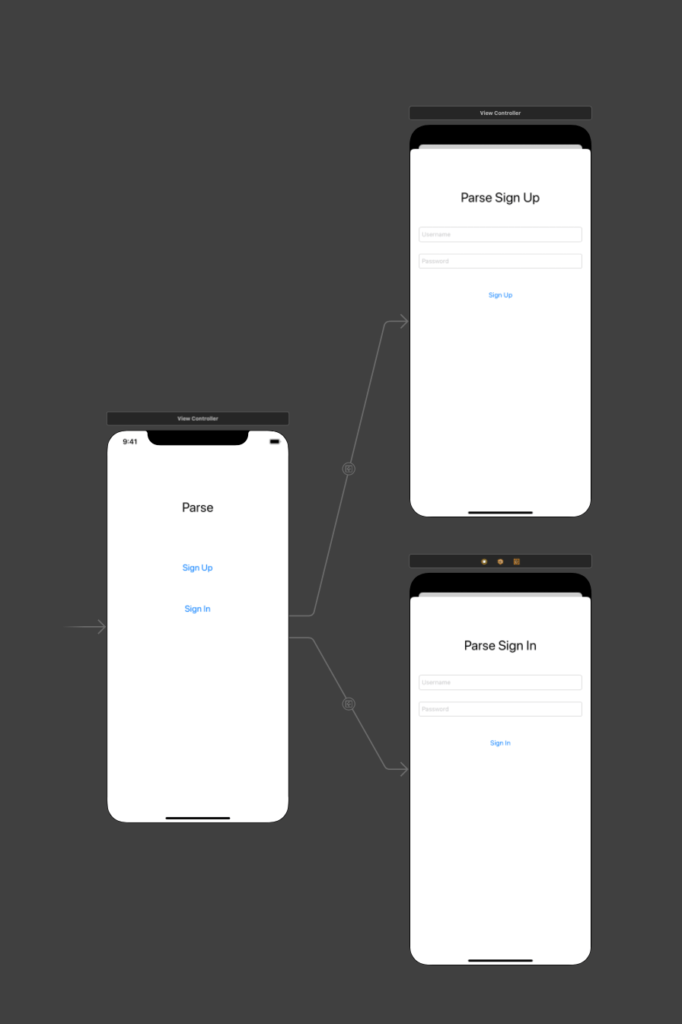
두 플랫폼 모두 본질적으로 동일한 작업을 수행하므로 모든 컨트롤이 유사하게 생성된 완전히 동일한 뷰 컨트롤러 디자인을 사용할 것입니다:


기본 뷰 컨트롤러는 각각의 작업을 수행하는 가입 및 로그인 뷰 컨트롤러로 세그먼트를 수행합니다.
Firebase 코드
파트 1에서 설명한 대로 Firebase SDK를 설치한 후 AppDelegate.swift 파일에서 초기화해야 합니다:
import Firebase그런 다음, application:didFinishLaunchingWithOptions 메서드 내에서 반환 true 문 위에 다음 줄을 추가하여 FirebaseApp 객체를 초기화해야 합니다:
FirebaseApp.configure()이제 로그인한 사용자에게 비공개 정보가 필요한 모든 뷰에 코드를 추가하여 로그인 상태가 변경될 때마다 호출되는 FIRAuth 객체를 수신해야 합니다.
이 코드를 넣는 좋은 위치는 viewWillAppear 메서드에 있으므로 권한이 없는 경우 뷰가 데이터를 로드하지도 않습니다:
handle = Auth.auth().addStateDidChangeListener { (auth, user) in
  // Any other actions that happen upon state change can be written here
}
또한 이러한 뷰를 떠나기 전에 리스너를 분리해야 하므로 viewWillDisappear 메서드에 이 코드를 추가할 수 있습니다:
Auth.auth().removeStateDidChangeListener(handle!)
신규 사용자 등록은 SignUpViewController에서 이루어지므로 사용자가 Singn-Up 버튼을 누를 때 호출되는 메서드에 이 코드를 추가하겠습니다:
Auth.auth().createUser(withEmail: email, password: password) { authResult, error in
  // Code for error handling and other actions can be put here
}
위의 메서드에 대한 올바른 오류 처리는 다음과 같습니다:
guard let user = authResult?.user, error == nil else {
    print("ERROR CREATING USER \(user.email!).")
    print(error!.localizedDescription)
    return
}
print("\(user.email!) successfuly created.")
사용자 로그인은 사용자가 로그인 버튼을 클릭하면 SignInViewController에서 수행됩니다. 사용자 로그인을 위한 코드는 다음과 같습니다:
Auth.auth().signIn(withEmail: email, password: password) { [weak self] authResult, error in
  guard let strongSelf = self else { return }
  // Aditional code for error handling and other actions can be put here
}
그런 다음 이 코드를 사용하여 로그인한 후 사용자의 세부 정보를 검색할 수 있습니다:
if let user = user {
  let uid = user.uid
  let email = user.email
  // Aditional properties can be retrieved here
}
로그아웃 프로세스는 다음과 같이 이루어집니다:
firebase.auth().signOut().then(function() {
  // Sign-out successful.
}).catch(function(error) {
  // An error happened.
});
이제 아주 간단하고 직관적입니다.
Parse의 접근 방식을 살펴보겠습니다:
Parse 코드
Firebase와 마찬가지로 1부에서 설명한 대로 Parse IOS SDK를 설치한 다음 AppDelegate.swift 파일에서 이를 초기화해야 합니다:
import ParseParse는 거의 모든 곳에서 호스팅할 수 있으므로 사용 중인 Parse 호스트에 대한 앱 ID, 키 및 URL도 설정해야 합니다:
let configuration = ParseClientConfiguration {
    $0.applicationId = "PASTE_YOUR_APPLICATION_ID_HERE"
    $0.clientKey = "PASTE_YOUR_CLIENT_ID_HERE"
    $0.server = "https://parseapi.back4app.com"
}
Parse.initialize(with: configuration)
viewDidAppear 메서드에서 사용자가 이미 로그인했는지 확인하여 데이터를 표시할 수 있습니다:
let currentUser = PFUser.current()
if currentUser != nil {
    // User is NOT logged in. Do not display data.
}
SignUpViewController에서 가입 버튼을 클릭할 때 사용자를 생성하는 코드를 추가해 보겠습니다:
let user = PFUser()
user.username = signUpUsernameField.text
user.password = signUpPasswordField.text
user.signUpInBackground { (success, error) in
    UIViewController.removeSpinner(spinner: sv)
    if success{
        // Success signing up. Display data for this user.
    }else{
        if let descrip = error?.localizedDescription{
            // Error signing up. Do not display data and show error message.
        }
    }
}
로그인은 사용자가 로그인 버튼을 클릭하면 SignInViewController에서 이루어집니다:
PFUser.logInWithUsername(inBackground: signInUsernameField.text!, password: signInPasswordField.text!) { (user, error) in
    if user != nil {
        // User signed In. Display data.
    }else{
        if let descrip = error?.localizedDescription{
            // User not signed in. Do not display data and show error message
        }
    }
}
로그아웃은 다음에 의해 수행됩니다:
PFUser.logOutInBackground { (error: Error?) in
    if (error == nil){
        // Success logging out
    }else{
        // Error logging out. Display error message.
    }
}
결론
Firebase 가입 및 로그인은 Parse보다 몇 줄의 코드가 덜 필요하지만, Parse는 거의 모든 곳에서 호스팅할 수 있으며 공급업체에 종속되지 않는다는 큰 장점이 있습니다.
둘 다 오류 처리 및 손쉬운 코드 관리 기능을 갖춘 가입, 로그인 및 로그아웃 프로세스를 제공합니다.
따라서 서너 줄의 코드가 유리하다고 생각하지 않습니다.
이번엔 무승부라고 하겠습니다.


