Firebase 和 Parse 上的 Auth

在本系列的第 1 部分和第 2 部分中,我们比较了创建应用程序和将框架集成到 XCode 项目的过程,以及 Firebase 和 Parse 数据库有哪些相似和不同的功能,可能更适合你的使用情况。
在第三部分中,我们将开始编码,并评估在两个平台上运行注册/登录流程需要多少代码。
我们将建设什么
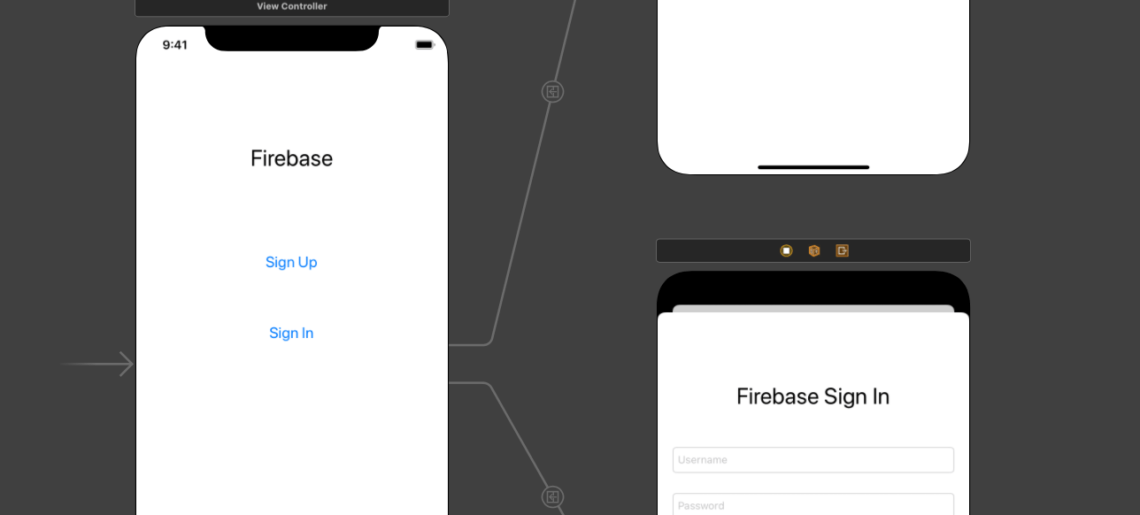
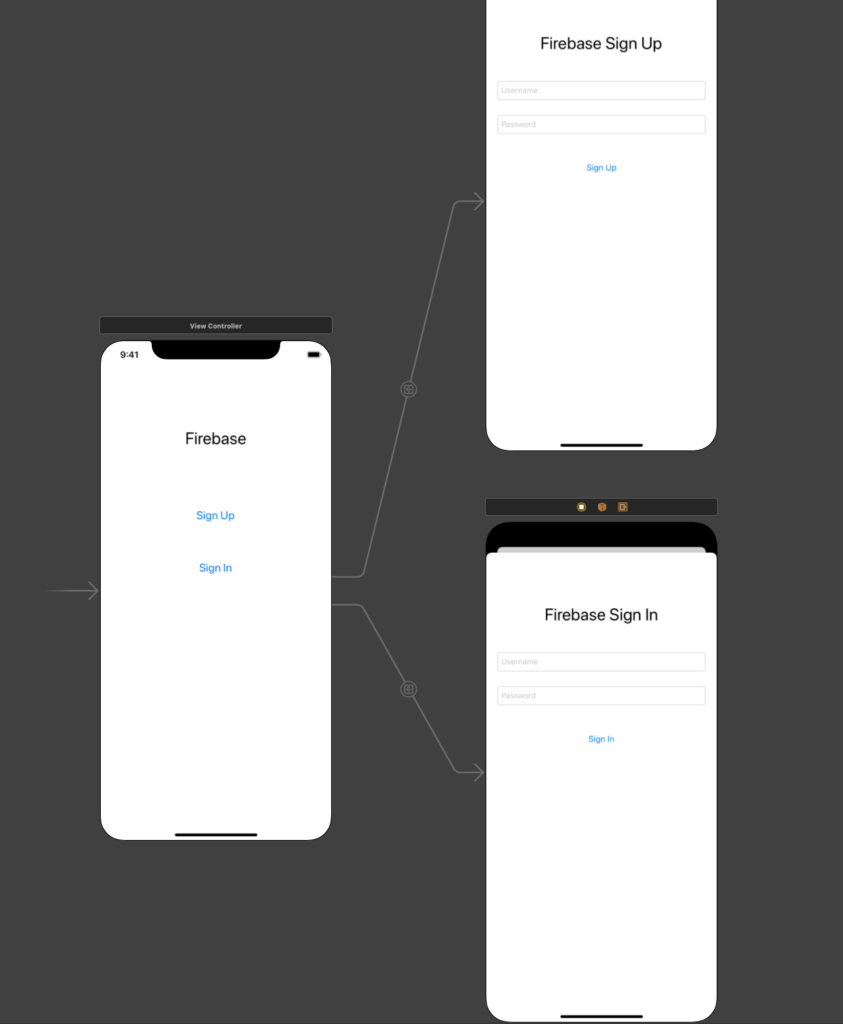
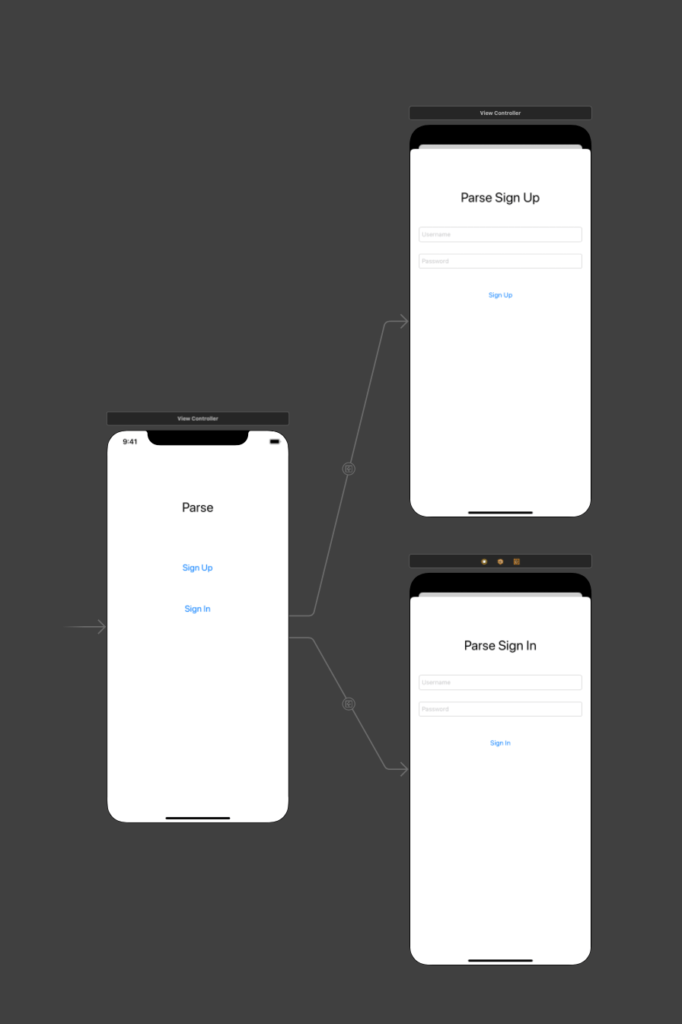
由于两个平台执行的任务基本相同,我们将使用完全相同的视图控制器设计,并以类似的方式创建所有控件:


主视图控制器将执行切换到注册和登录视图控制器,这两个视图控制器将执行相应的操作。
Firebase 代码
按照第 1 部分所述安装 Firebase SDK 后,我们需要在 AppDelegate.swift 文件中对其进行初始化:
import Firebase然后,在我们的 application:didFinishLaunchingWithOptions 方法中,我们必须初始化 FirebaseApp 对象,在 return true 语句的上方写上下面一行:
FirebaseApp.configure()现在,我们必须在所有需要登录用户私有信息的视图中添加代码,以监听 FIRAuth 对象,每次登录状态发生变化时都会调用该对象。
将这段代码放在 viewWillAppear 方法中是个不错的选择,这样如果没有授权,视图甚至不会加载数据:
handle = Auth.auth().addStateDidChangeListener { (auth, user) in
  // Any other actions that happen upon state change can be written here
}
我们还需要在离开 View 之前分离监听器,因此可以在 viewWillDisappear 方法中添加以下代码:
Auth.auth().removeStateDidChangeListener(handle!)
新用户注册将在我们的 SignUpViewController 中完成,因此让我们在用户按下 Singn-Up 按钮时调用的方法中添加这段代码:
Auth.auth().createUser(withEmail: email, password: password) { authResult, error in
  // Code for error handling and other actions can be put here
}
上述方法的良好错误处理如下:
guard let user = authResult?.user, error == nil else {
    print("ERROR CREATING USER \(user.email!).")
    print(error!.localizedDescription)
    return
}
print("\(user.email!) successfuly created.")
当用户点击登录按钮时,将在我们的 SignInViewController 中完成用户登录。登录用户的代码如下所示:
Auth.auth().signIn(withEmail: email, password: password) { [weak self] authResult, error in
  guard let strongSelf = self else { return }
  // Aditional code for error handling and other actions can be put here
}
最后,我们就可以使用这段代码检索用户登录后的详细信息了:
if let user = user {
  let uid = user.uid
  let email = user.email
  // Aditional properties can be retrieved here
}
签出流程通过以下方式实现
firebase.auth().signOut().then(function() {
  // Sign-out successful.
}).catch(function(error) {
  // An error happened.
});
现在,这已经相当简单明了了。
让我们来看看 Parse 的方法:
Parse代码
与 Firebase 类似,我们首先要安装 Parse IOS SDK(如第一部分所述),然后在 AppDelegate.swift 文件中对其进行初始化:
import Parse由于 Parse 几乎可以托管在任何地方,因此还必须设置您的应用程序 ID、密钥和您使用的 Parse 主机的 URL:
let configuration = ParseClientConfiguration {
    $0.applicationId = "PASTE_YOUR_APPLICATION_ID_HERE"
    $0.clientKey = "PASTE_YOUR_CLIENT_ID_HERE"
    $0.server = "https://parseapi.back4app.com"
}
Parse.initialize(with: configuration)
在 viewDidAppear 方法中,我们可以检查用户是否已登录,以便显示数据:
let currentUser = PFUser.current()
if currentUser != nil {
    // User is NOT logged in. Do not display data.
}
在我们的 SignUpViewController 中,让我们添加一些代码,以便在点击注册按钮时创建用户:
let user = PFUser()
user.username = signUpUsernameField.text
user.password = signUpPasswordField.text
user.signUpInBackground { (success, error) in
    UIViewController.removeSpinner(spinner: sv)
    if success{
        // Success signing up. Display data for this user.
    }else{
        if let descrip = error?.localizedDescription{
            // Error signing up. Do not display data and show error message.
        }
    }
}
当用户点击登录按钮时,登录就会在我们的 SignInViewController 中完成:
PFUser.logInWithUsername(inBackground: signInUsernameField.text!, password: signInPasswordField.text!) { (user, error) in
    if user != nil {
        // User signed In. Display data.
    }else{
        if let descrip = error?.localizedDescription{
            // User not signed in. Do not display data and show error message
        }
    }
}
Signing Out》的表演者是
PFUser.logOutInBackground { (error: Error?) in
    if (error == nil){
        // Success logging out
    }else{
        // Error logging out. Display error message.
    }
}
结论
Firebase 注册和登录所需的代码行数比 Parse 少,但 Parse 几乎可以在任何地方托管,这是一个巨大的优势,因为没有供应商锁定。
两者都提供注册、登录和注销流程,并提供错误处理和简易代码管理功能。
因此,我不会将 3 或 4 行代码视为优势。
这场比赛就算平局吧。


