Getting started with Heroku’s command line tool on macOS
Nowadays deploying web applications on the cloud has never been as easy as before. Cloud platforms like Heroku, Google, or AWS provide developers tools to allocate, maintain and deploy their web applications in a few simple steps. In the following, we will look at Heroku’s command line tool (commonly referred to as Heroku’s CLI). This tool helps us to set up our web applications to upload and deploy them on Heroku’s cloud platform. In this tutorial, we will learn how to install, set up, and use some of the key features of Heroku’s CLI.
Without any particular reason, we will use the CLI for macOS operating system. Therefore, some of the steps we will detail below might not be similar in other operating systems (OS) like Windows or Linux. More precisely, some of the installation processes will differ depending on the computer’s OS.
Contents
Prerequisites
- Basic knowledge about command shell.
- Basic knowledge about Git
Installing Heroku’s CLI
In order to install Heroku’s CLI on a mac computer, there are different methods you can follow:
- Using Homebrew (a package manager for MacOS)
- Tarball installation (software package)
- Using
npm(a JavaScript package manager)
Using Homebrew
Homebrew is a popular software package manager for macOS. It allows us to install miscellaneous programs for software development without going through the usual stressing configuration part. We can install Heroku’s CLI by running the following command in the macOS Terminal (or any terminal of your preference):
brew install herokuAfter the installation process finishes, you can run heroku --version in the terminal to print the Heroku’s CLI version currently installed:
$ heroku --version
heroku/7.65.0 darwin-x64 node-v14.19.0
Standalone installation
In case you do not have homebrew installed on your computer, you can use the binary that Heroku distributes to install the CLI via a tarball package. The installation process is straightforward, you only need to follow the instructions and the CLI should be installed with no problem. We recommend this type of installation for mac computers with Intel processors since the tarball binary (up to this date) does not support macs with Apple silicon processors (e.g. M1 processors).
Installation via npm
Similar to homebrew, npm is also a package manager but only for JavaScript projects. Since Heroku’s CLI is built with node.js, it is possible to install it via npm. The additional requirement besides having npm installed is node. You can install node following the instructions detailed here.
Once you have npm and node installed on your computer, running the following line should install Heroku’s CLI on your computer:
npm install -g herokuAfter executing the line above in terminal, once again you can verify the installation by running heroku --version.
Log in
Most of key functionalities in Heroku’s CLI require you to sign in with your Heroku account. If you do not have a Heroku account yet, you can sign up here. Thus, in a terminal window you can execute the following line to start the login procedure:
heroku loginAfter running this command, the terminal will prompt two options: press q to abort the request or press any other key to continue. Next, a new browser tab should open where you have to continue with the sign-in process. This page may look like this:

Once you enter your Heroku credentials, log in, and go through the multifactor factor authentication (MFA), a confirmation message should appear:
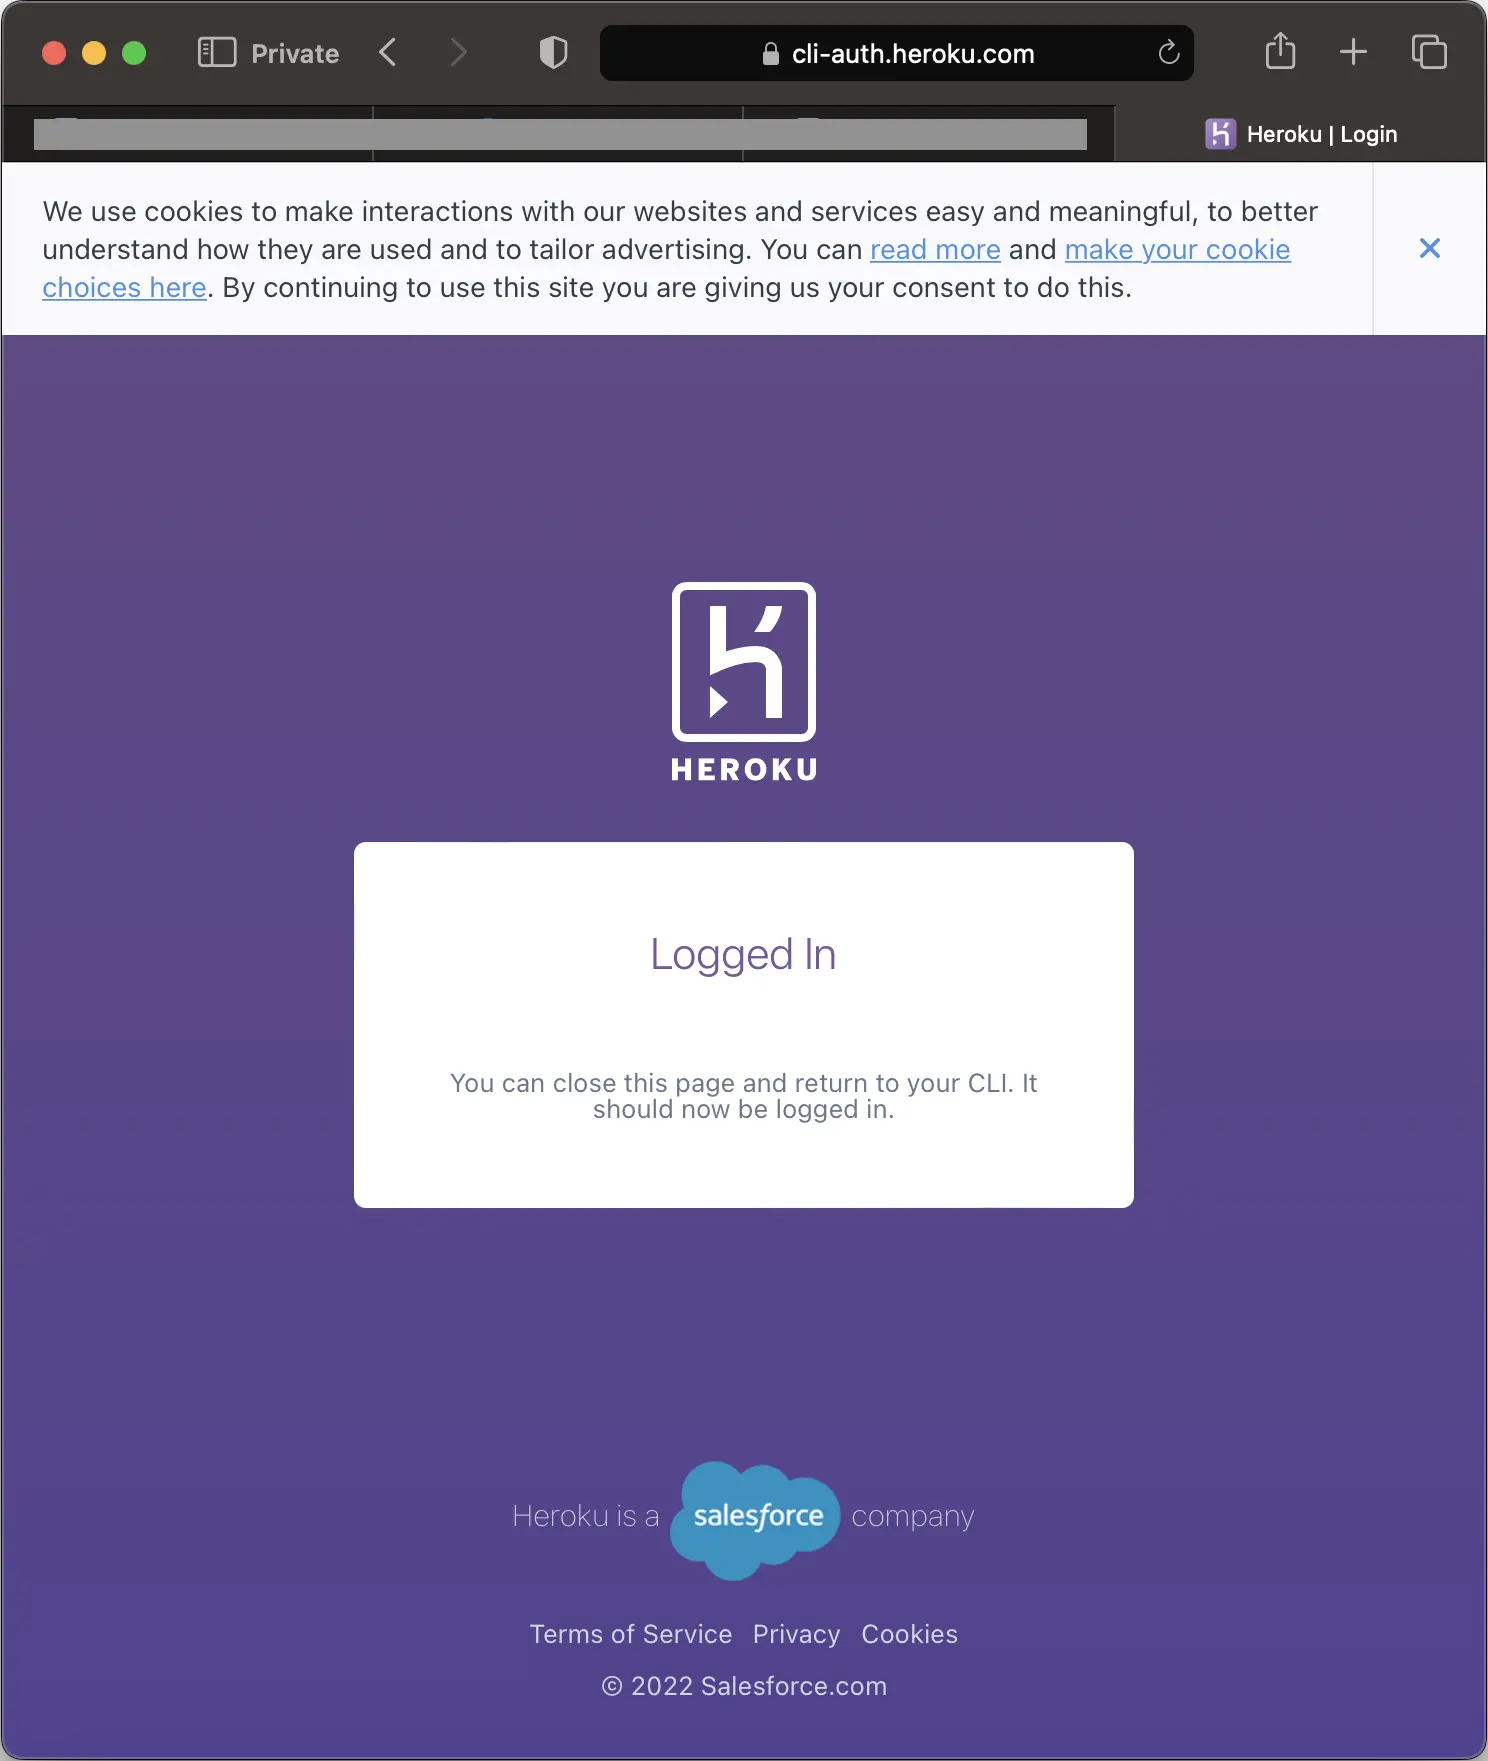
And in the terminal, you will also get a confirmation message:
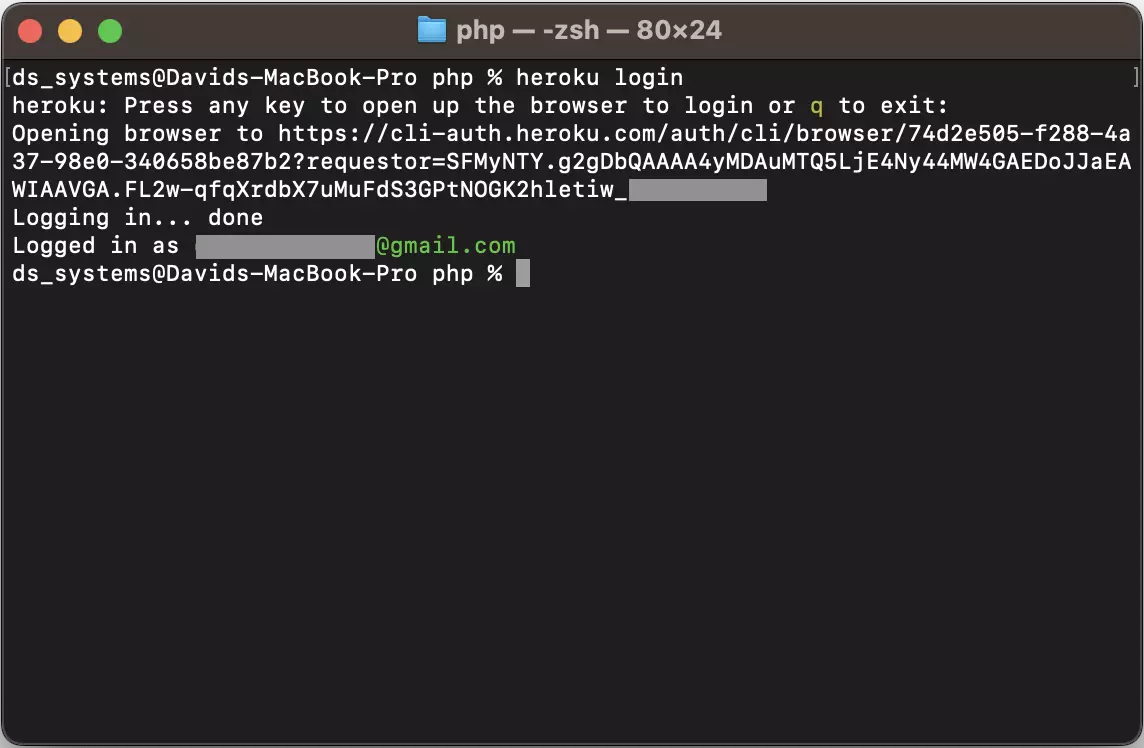
Now that you have logged in to Heroku’s CLI, we can start reviewing some of its key features.
If you need to log out from Heroku’s CLI, you simply need to run heroku logout in the Terminal.
Creating a Heroku app
Creating a Heroku app using the CLI is simple. You only need to run heroku create [app-name] in the terminal. For instance, below, we are creating a new Heroku app called a-new-heroku-app:
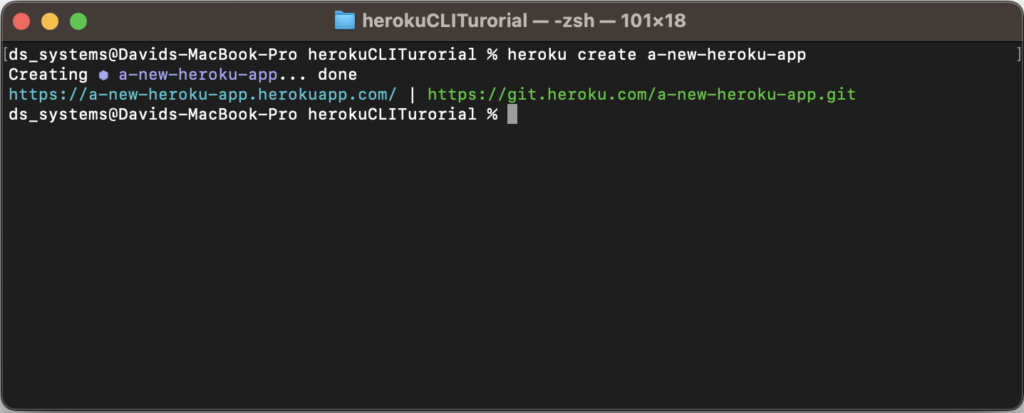
If the creation process succeeds, the CLI should prompt the URL of the new app and the associated remote repository.
Setting up a web application
Creating a Heroku app is the first step for deploying your web application. The next step is to prepare your web application project for deployment. Heroku made available quick start repositories you can use to use them as templates for your projects.
For instance, if you want to build a node.js application, you can clone the following repository:
git clone https://github.com/heroku/node-js-getting-started.gitRun the above line in the directory where you will set up your node.js project. Within this template, it is one of the most crucial files Heroku uses to start your project, the Procfile. This text file is the entry point of your application, and it contains the main script Heroku should execute to start your application. For the node.js template, this file contains the following line:
web: npm startIn the line above, the web: keyword is a standard notation Heroku introduced for the Procfile. The following is simply the typical command line to run a node.js app. The content of the Procfile will vary depending on the web application programming language and framework you are using in your project. Additionally, there may be some other configuration files (e.g., requirementes.txt) Heroku uses to identify and set up dependencies. Check Heroku’s documentation for more details about them.
For more web application templates, visit https://github.com/orgs/heroku/repositories/.
Setting up add-ons
Add-ons are additional components your web application may need for providing main functionalities. For instance, in an online store, having access to a database is key for storing user information, product details, etc. Therefore, you can add a database (as an add-on) to your Heroku application via Heroku’s CLI.
Any add-on related command can be listed by running the command heroku addons --help. The result may look like this:
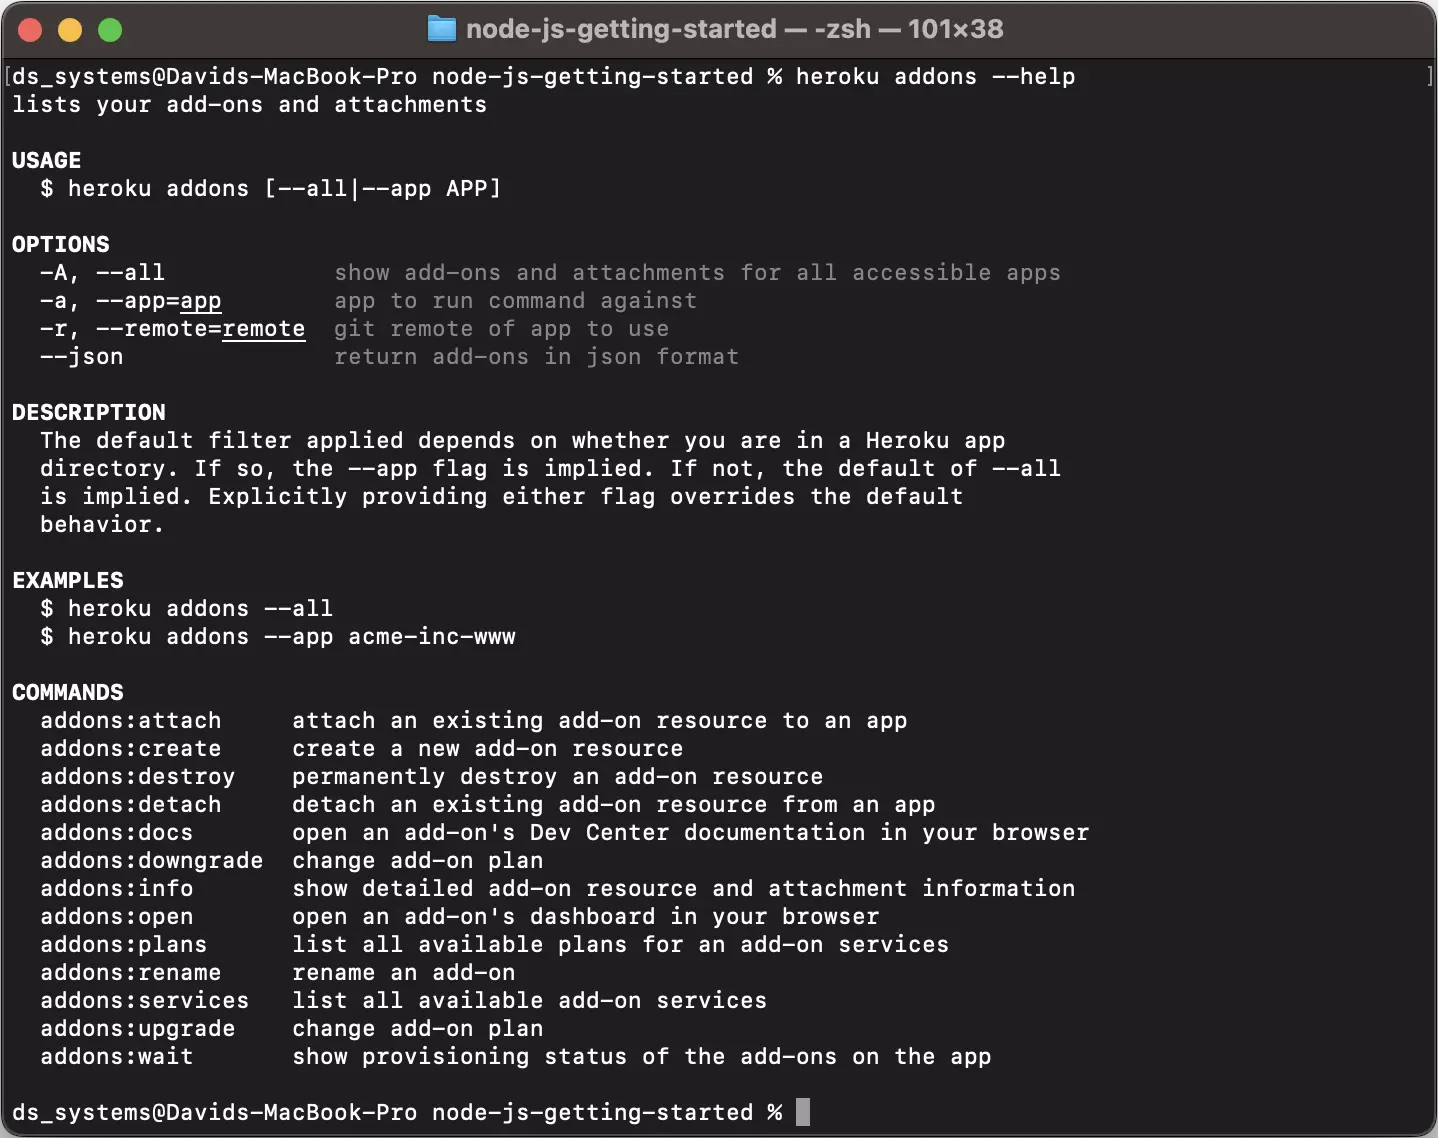
Therefore, to list all the add-ons currently available on Heroku, you can run the following command:
heroku addons:servicesNow, let us assume you need to add a database to your web application. After you executed the above command, you will find a couple of database providers like JawsDB Maria. Now you can integrate this database add-on into a Heroku app. For a JawsDB Maria database, you run:
heroku addons:create jawsdb-maria -a [heroku-app-name]Where the -a [heroku-app-name] piece is mandatory, it specifies the Heroku app where the add-on is integrated. If the integration succeeded, you should get the following output:

As you can see in the image above, Heroku sets a default plan for the add-on (a free plan in this case). Thus, depending on your application needs, you may require to switch to a more suitable plan. In order to list all the available plans you can run the following command:
heroku addons:plans jawsdb-mariaThen, upgrading to another plan is straightforward. For example, upgrading the currently free plan in the previous example (JawsDB Maria add-on) to the tiger plan ($219/month) is done via:
heroku addons:upgrade jawsdb-maria:tiger -a a-new-heroku-appNote the tiger keyword added after the jawsdb-maria add-on name. This keyword is the name of the plan the add-on is upgraded to.
These commands are the most common ones you may need during the development of your web application. At any time, executing the command heroku addons --help will show information related to add-on configurations.
Deploying an app on Heroku
Once you have your web application code ready, you can deploy it using Heroku’s CLI in two simple steps:
Step 1: Add a remote repository
The following command line allows you to add a remote repository (linked to a Heroku app) to your local repository (where your web application code is):
heroku git:remote -a [heroku-app-name]Step 2: Push to remote for deployment
With the remote repository set up, the deployment process simply consists in pushing the current commit to the remote repository:
git push heroku mainIf the process finished without errors, the CLI should prompt a log similar to the screenshot below:
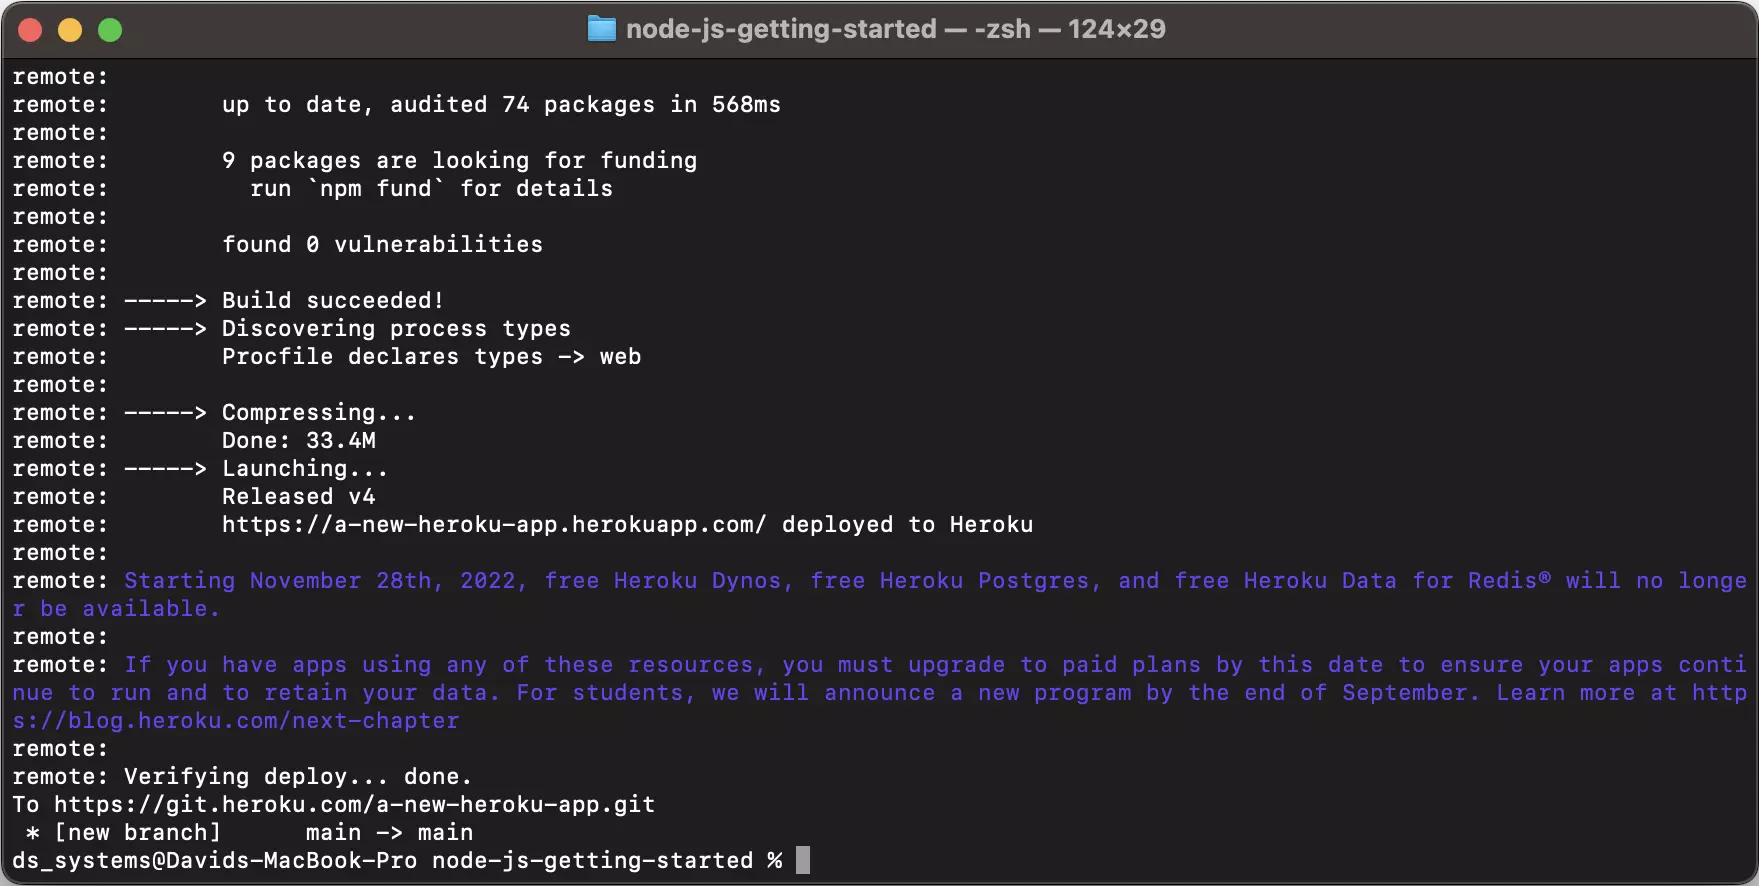
Now you can go to a browser and open the app.
Conclusions
By the end of this tutorial, you should be capable of installing Heroku’s CLI, logging in, and deploying a web application from scratch. The command lines we reviewed here are necessary for the majority of web applications. In case your web application requires additional configuration beyond the standard, run heroku --help to revisit previous and further commands.
What is Heroku?
A PaaS platform from Salesforce to build, run, and operate apps.
What is Heroku’s CLI
It is a command line tool developed by Heroku for developers to manage and deploy their web applications. It is available on macOS, Windows and Linux operating systems.


