How to Build a Video Chat App
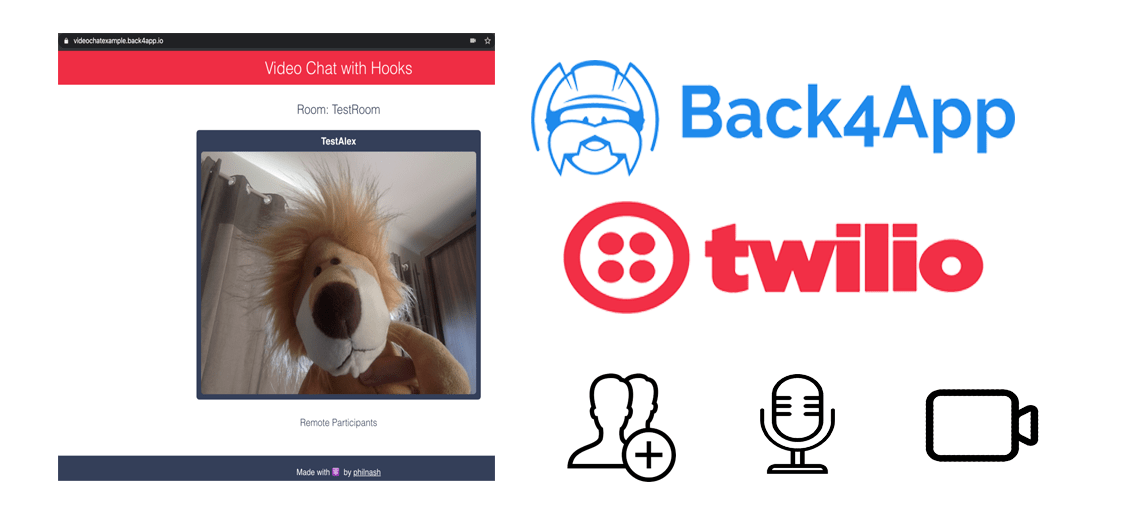
Just the other day I came across this awesome Twilio tutorial by Phil Nash explaining how to make a Video Chat using React Hooks, so I decided to run it in Back4app because it is free, it is awesome and can be integrated with Parse, so I could have free web hosting (free back4app subdomain included), host my App and use real-time data delivery to include chat features in the future.
This post is a walkthrough of what I did to get it working.
Contents
First things first
I strongly recommend reading through Phil’s article and get it working in your machine prior to getting it working online.
You will need NodeJS, React and Express minimal knowledge in order to proceed. I’ll explain the steps I took and why, but if you are unfamiliar with those technologies, you might not understand exactly why those are needed.
First Step – What you’ll need
Phil’s article states that you’ll need Node.js and NPM installed and working. I already had that in my system so make sure you also have.
Also, you’ll need a Twilio account, so create a free one and you’re good to go.
Second Step – Getting Started
The very first step, cloning the repository, didn’t work for me. The command Phil states:
git clone -b twilio [email protected]:philnash/react-express-starter.git twilio-video-react-hooks
gave me a few errors and, in the end, what worked for me was this one:
git clone https://github.com/philnash/twilio-video-react-hooks.git
With that out of the way, the other commands executed well:
cd twilio-video-react-hooks
npm install
Result:

If you are running locally, you must set your env file as described in Phil’s article, but since the focus here is running it in Back4app, I’ll skip that for now.
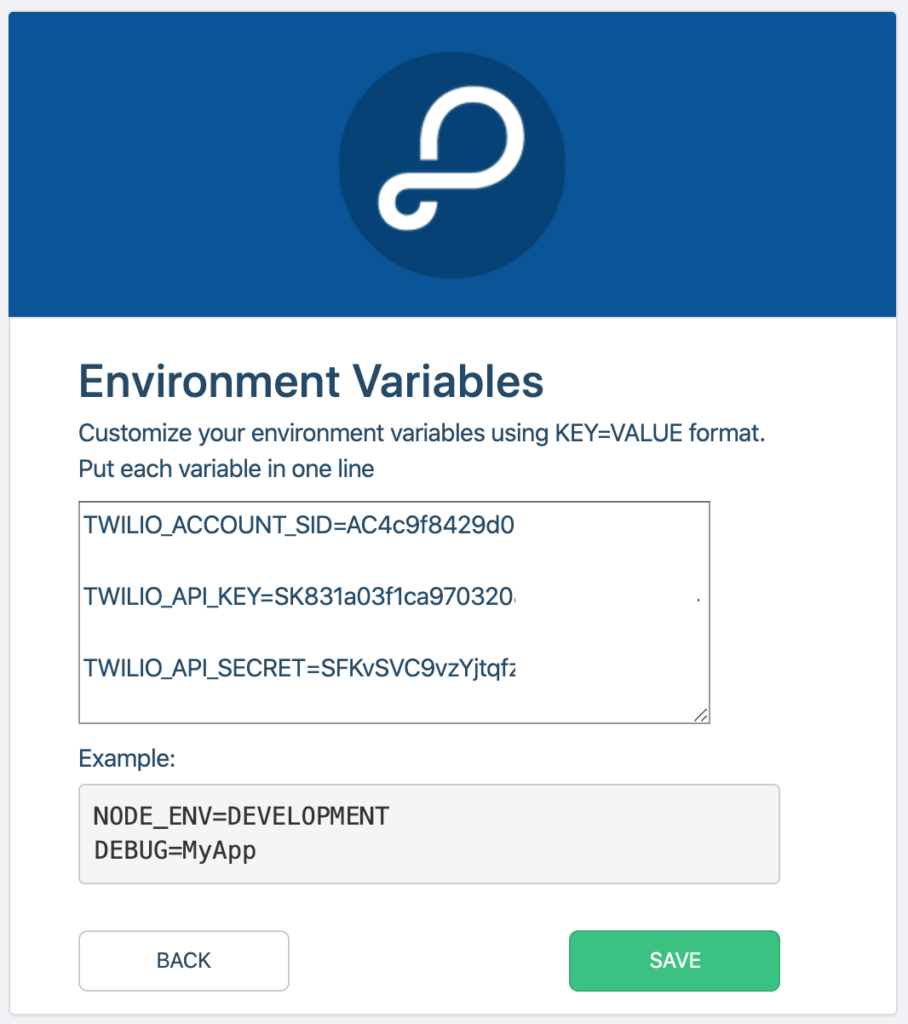
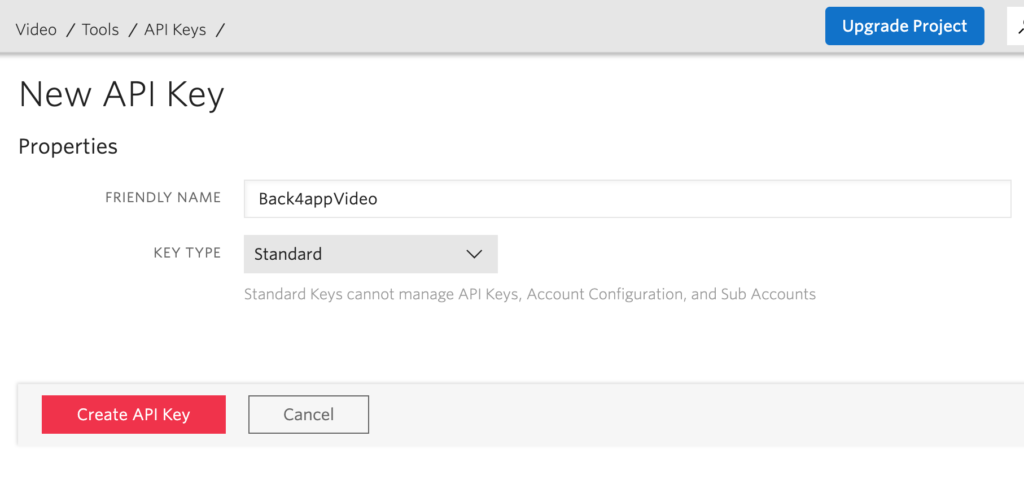
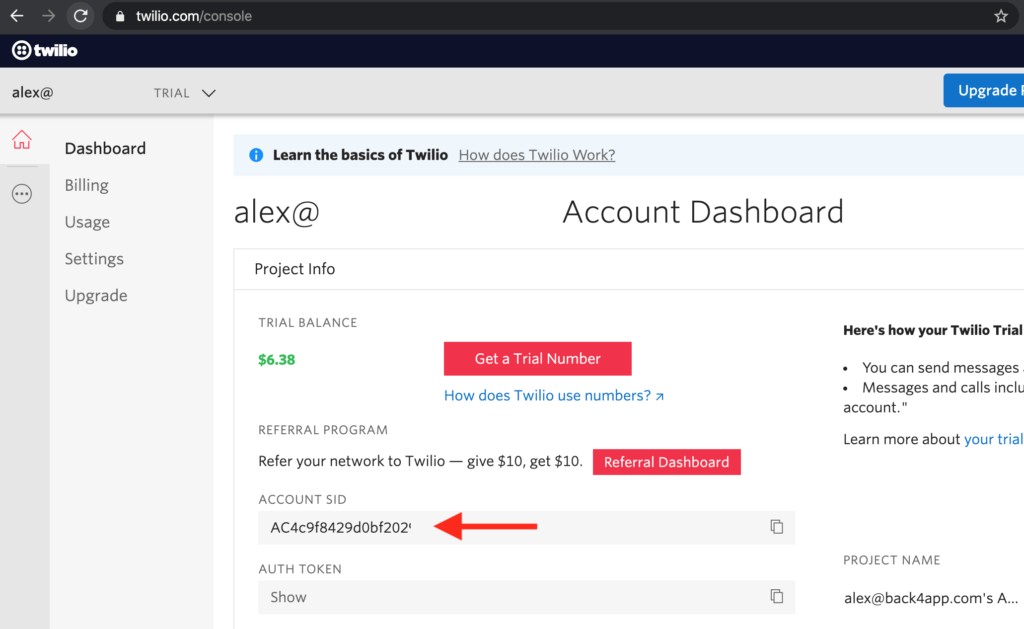
We will still need the TWILIO_API_KEY, TWILIO_API_SECRET and TWILIO_ACCOUNT_SID values from your Twilio account, but we will use those in a different place.
Changing the code a little bit
Since our architecture is different, we will need to change a few key things.
The very first one is the NPM modules. The npm install command above will install the modules on your computer, but in Back4app you need to tell Parse to install them for you.
We have a great tutorial explaining how to do it, so check it out here.
In the end, my package.json file ended up like this:
{"dependencies": {"express-pino-logger": "*","twilio": "*"}}
Notice that I am installing the Twilio module in its latest version (‘*’ means the latest). At this point you might ask why I am doing so, as Parse already has a Twilio module built in the stack:
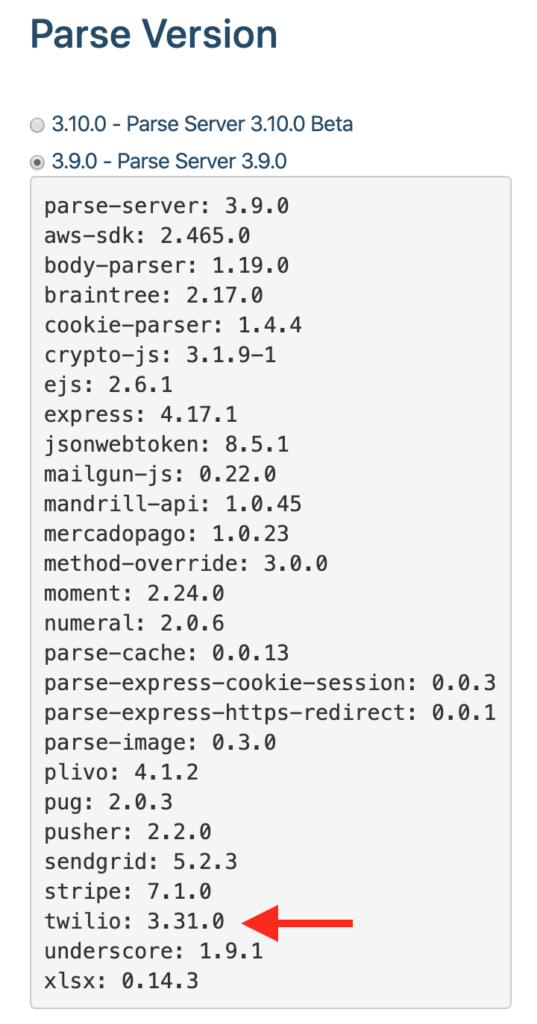
And the reason is versioning. For compatibility, every Parse version has the stack of modules with certain versions, which might or might not work for your specific case. To use any version that is not listed in the stack, we can ensure Parse installs the correct version by specifying it in the package.json file.
Let’s build it
In order to deploy, we must create a runtime optimized version of our code. In Phil’s article, he states that we should run:
npm run dev
which will work for a local environment, but in our case, from inside the project’s directory, we will run:
npm run build
that will produce a new folder called build, containing all our assets:
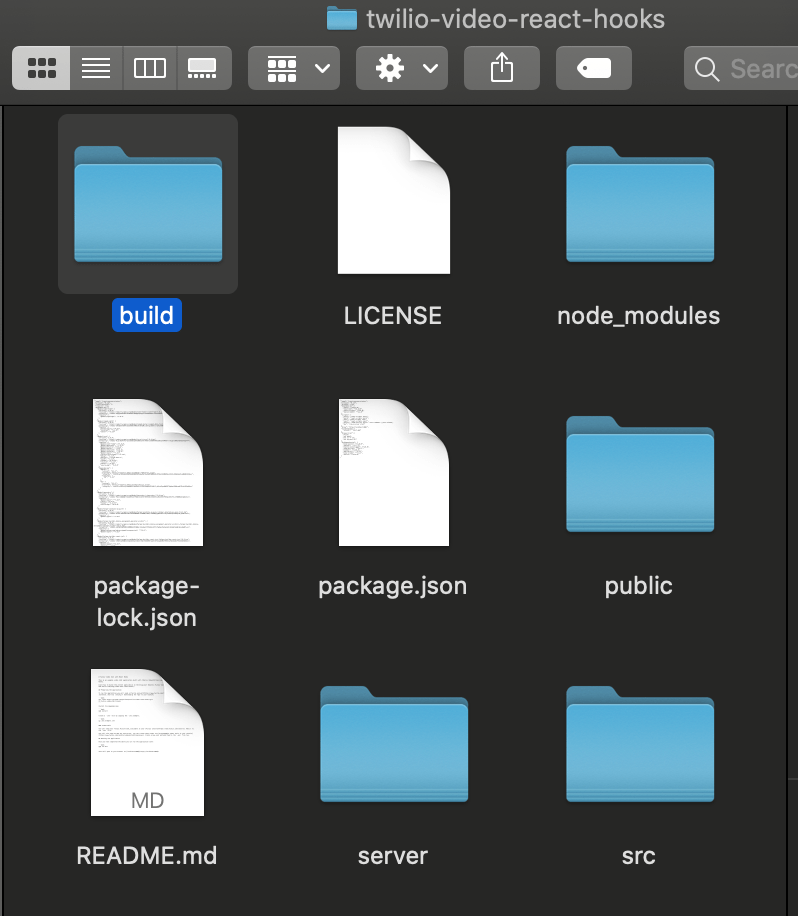
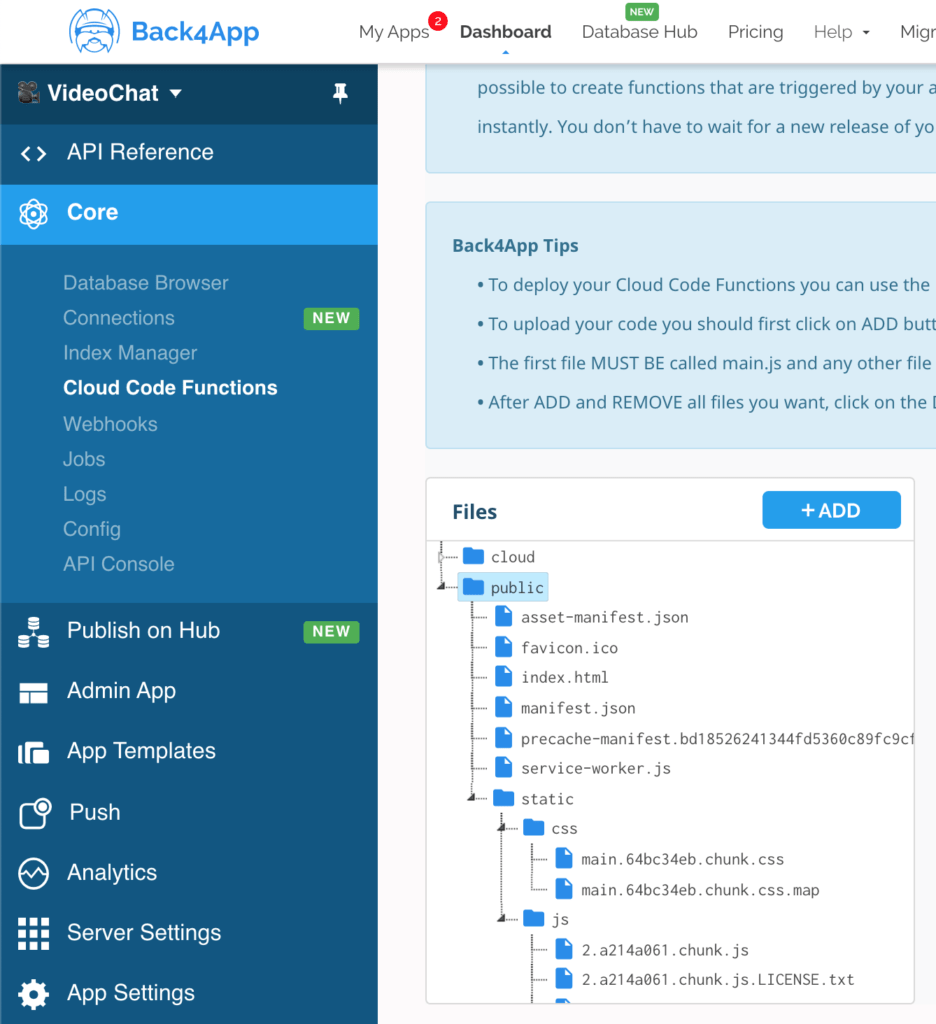
We will then upload all the content inside our build folder to our Public folder in the Cloud Code section.
There are different approaches to upload. You can do it manually from your browser but I prefer the Back4app CLI to deploy everything for me. It is much faster and will ensure everything is in place.
In the end, your main structure should look like this:
Configuring the App.js
There is one file you will have to manually change: the index.js file inside the project’s server directory.
Parse is hard configured to run a file named app.js, not index.js, so let’s rename that file.
You can create a copy named app.js, rename the original to app.js, but in the end, it has to be named app.js:
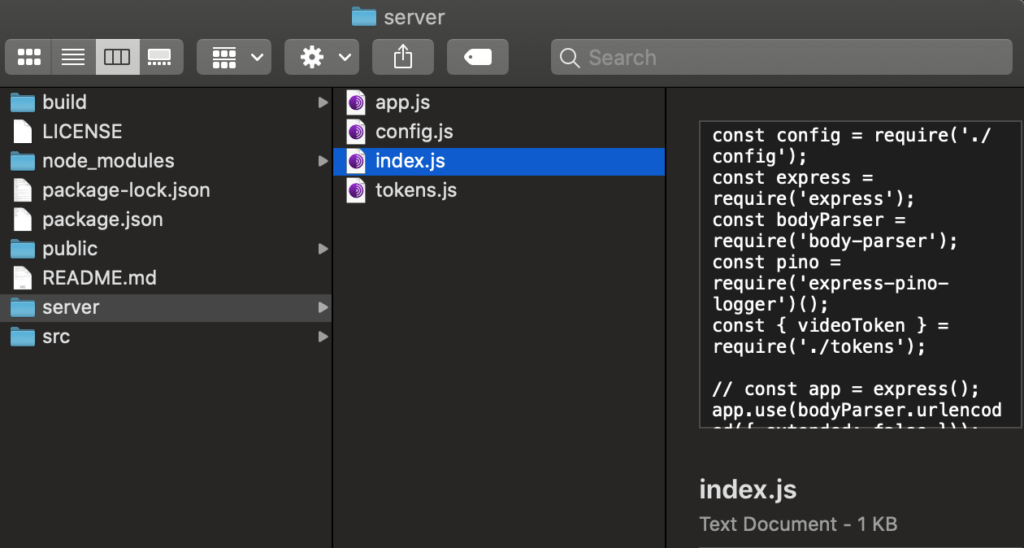
We will also need to make a few changes to that file.
On line 7, where it says
const app = express();
Parse already has Express loaded and instantiated, so that would conflict. Let’s comment that line out:
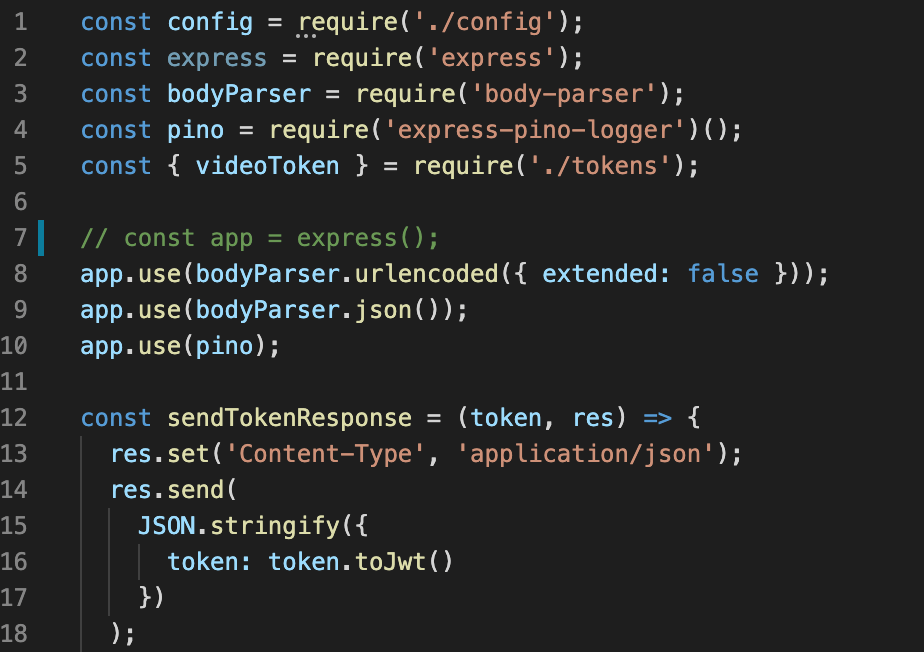
Also, lines 41 to 43, where it says:
app.listen(3001, () =>
  console.log('Express server is running on localhost:3001')
);
Parse won’t be able to open that port for security reasons, so let’s comment it out too:

Another thing is that, in the end, we never used the express-pino-logger module, so let’s comment out lines 4 and 10, where it says:
const pino = require('express-pino-logger')();
...
app.use(pino);
So it will look like this:
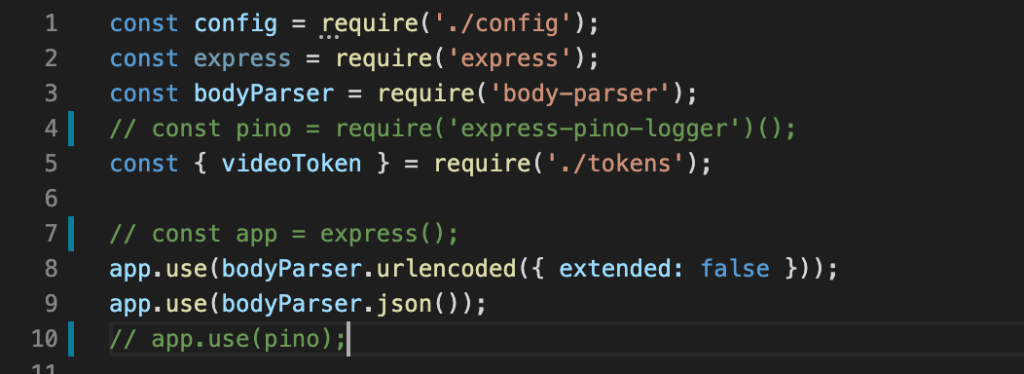
Now, on the very top of the file, you’ll notice that this file invokes two other local files: config and tokens:
const config = require('./config');
...
const { videoToken } = require('./tokens');
We will need those local files to be uploaded together with the app.js file, so let’s upload all three files in the Cloud folder.
The end structure will look like this:
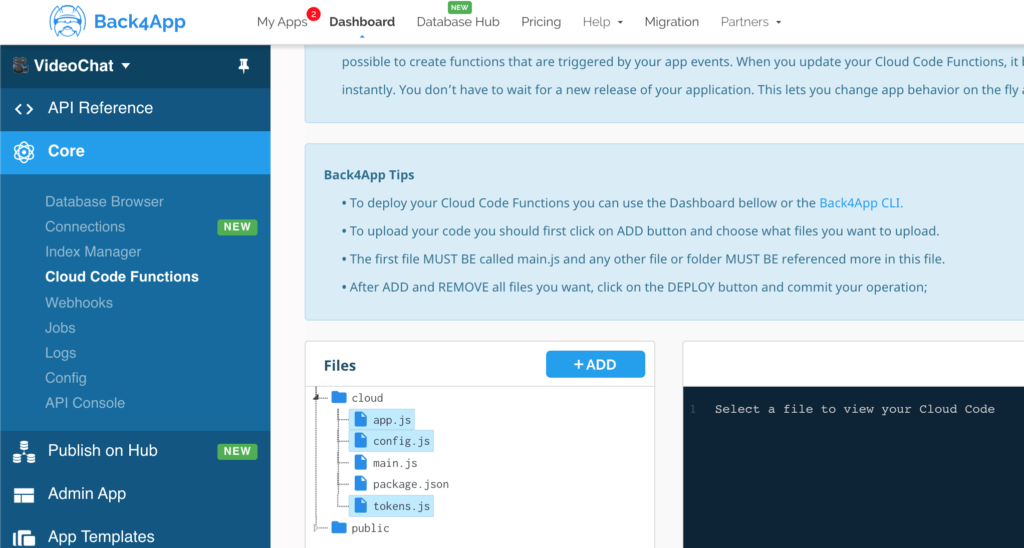
Coding part done
Now our code is deployed and everything is good to go. It is time for some configurations.
Remember where Phil said we must set the .env file with the credentials from Twilio?
In Parse, we have a section for that in the Server Settings panel.
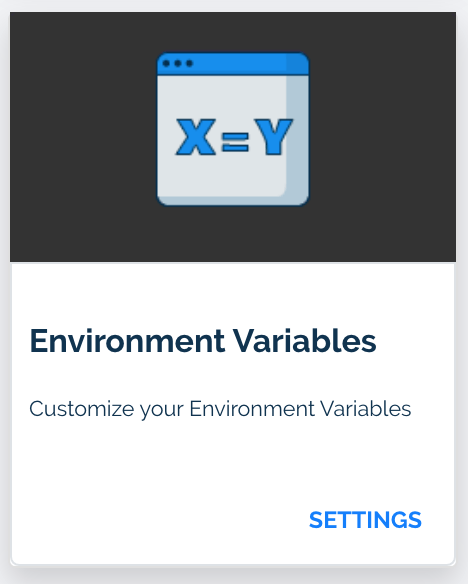
Open up the Environment Variables panel:
And set it up just like you would in the .env file:
Remember you can retrieve those values from your Twilio account:
Configuring Web Hosting
Now, in the Server Settings pane, go to Web Hosting and Live Query section:
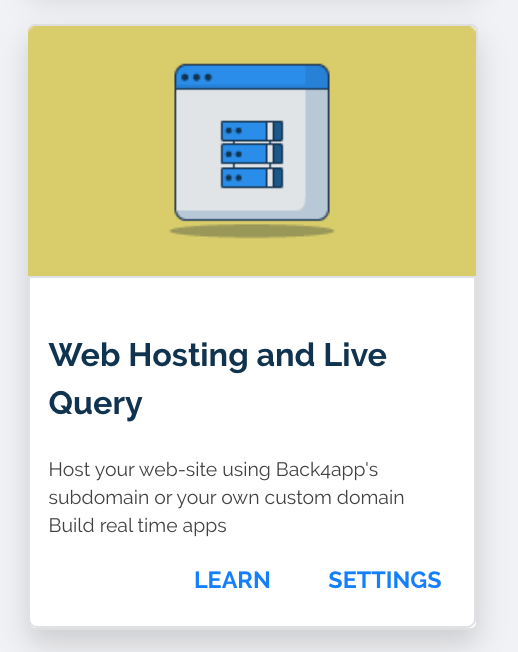
Enable Web Hosting and set a back4app.io subdomain for your Application:
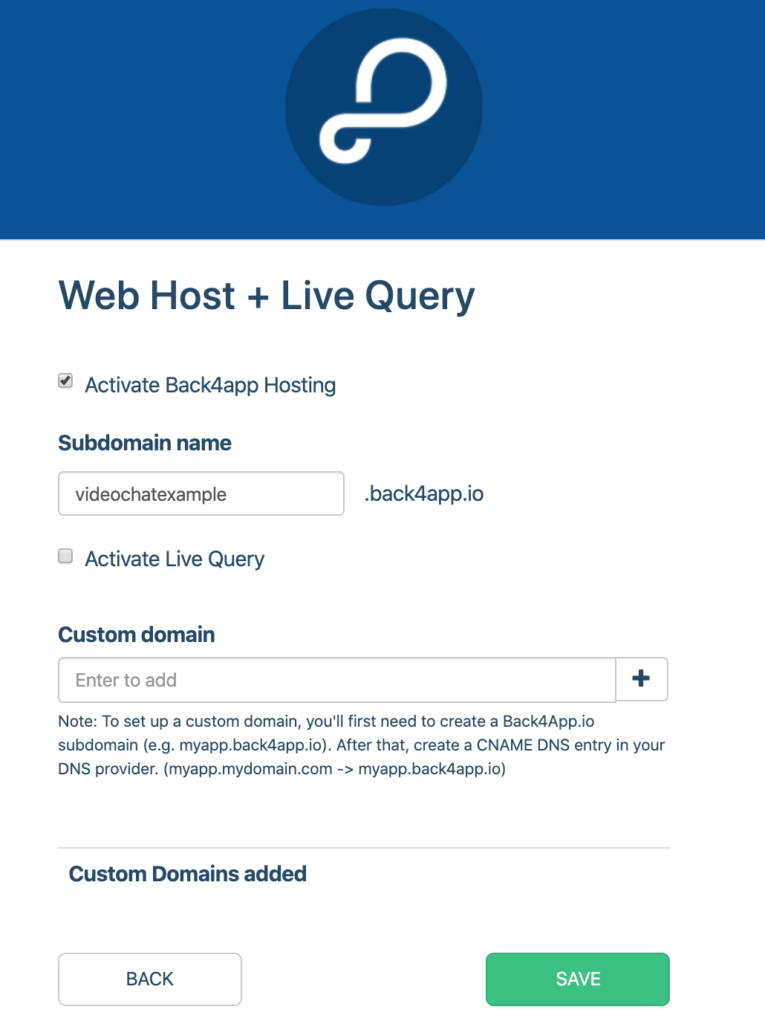
Save it and you are good to go.
Testing
Now it is time to test our application.
Go to the URL you set in your web hosting from a browser. Just remember to use HTTPS as the protocol.
As we will ask access to your camera, it is mandatory that you use HTTPS, otherwise, you will get an error. So go to:
https://Your_Domain_Name.back4app.io
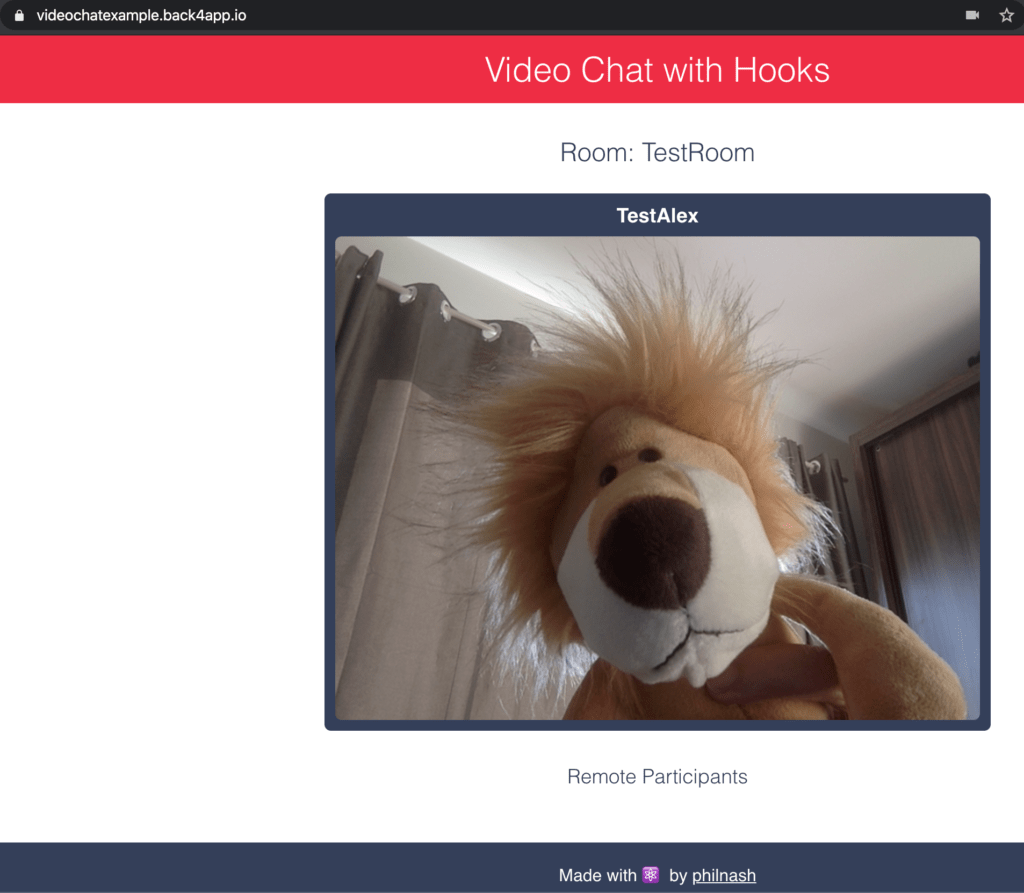
Your browser should ask for permission to use your camera and mic. If you give it those permissions, you should see yourself on the screen:
Conclusion
Having your React project in Back4app is easy, free and awesome. With just a little bit of rework, we could have Phil’s project up and running.
We also got all the benefits of Parse and Back4app: it is secure, scalable, failure-tolerant and has backups already set up for you.
You can even pump it up with Parse features such as Sign In with Google, Sign In with Apple, Sign In with LinkedIn, real-time data delivery and link it with our super-awesome Database Hub.
It is a lot of power, a lot of features and the very best: it is all free for you to run small apps.


