How to Deploy a Flask Application?
Explore the intricacies of deploying a Flask application via a serverless container platform in this comprehensive guide. Starting with a balanced evaluation of Flask’s strengths and weaknesses, the article then unfolds into a meticulous step-by-step tutorial on Flask app deployment
Contents
What is Flask?
Flask is a highly-regarded microweb framework implemented in Python, celebrated for its ease of use, adaptability, and granular control.
In contrast to bulkier frameworks, Flask embraces a “micro” philosophy, presenting no default tools or libraries, thereby granting developers the liberty to select the elements they require while encouraging lean, clear code.
Even with its minimalist design, Flask is robust and multifaceted, enabling the creation of wide-ranging web applications from simplistic single-page websites to intricate multi-component systems.
Owing to its intuitive syntax, comprehensive documentation, and engaged community, Flask has emerged as a preferred framework for developers of all skill levels.
What are the Advantages of Using Flask?
Flask has numerous features that have bolstered its appeal among developers. Here are some of its principal advantages:
- Uncomplicated and Adaptable: Flask’s ‘micro’ design promotes uncomplicatedness and adaptability, enabling developers to use only the required components and avoid unwarranted intricacy.
- User-Friendly Learning Process: Flask’s API and syntax are simple and direct, making it user-friendly to learn, especially for those already proficient in Python.
- Granular Authority: Flask allows developers to have granular control over their application, from choosing the directory structure to selecting the libraries and tools, unlike more comprehensive frameworks.
- Expandability: Flask is expansible with a wide array of third-party libraries that developers can use to augment functionality as needed.
- Light in Weight: As a lightweight framework, Flask enjoys faster startup times and lower resource usage, which can be advantageous in environments where resources are limited.
- Exhaustive Documentation: Flask provides extensive and comprehendible documentation, simplifying the learning process for developers and problem-solving.
- Robust Community Support: Flask enjoys the support of a robust, active community that continually contributes to its development and serves as a resourceful platform for assistance and knowledge sharing.
- Facilitates RESTful APIs: Flask eases the creation of RESTful APIs, facilitating the building and interaction with web services.
- Inbuilt Development Server and Debugger: Flask incorporates an inbuilt development server and a powerful debugger, offering a handy development environment.
In essence, due to its straightforwardness, flexibility, and level of control it provides to developers, Flask is a favorable choice for both simple and intricate web development endeavors.
What are the Limitations of Using Flask?
While Flask is rich in features, it does present a few drawbacks that are significant to consider. Here are some key considerations:
- Less Ideal for Large-scale Applications: Flask’s minimalistic and lightweight architecture, while beneficial in numerous circumstances, might not be well-suited for larger, complex applications that could benefit from more comprehensive frameworks.
- No Inbuilt Database Management Tools: Unlike some other frameworks, Flask lacks built-in tools for database management. For ORM (Object-Relational Mapping) support, developers need to utilize external libraries.
- Restricted Inbuilt Functionality: Being a microframework, Flask offers only essential features, leaving much of the functionality to be supplemented by third-party libraries. This reliance can become a constraint when external libraries are poorly maintained or missing specific features.
- Potential Scalability Challenges: Flask is excellent for smaller to medium-sized applications, but it might encounter scalability challenges with larger applications due to its simplicity and the absence of certain built-in tools.
- Absence of Clear-cut Conventions: Flask’s flexibility can occasionally become a downside, particularly for new developers. A lack of well-defined conventions could lead to uncertainty and unproductive practices, particularly in larger team environments.
- Multithreading and Concurrent Requests: Due to its single-threaded nature, Flask might not be the optimal choice for handling multiple requests simultaneously. In scenarios requiring high levels of concurrency, asynchronous frameworks may be a more suitable option.
Even though these challenges exist, many can be mitigated with thoughtful design, appropriate selection of third-party libraries, and a clear understanding of the application’s needs and scope.
How to Deploy a Flask Application?
The crucial stage for any application comes at deployment, and we’re set to explore the procedure of launching an application on the Back4app platform.
What are Back4app Containers?
Back4app containers play a pivotal role in deploying various applications, leveraging their resources to the fullest. They utilize the Dockerfile to kickstart the project on distant servers, thus conserving user resources.
In addition, they allow users to oversee the advancement and keep a check on the resource usage of their launched applications. Back4app containers further streamline the process of re-launching applications following new git commits.
Step-By-Step Guide: How to Deploy the Flask Application using Back4app Containers?
In this guide, we will delve into the step-by-step methodology of creating a Flask application from the ground up. We will highlight the key requirements you need to have in place and then guide you through the deployment process of this application on the Back4app platform.
- Sign in to Back4app Account
If you are a new user, Sign Up for the Back4app account else, log in to your Back4app account.
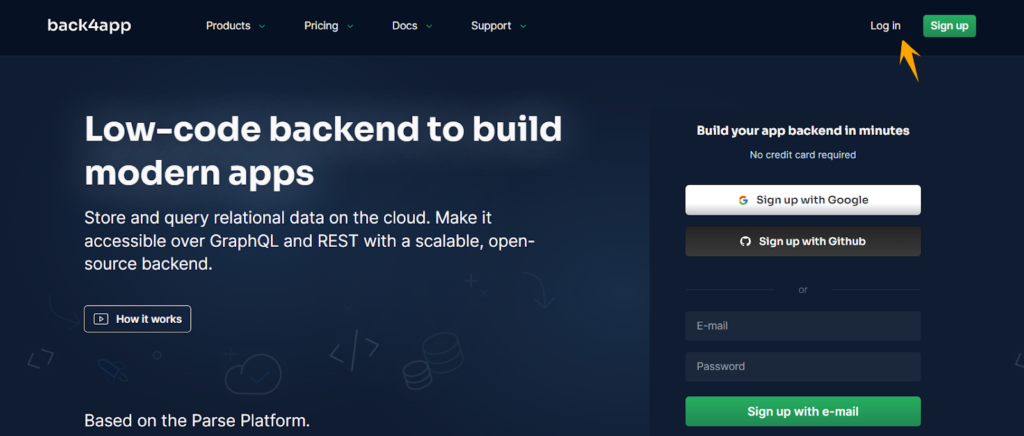
Sign in by selecting the desired option.

A dashboard will appear that contains all the applications of Back4app under the ‘My Apps’ section.
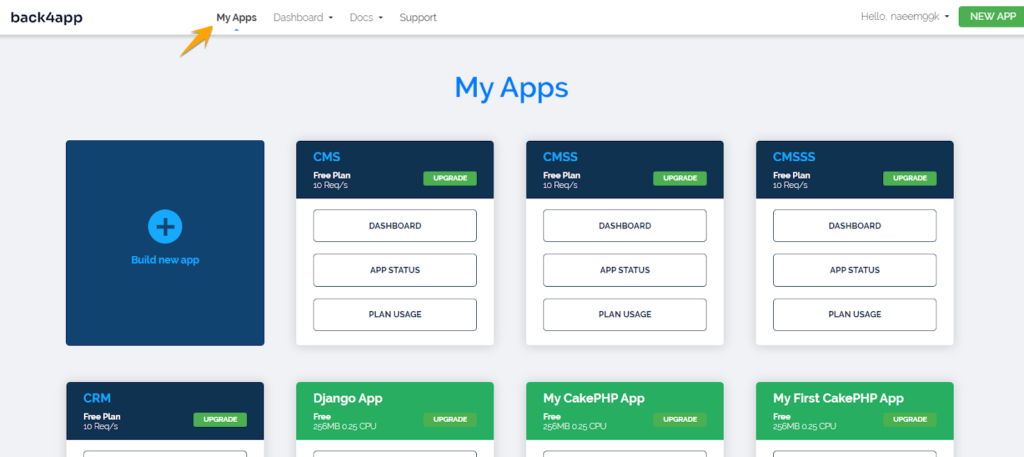
To begin your journey with Back4app, the initial stage involves developing your Flask application on your local machine. Subsequently, it is essential to upload the application to GitHub. Now, let’s proceed to explore the step-by-step instructions necessary for this process.
- Download and Install Python
Need to install the Python programming language from their official page. Click on the ‘Download Python’ button.
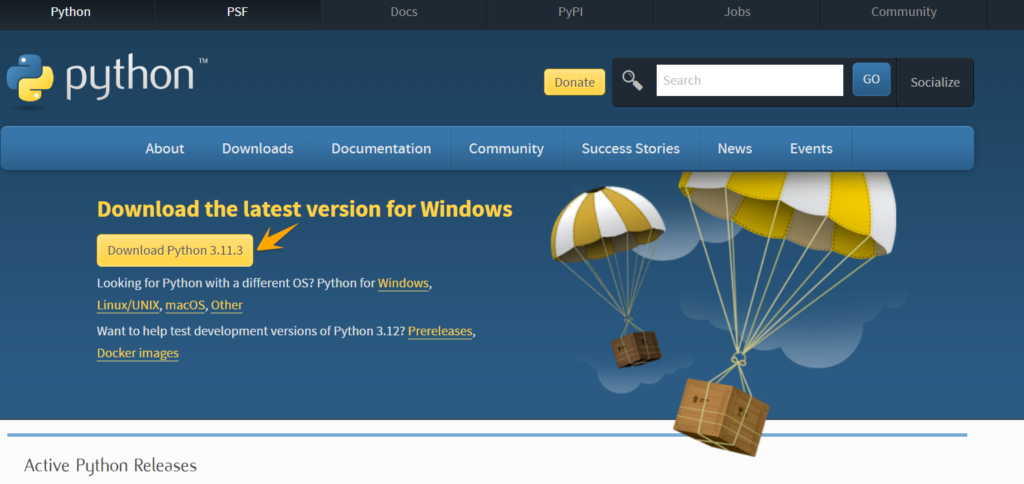
Now select the appropriate Python installer.

Open the downloaded installer.

Install the Python on your local device as I have already installed so I need to upgrade the version.

Python has been successfully installed in the OS. Verify it using the CMD command ‘python –version’.

- Create and Test the Flask Application
First, create a folder named ‘flask’ in your directory.

Open VS Code and open the ‘flask’ folder in it.

Select the ‘flask’ folder.

The Flask folder has been imported into the VS Code.

Now open the Terminal’s new window.

The terminal has been opened at the lower part of VS Code.

Create a new virtual environment with the following command in the Flask folder.

A virtual environment has been created in our flask application.

Activate the virtual environment with the following command.

Now install the flask in our application using the following ‘pip install flask’.

Create a new ‘app.py’ file in the flask folder.

Import the flask in this file and write the following code as your starter application.

Now run the ‘python app.py’ command in the terminal to test the flask application.

The Flask application has been successfully executed in the browser on port 5000.

- Dockerize the Flask Application
Create a ‘requirements.txt’ file in the flask folder for the required dependencies. Add a flask dependency in it, as shown below.

Create Dockerfile and add the required code to build the Docker’s image.
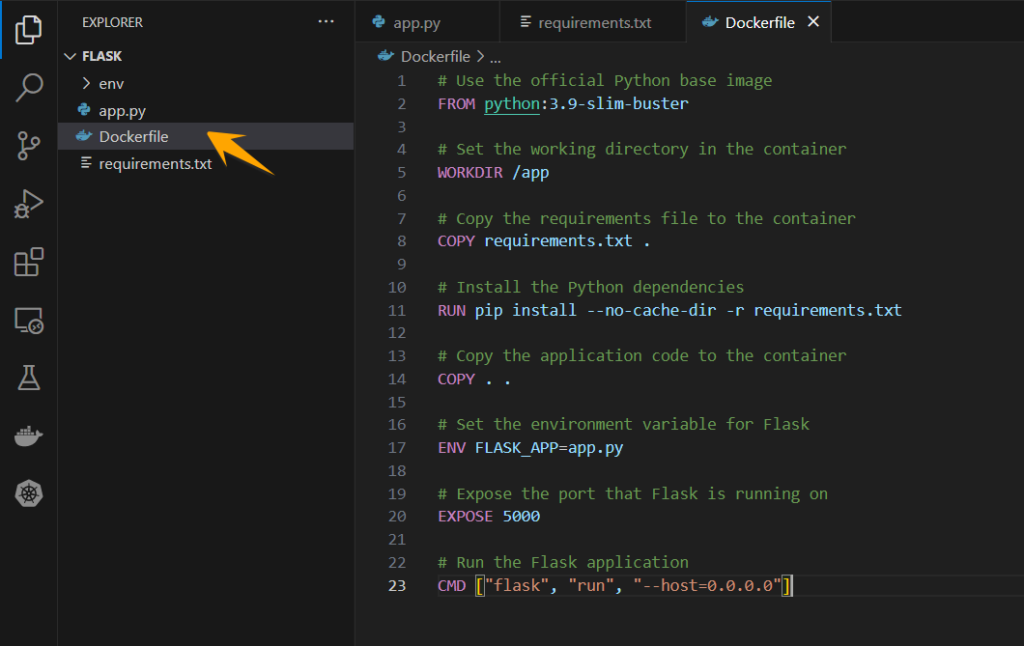
Build the Docker image using the following command named ‘flask’.

Run the Docker image in the Docker Container using the following command.

Open Docker Desktop and verify that the image has been successfully deployed in its container having the name flask.

Click on port 5000 to test the Dockerized image.

The Flask application deployed in the Docker container successfully

- Log in to GitHub and Upload the Flask Project
Log in to your GitHub account or Sign Up.

Enter the credentials for login and click on the ‘Sign in’ button.

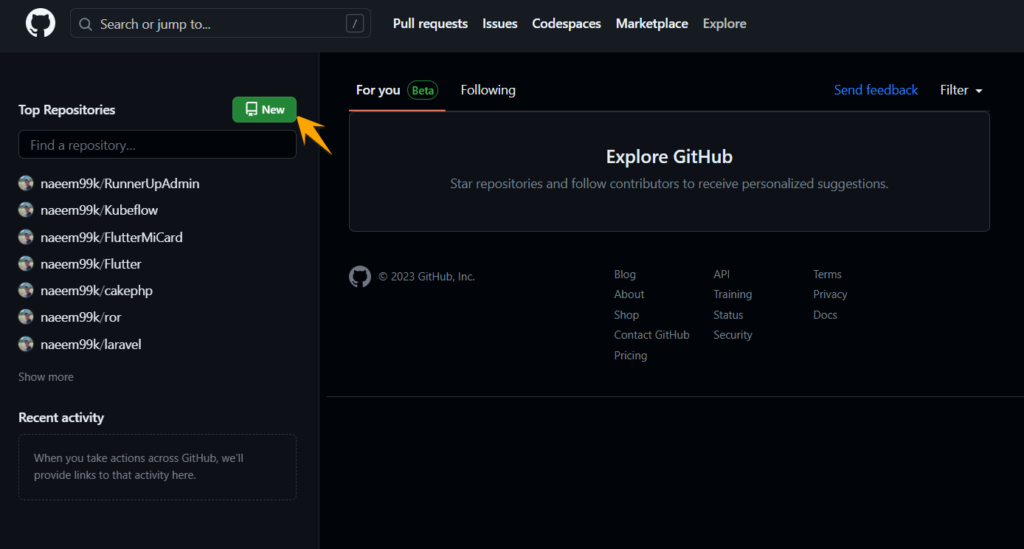
Click on the ‘New’ button to create a new repository in GitHub for the Flask project.
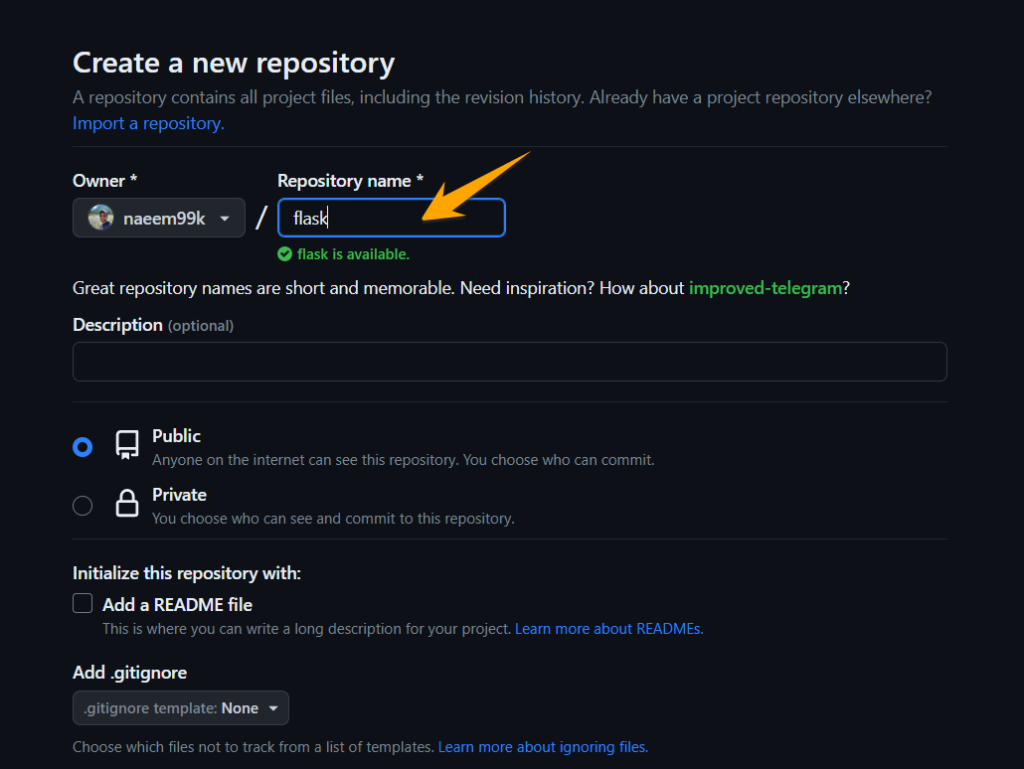
Give this repository a name as ‘flask.’
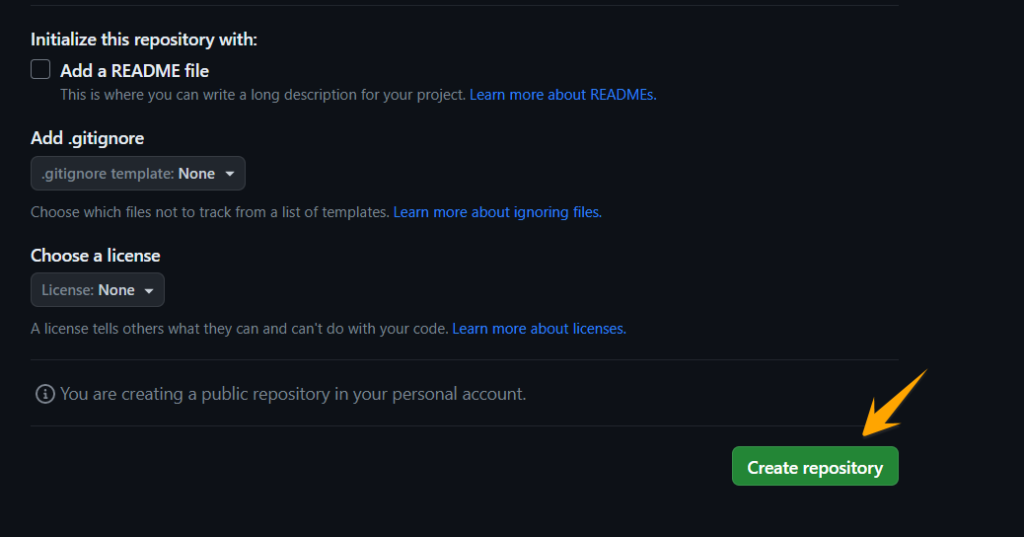
Finish the creation by clicking on the ‘Create repository’ button.
The Flask repository has been successfully created.

Go to the terminal in VS Code and initialize the git with the following command.

Add the flask project to it.

Do commit your code.

Set the main branch in git.

Set the remote origin of your Flask repo in GitHub.

Push the Flask application code to GitHub.

The code has been successfully uploaded to the remote Git repo.

- Create and Integrate the Flask Application in Back4app as a Container
Click the ‘New App’ button to create a new App in Back4app.

Select the ‘Containers as a Service’ feature in Back4app.

All the available container projects will be shown in your Back4app account.
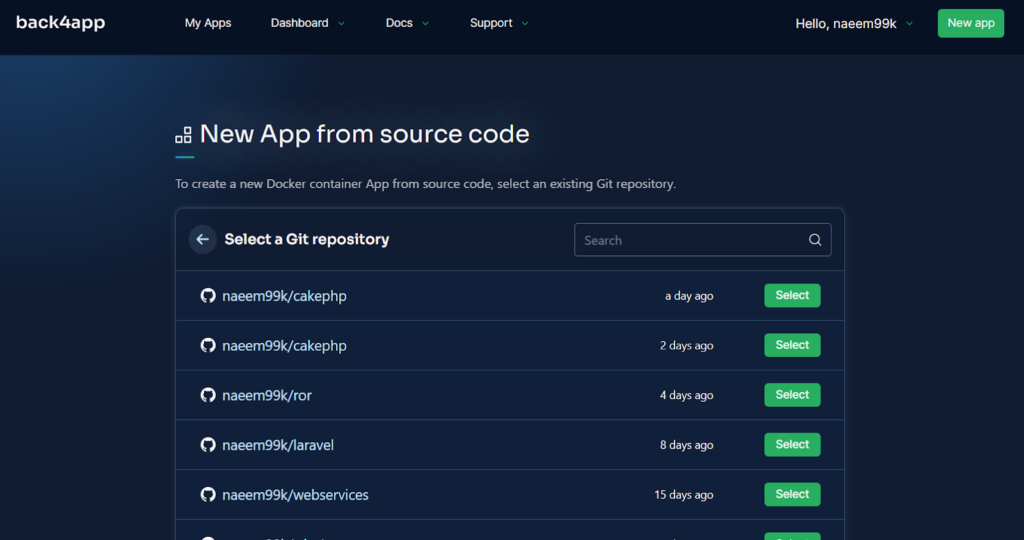
Import the new Flask project from GitHub into Back4app by pressing the following button.

A popup will appear. Search for the flask repo and add it. In the end, click the ‘Save’ button.

The ‘flask’ repo has been imported into the Back4app Containers platform.

Click the ‘Select’ button highlighted to use this repo to create a New App.

Enter the App Name, the Branch name for locating the application, and the repository name ‘flask.’
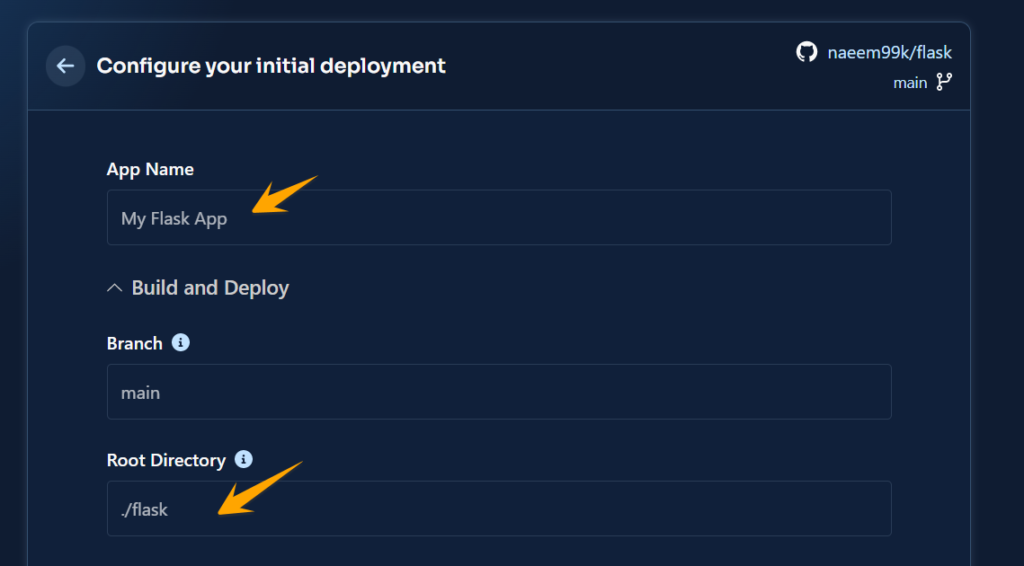
Press the ‘Create App’ button to create a new app using the following instructions.

- Deploy the Flask Application
After clicking on the ‘Create App’ as shown above, the Back4app Containers will start deploying the Flask application.

During deployment, we can see the different functionalities that Back4app provides, like Deployments, Logs Metrics, etc.

Finally, the application has been deployed and given a success sign. Click on the highlighted green link to open the app.
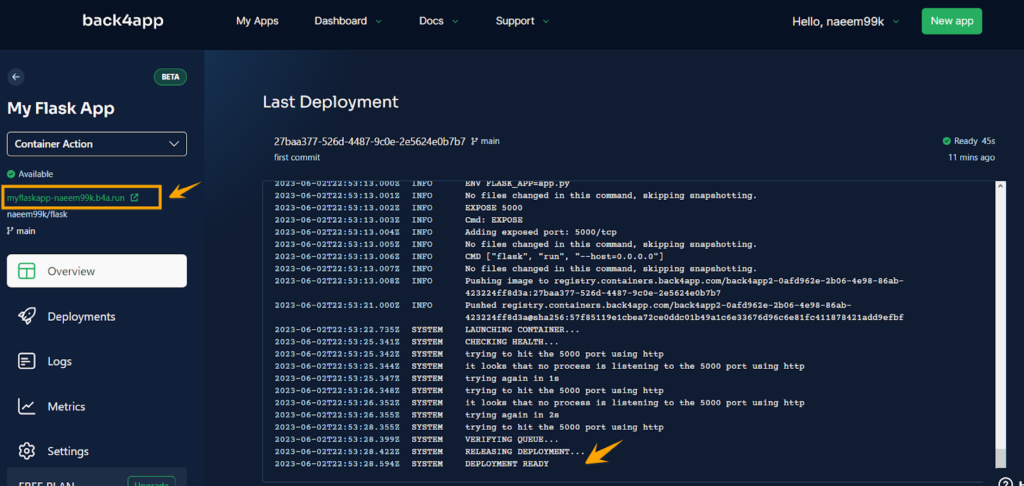
The Flask application has been deployed on the Back4app Containers.

Conclusion
Merging the adaptability and ease of the Flask framework with the streamlined deployment process offered by Back4app Containers can transform your approach to web development.
Flask’s microarchitecture promotes efficient, custom coding, and its harmonious coupling with Back4app Containers simplifies the journey from development to production.
Irrespective of your experience level, gaining proficiency in deploying Flask applications using Back4app Containers can escalate your efficiency, enhance your web application’s performance, and unlock new potential in your web development path.
What is Flask?
Flask is a lightweight, extensible web microframework for Python, commonly used for developing web applications and APIs with simplicity and flexibility.
What are the advantages of Flask?
– Easy to use
– Adaptable
– Documentation
How to deploy a Flask application?
– Select the deployment platform
– Download and install Python
– Dockerize the project
– Have the project on GitHub
– Deploy the project


