How to Deploy an Ember JS Application?

Ember.js is a potent JavaScript framework dedicated to crafting expansive single-page web applications. It champions a convention-over-configuration philosophy, offering pre-defined structures and a wide range of tools via Ember CLI, thus simplifying the development process.
Additionally, it incorporates Ember Data to handle models and possesses a nuanced routing mechanism. A thriving community and dedication to stability make Ember.js a trustworthy choice for developers aspiring to create intricate web applications in a productivity-enhancing, reliable environment.
In this guide, we’ll walk you through the process of launching an Ember.js application utilizing the Containers capability of Back4app. This method combines the high-performance nature of Ember.js and the extensive hosting solutions offered by Back4app.
Contents
- 1 Key Takeaways
- 2 Prerequisites:
- 3 Step 1: Create an Ember.js Project
- 4 Step 2: Launch the Development Server/ Run your Project Locally
- 5 Step 3: Dockerize the Application
- 6 Step 4: Pushing Project to GitHub
- 7 Step 5: Deploying the Project to the Back4app Platform
- 8 Conclusion
- 9 FAQs
- 10 What is Ember.js?
- 11 What are the Advantages of Ember.js?
- 12 How to deploy an Ember.js application?
Key Takeaways
- Ember.js, with its convention-over-configuration philosophy and tools like Ember CLI and Ember Data, simplifies creating complex single-page web applications.
- Deploying an Ember.js app involves creating a new Ember project, running it locally, Dockerizing it, pushing it to GitHub, and deploying it on a cloud platform.
- Combining the robustness of Ember.js and the flexible hosting solutions of Back4app offers a powerful platform for building and deploying scalable web applications.
Prerequisites:
To follow this tutorial, you’ll need:
- Node.js and npm: You can download the most recent version of Node.js directly from the official Node.js site. Keep in mind that when you install Node.js, npm is included as part of the same package.
- Ember CLI: Ember CLI is a command line tool for Ember.js that facilitates the process of establishing, developing, and constructing Ember.js projects. To make Ember CLI accessible system-wide, execute the given command in your terminal:
| npm install -g ember-cli |
- GitHub Account: Create a GitHub account to maintain version control and track the changes in your codebase.
- Back4app Account: Sign up for a Back4app account, which will aid in the deployment process of your application.
- Docker Desktop: Install Docker on your machine by downloading it from the official site.
- Visual Studio Code: This is a coding environment that provides the necessary tools for writing and building your code.
Step 1: Create an Ember.js Project
Initiate a new Ember project: Launch your terminal and proceed to the location where you plan to create your fresh Ember application. Execute the following command:
| ember new my-emberjs-app |
Substitute “my-emberjs-app” with your desired application title. This command will generate a new Ember.js application inside a directory named “my-emberjs-app” and will install all required dependencies.
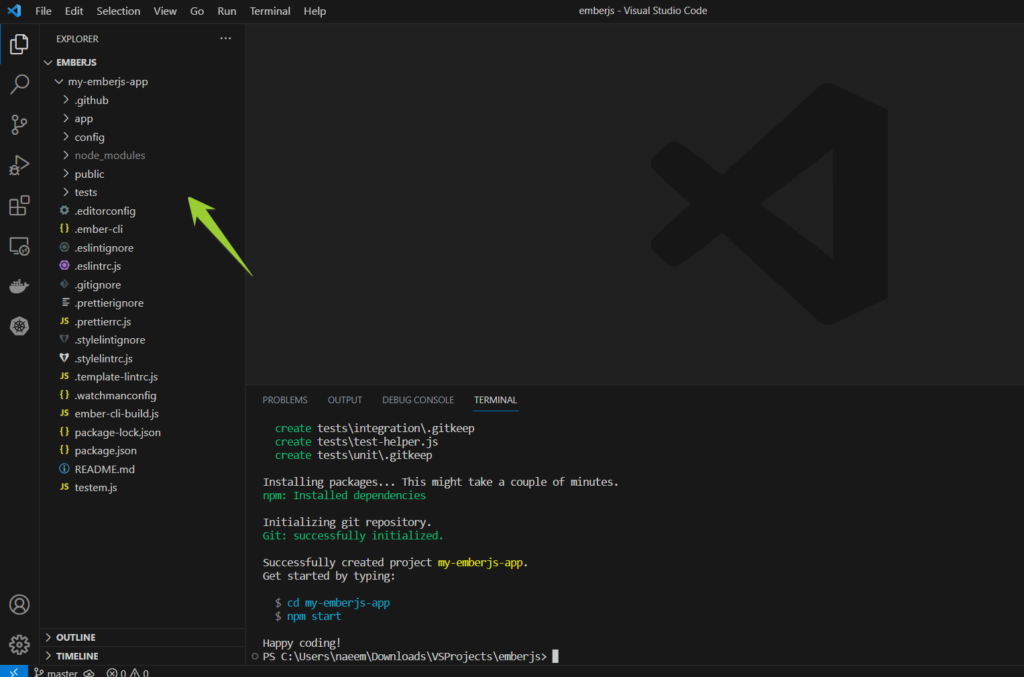
Load the application in VS Code: Navigate to the newly formed application directory using the command ‘cd my-emberjs-app.’ Upon reaching your application directory, trigger VS Code in that directory by executing the command:
| code . |
Step 2: Launch the Development Server/ Run your Project Locally
Launch the Ember application: Activate your Ember application by executing the command:
| ember serve |
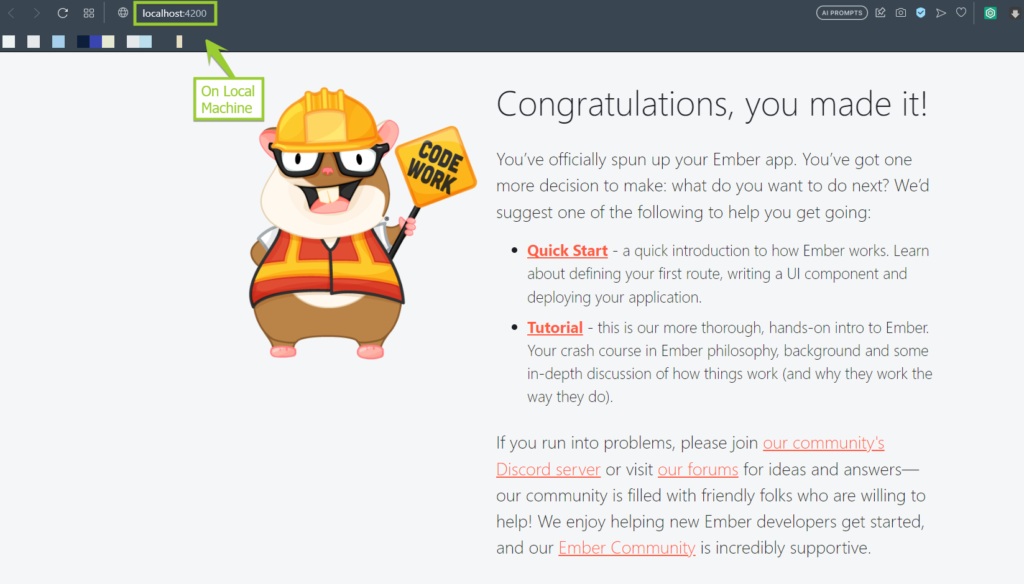
This action will initiate the Ember development server. Access your application by heading over to http://localhost:4200 on your web browser.
Step 3: Dockerize the Application
Docker simplifies the process of packaging and distributing software applications by allowing you to create a Dockerfile in the main directory of your project. This Dockerfile contains instructions that guide Docker in building an image of your application.
Consider this example of a simple Dockerfile designed for an Ember.js application:
| # Utilize the Node.js 14 official image FROM node:14 # Define the working directory WORKDIR /usr/src/app # Clone package.json and package-lock.json COPY package*.json ./ # Set up all the dependencies RUN npm install # Globally set up Ember CLI RUN npm install -g ember-cli # Clone all files COPY . . # Make the application’s port accessible EXPOSE 4200 # Launch the application CMD [“ember”, “serve”] |
Once you’ve created the Dockerfile in your project’s base directory, you can construct the Docker image by executing the following command:
| docker build -t my-ember-app . |
Here, replace “my-ember-app” with the title you wish to give your Docker image.
Upon building the image, you can initiate the Docker container using this command:
| docker run -p 4200:4200 -d my-ember-app |
This command will start a Docker container from your image and map port 4200 in the container to port 4200 on your local machine.
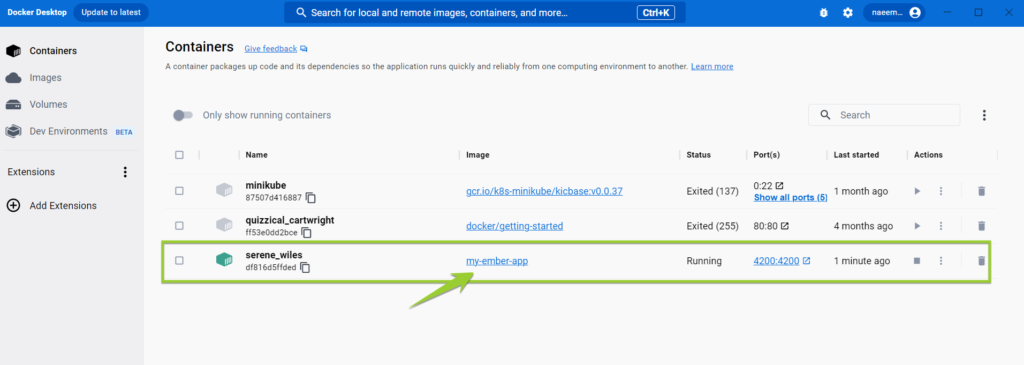
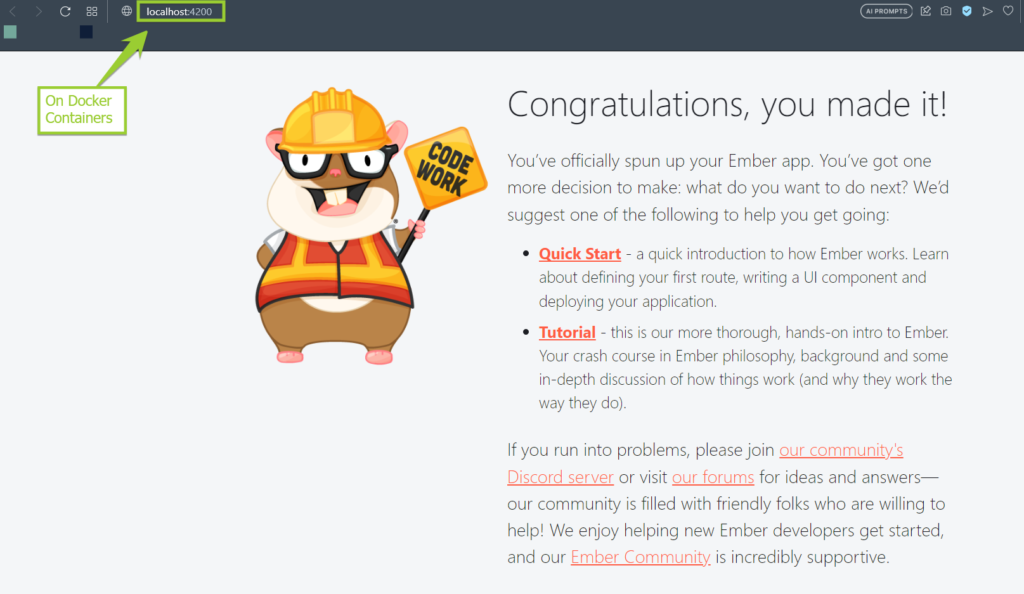
Enables you to access the application at http://localhost:4200.
Step 4: Pushing Project to GitHub
Set up a new Git repository:
| git init |
This command will initiate a new Git repository in your current directory.
Stage project files:
| git add my-emberjs-app |
This command stages all the modifications in your project for the subsequent commit.
Commit the staged changes:
| git commit -m “Initial commit” |
This command commits all the changes that you’ve staged using git add, labeling it with the message “Initial commit”.
Alter your branch to the main:
| git branch -M main |
This command renames your presently active branch to main.
Link your GitHub repository as a remote repository:
| git remote add origin https://github.com/naeem99k/emberjs.git |
This command designates your remote repository to be the GitHub repository found at https://github.com/naeem99k/emberjs.git.
Push your local alterations to the remote repository:
| git push -u origin main |
This command sends the changes from your local main branch to the main branch in your remote repository (denoted as origin).
After carrying out these commands, your local modifications will be updated in your remote GitHub repository. You can now navigate to https://github.com/naeem99k/emberjs in your web browser to inspect your project.
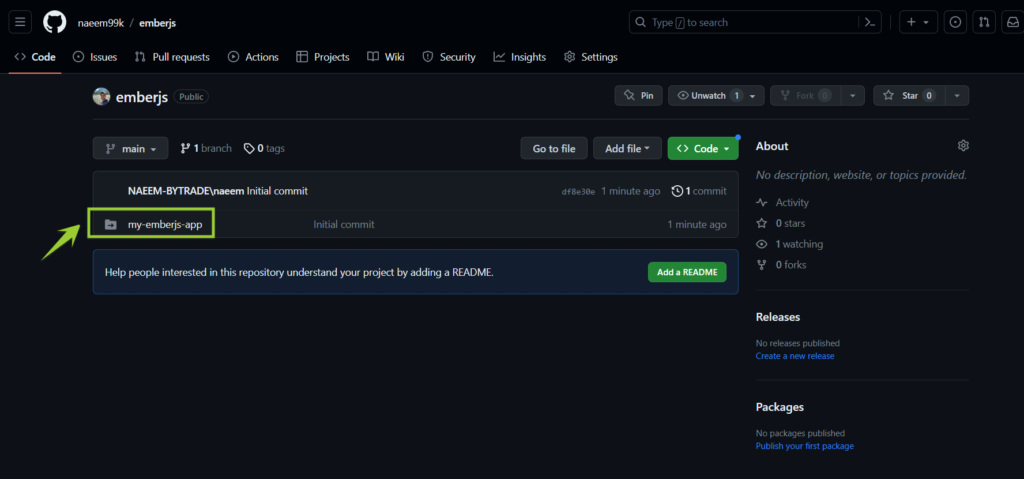
Step 5: Deploying the Project to the Back4app Platform
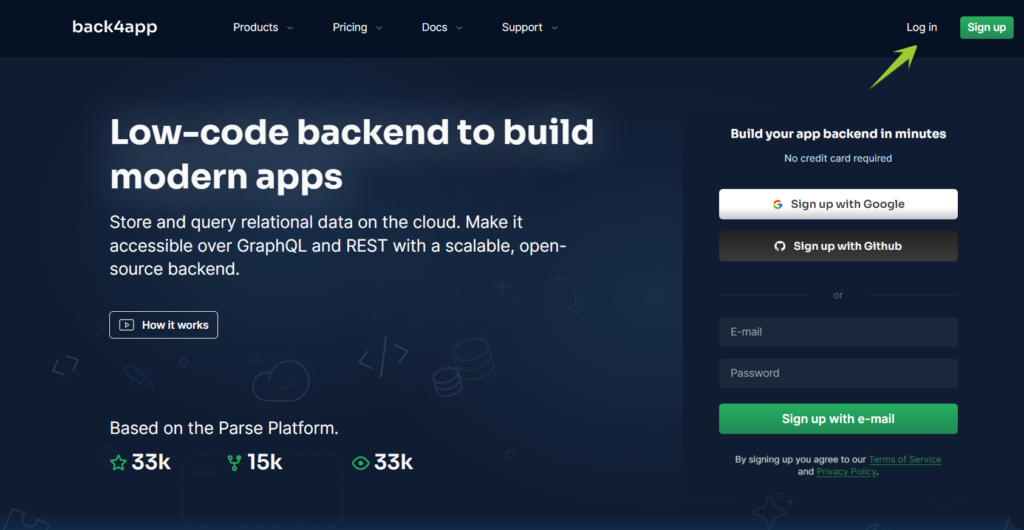
Once you have successfully uploaded the code, navigate to the Back4app Platform.
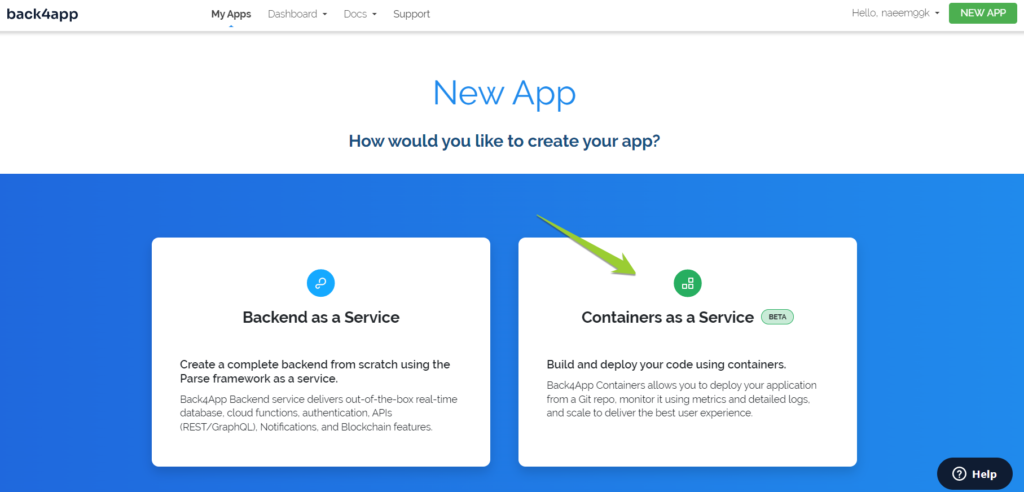
Now commence the application development process utilizing ‘Containers as a Service.’
You will be prompted to establish a connection between your GitHub account and Back4app by adhering to the provided guidelines.
- This will authorize Back4app to access your repositories.
- You have the flexibility to grant access to all repositories or selectively choose the ones you intend to deploy.
- Upon completion, click “Save” to return to your Back4app dashboard and proceed with configuring the application.
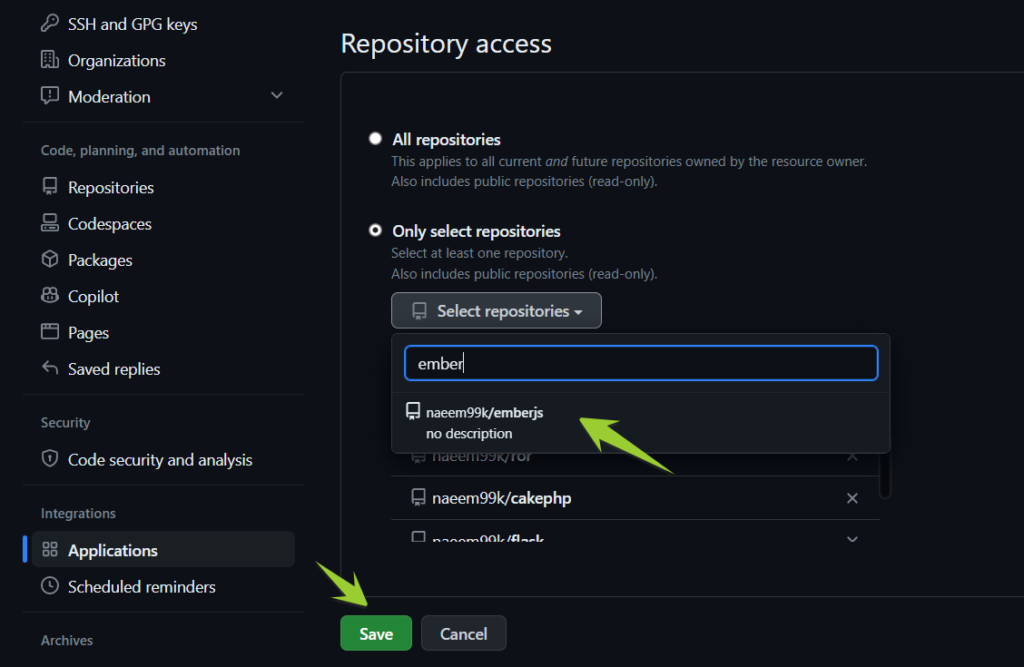
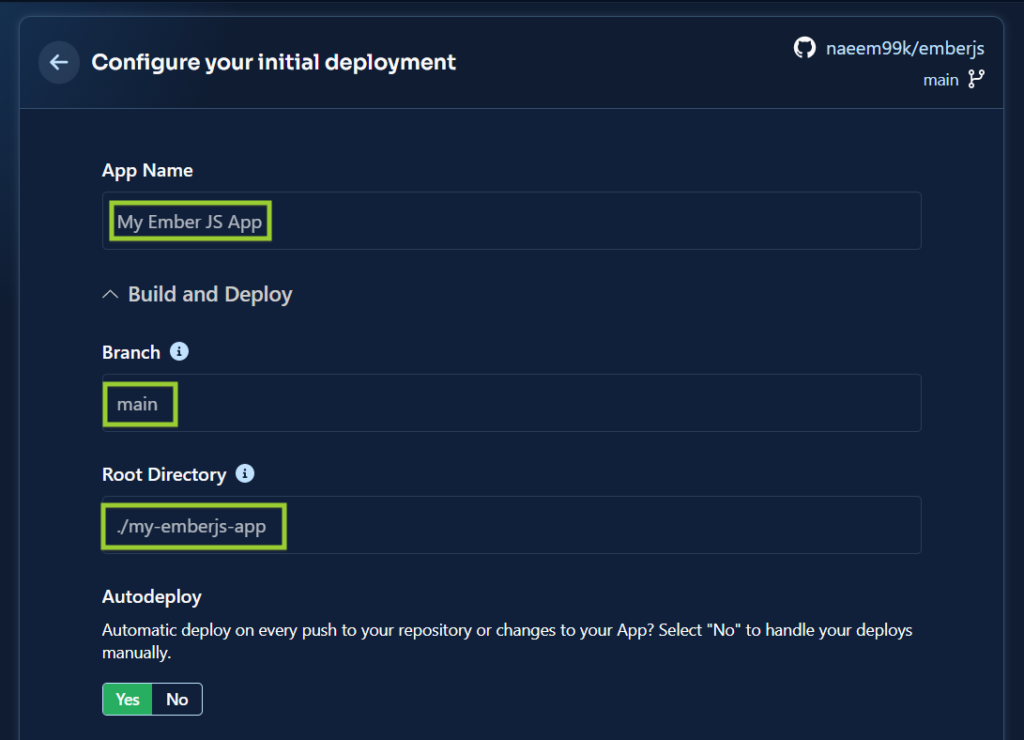
- In the Back4app “Container Apps” section, locate and select your ’emberjs’ repository.
- Assign a name to your application, specify your preferred branch name, and define the source directory according to your requirements.
- To deploy the Ember.js application on the Back4app Container, click the “Create App” button.

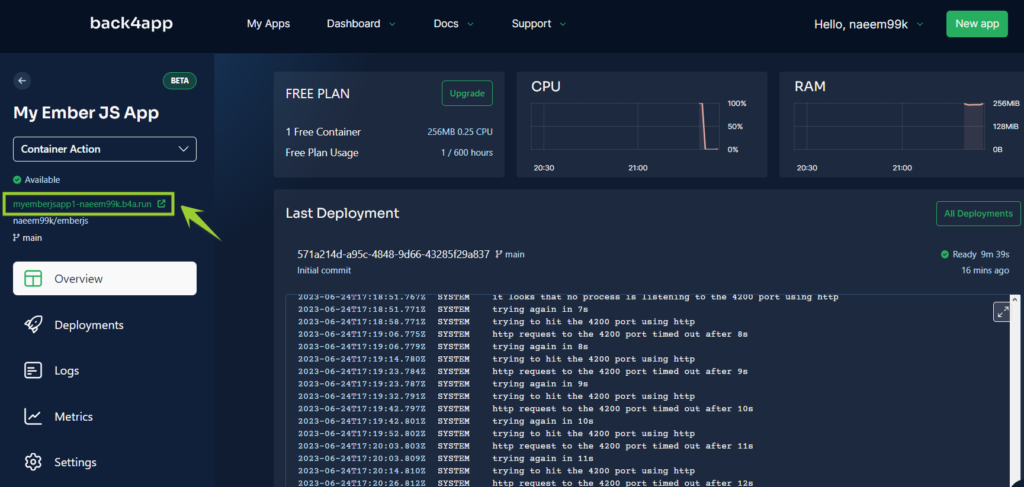
Once the deployment task is finished, access your application’s link provided by the Back4app Platform.
This link will direct you to the default landing page of Ember.js.
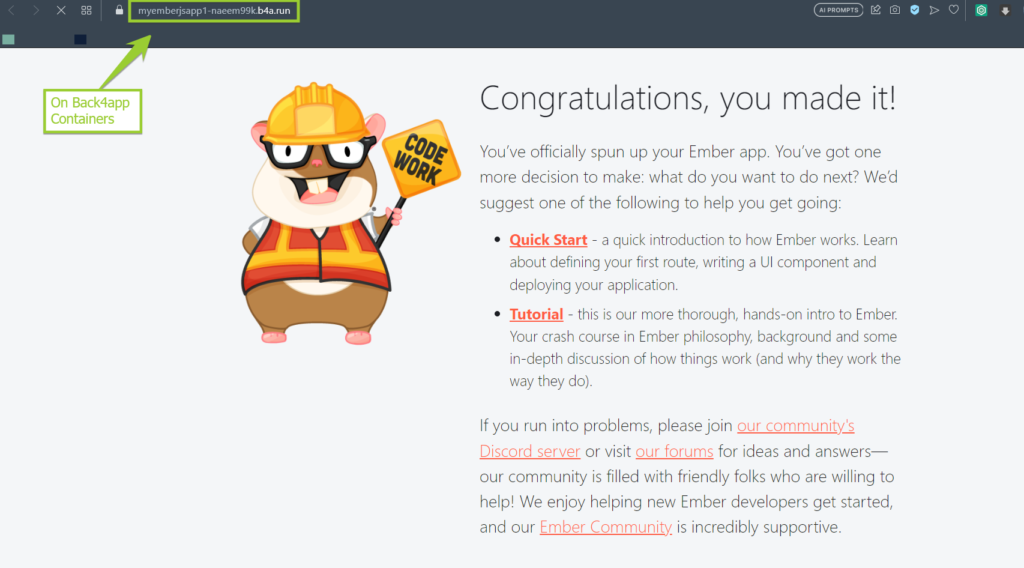
Congratulations! The Ember.js Project is now successfully deployed on the Back4app Containers.
Conclusion
To summarize, using Back4app Containers for deploying an Ember.js application brings together Ember.js’s robustness and Back4app’s flexible hosting solutions.
This amalgamation provides a simplified yet powerful platform for building and deploying web applications, offering scalability and ease of use.
No matter your experience level, this fusion equips you to create and manage web applications that can effectively scale. Persist in leveraging these tools for remarkable results in web development.
FAQs
What is Ember.js?
Ember.js is a robust JavaScript framework dedicated to building scalable single-page web applications.
What are the Advantages of Ember.js?
– Predefined Structures: Ember.js champions a convention-over-configuration philosophy, simplifying setup.
– Comprehensive Toolset: Ember CLI provides an array of development utilities.
– Modular Design: Its component-based architecture encourages code reusability, improving maintainability.
How to deploy an Ember.js application?
– Start a fresh Node.js project, incorporate Ember.js, and develop your application’s code in a new file.
– Save the application file and execute it by running “ember serve” in the terminal.
– Construct a Dockerfile for your application, then build and launch the Docker image.
– Establish Git within your project folder, include your project, commit the modifications, modify the primary branch’s name, connect to your GitHub repository, and push the updates to the repository.
– Link your GitHub account to Back4app, configure the application in the “Container Apps” section of Back4app, and deploy the application by selecting “Create App.”


