Step-by-step guide to build a Flutter backend
This article will discuss Flutter, an open-source UI software development kit created by Google.
We’ll explore the advantages and disadvantages of using Flutter and highlight different backend options for your Flutter app.
Lastly, you will learn how to build a working backend for your Flutter app using Back4apps’ Backend as a Service (BaaS) feature.
Contents
What Is Flutter?
Flutter is a cross-platform development framework that allows you to quickly build native-feeling Android, iOS, Web, Linux, macOS, and Windows applications.
With Flutter, you will find that many of the complexities of building platform-specific applications are bypassed for you. Flutter is also known for its fast performance and beautiful UI widgets.
The Flutter team itself defines the technology as;
An open-source framework by Google for building beautiful, natively compiled, multi-platform applications from a single codebase.
Top 3 Advantages and Limitations of Flutter
| Advantages | Limitations |
|---|---|
| Flutter is a fast framework with a wide range of ready-to-use features to help you speed up your app’s development time. | Flutter apps tend to be larger than apps built with other frameworks, such as React Native. |
| Flutter apps are cross-platform, running on both Android and iOS, saving you time and money in development. | Flutter is a relatively new framework with a relatively small community. This can make it difficult to find help and support when you need it. |
| Flutter is easy to learn, even for beginners. With fantastic documentation to get you started. | Flutter uses the Dart programming language, which is not as widely known as other languages, such as Java or JavaScript. This may limit the packages available to you. |
What Are the Backend Types?
Choosing the right Backend option to handle server-side tasks is very important when building any application.
Every type of Backend has its strong points, and your application’s particular need should guide your choice of Backend.
The following sub-sections will highlight the different backend options you could work with, what they are, how they work, and how they can best suit the needs of your application.
IaaS
The IaaS is a backend option you should consider employing if you are dealing with a large application with many users. IaaS is a cloud computing model that stands for Infrastructure as a Service.
Cloud computing is a model in which a third-party provider delivers computing resources, such as servers, storage, and applications, over the Internet.
These resources can be accessed on demand, with pay-as-you-go pricing. With IaaS, the cloud provider will maintain the major underlying computing infrastructure while you will have complete control over configuring your application’s data, the operating system, and all the other backend requirements.
This makes it a good backend option for applications needing scaling with computing resources up or down.
PaaS
Platform-as-a-Service (PaaS) and Infrastructure-as-a-Service (IaaS) are two distinct cloud computing models that serve different purposes. While both offer flexibility and scalability, they cater to different needs in the development and deployment of applications.
A PaaS backend will provide you with a complete development environment, abstracting away the complexities of managing servers, networking, and storage. PaaS is best suited if you want to focus on building and maintaining applications without worrying about infrastructure management.
BaaS
A Backend-as-a-Service (BaaS) backend provides you with ready-to-use backend services and functionalities, allowing them to focus on building and enhancing the application’s user experience without managing backend infrastructure.
With BaaS, developers can access features like user authentication, databases, and storage, through APIs, eliminating the need to set up and maintain backend servers.
It’s like using a ready-made puzzle piece that perfectly fits into your app, saving time and effort.
In essence, BaaS simplifies the development process, allowing developers to focus on the user-facing aspects of their applications while relying on pre-built backend services to handle the heavy lifting.
How to Build a Flutter Backend Using a Backend as a Service
This section will discuss how you can start building a Flutter application’s backend. The Back4app platform is a great option for building scalable and secure backend applications that are flexible and easy to deploy.
Back4app Overview
Back4App is a Backend-as-a-Service (BaaS) platform that simplifies mobile and web application development by providing a complete backend infrastructure.
Using Back4App, you will be able to focus on building your application’s front-end features.
The platform offers a wide range of ready-to-use backend services, including databases, APIs, and cloud functions.
Back4app’s key features/benefits include:
- Relational and Non-Relational Databases
- REST and GraphQL APIs
- Live Queries
- Wide range of Authentication options
- Scalable Hosting
- Push and Email Notifications
Back4App uses the Parse server, an open-source kit for developing server-side components of an app. With support for multiple technologies. This reference guide lists the different technologies supported by Back4app.
Project Introduction
The aim of this guide is to build a Back4app backend to support a Flutter application. The application will connect and interact with the set-up backend using the Parse server SDK.
The application you will build is a simple Contacts app that allows users to create and read contacts. These contacts will be stored using Back4app’s PostgreSQL database support.
Users can add new contacts by entering the contact’s information in the app.
By the end of this guide, you will have a solid understanding of how to:
- Build a backend application on the Back4app platform
- Write to a structured Back4app database
- Handle the basics of Parse backend security.
Prerequisites
To follow along with this guide, you should satisfy these prerequisites:
- Familiarity with Dart language and the Flutter framework
- Knowledge of manipulating state in Flutter
- A device simulator or emulator to run your app. Xcode for iOS or Android Studio for Android.
- Basic understanding of relational and non-relational databases
Create App
You will need to have a Back4app account to create your backend. You can create one if you do not have one by following signup for a free account.
If you already have an account with Back4app, log in and create a new app. Select Backend as a Service as the service option.
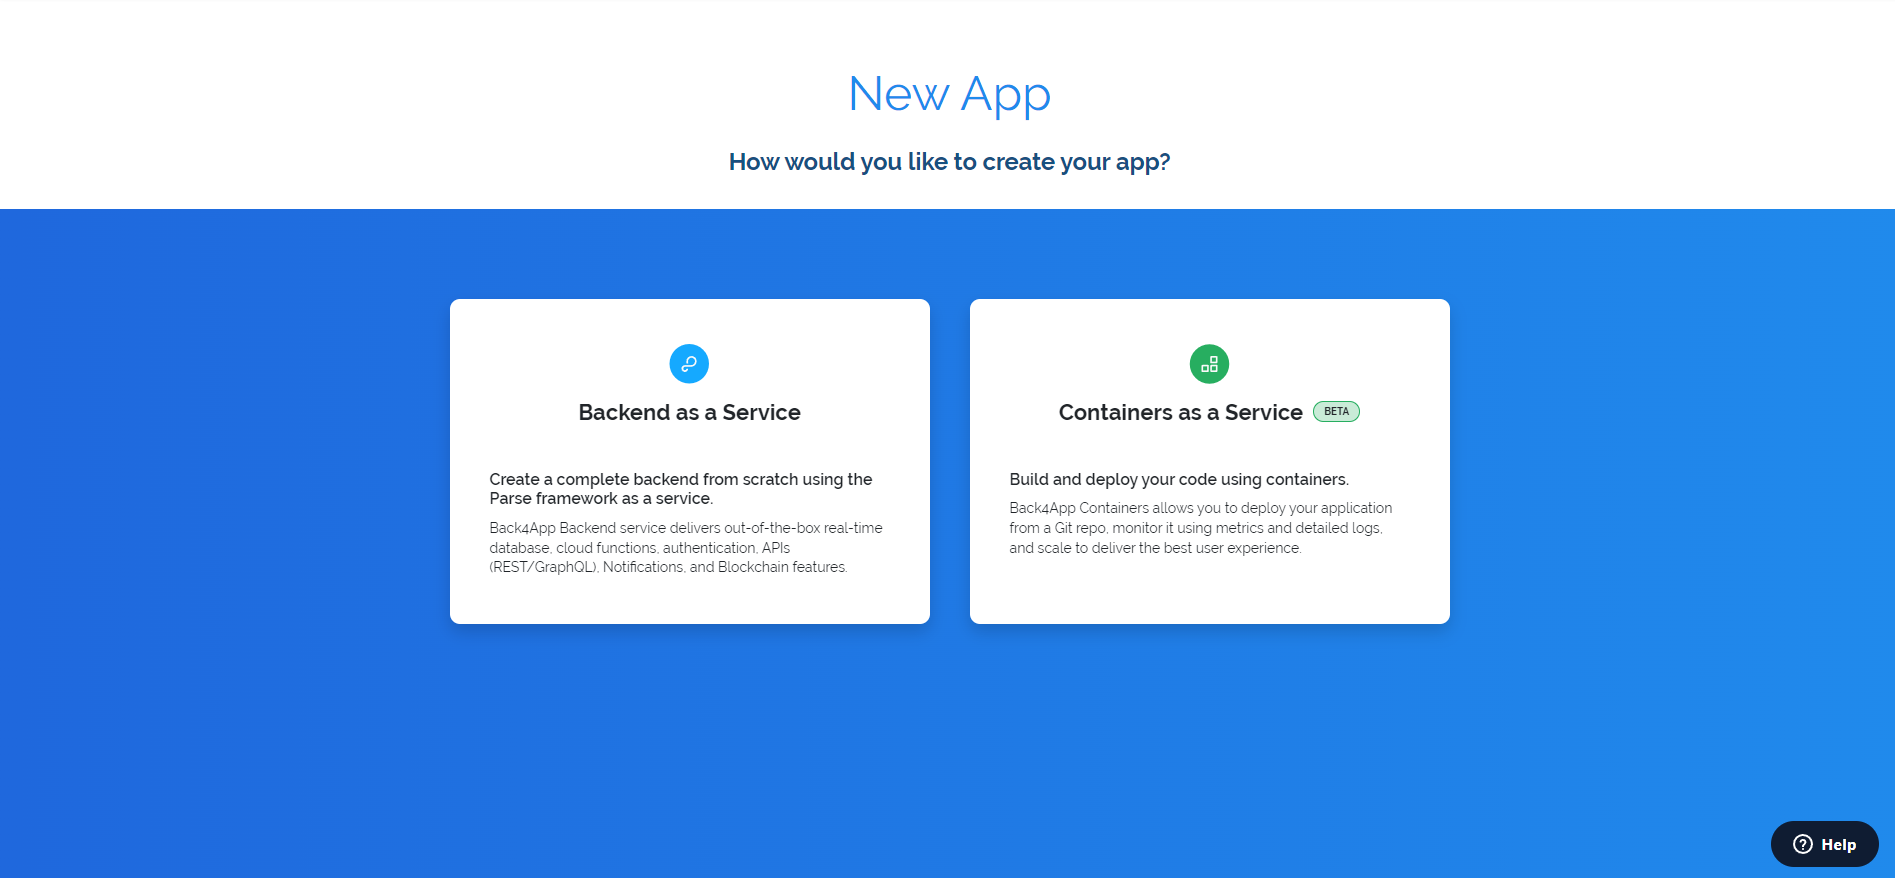
This will build a scalable BaaS backend. Don’t forget to give your app a unique name. For the database of choice, Back4app offers PostgreSQL as a database option.
PostgreSQL is a popular open-source relational database management system (RDBMS). It is known for its scalability, reliability, high performance, and security.
Using the beta PostgreSQL option in Back4app allows you to take advantage of these features and benefits.
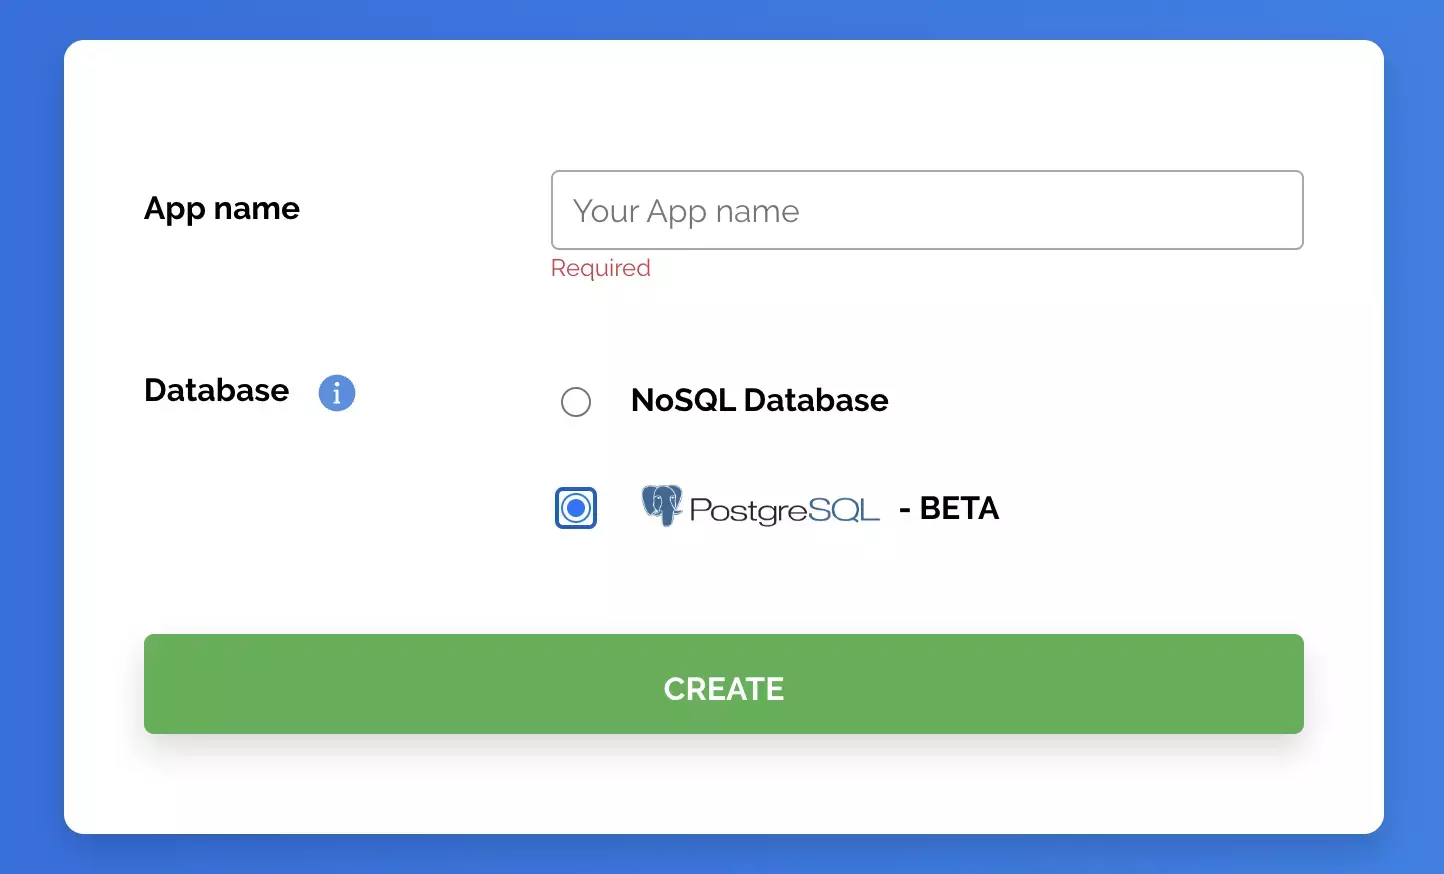
The build phase should go quickly. When that is finished, you will be navigated to your application dashboard.
PostgreSQL Database
In Back4App, you can define classes and fields that represent your app’s data. PostgreSQL uses relational databases, a structured method of storing data for your application users.
As previously mentioned, our Flutter app will be a contact book where we can store multiple contacts. PostgreSQL databases hold relations. A reasonable data model for this app would be a contacts class and the contact’s city ZipCode.
Let’s start with the Contact model. The contacts table would require the different fields;
- ContactId/ObjectId
- Name
- Phone Number
- Zip Code
Your data model table would look like this;
Contact
| Field | Data Type | Constraints |
|---|---|---|
| contactId | INTEGER | PRIMARY KEY |
| name | STRING | NOT NULL |
| phoneNumber | INTEGER | NOT NULL |
| zipCode | POINTER | NOT NULL |
ZipCode
| Field | Data Type | Constraints |
|---|---|---|
| ObjectId | INTEGER | PRIMARY KEY |
| zipCode | INTEGER | NOT NULL |
The Contact object will store the contact information, with the contactId as the primary key. The name, phoneNumber, and zipCode fields are mandatory to be filled (NOT NULL),
This data model creates a relation between the tables of the Contacts app, enabling you to manage contact information and associate multiple fields with each contact.
To create these two classes on your Back4app app, hit the Create a Class button on the top left corner of your Dashboard.

Name the class Contact and toggle the ‘is it a required field?’ option On.
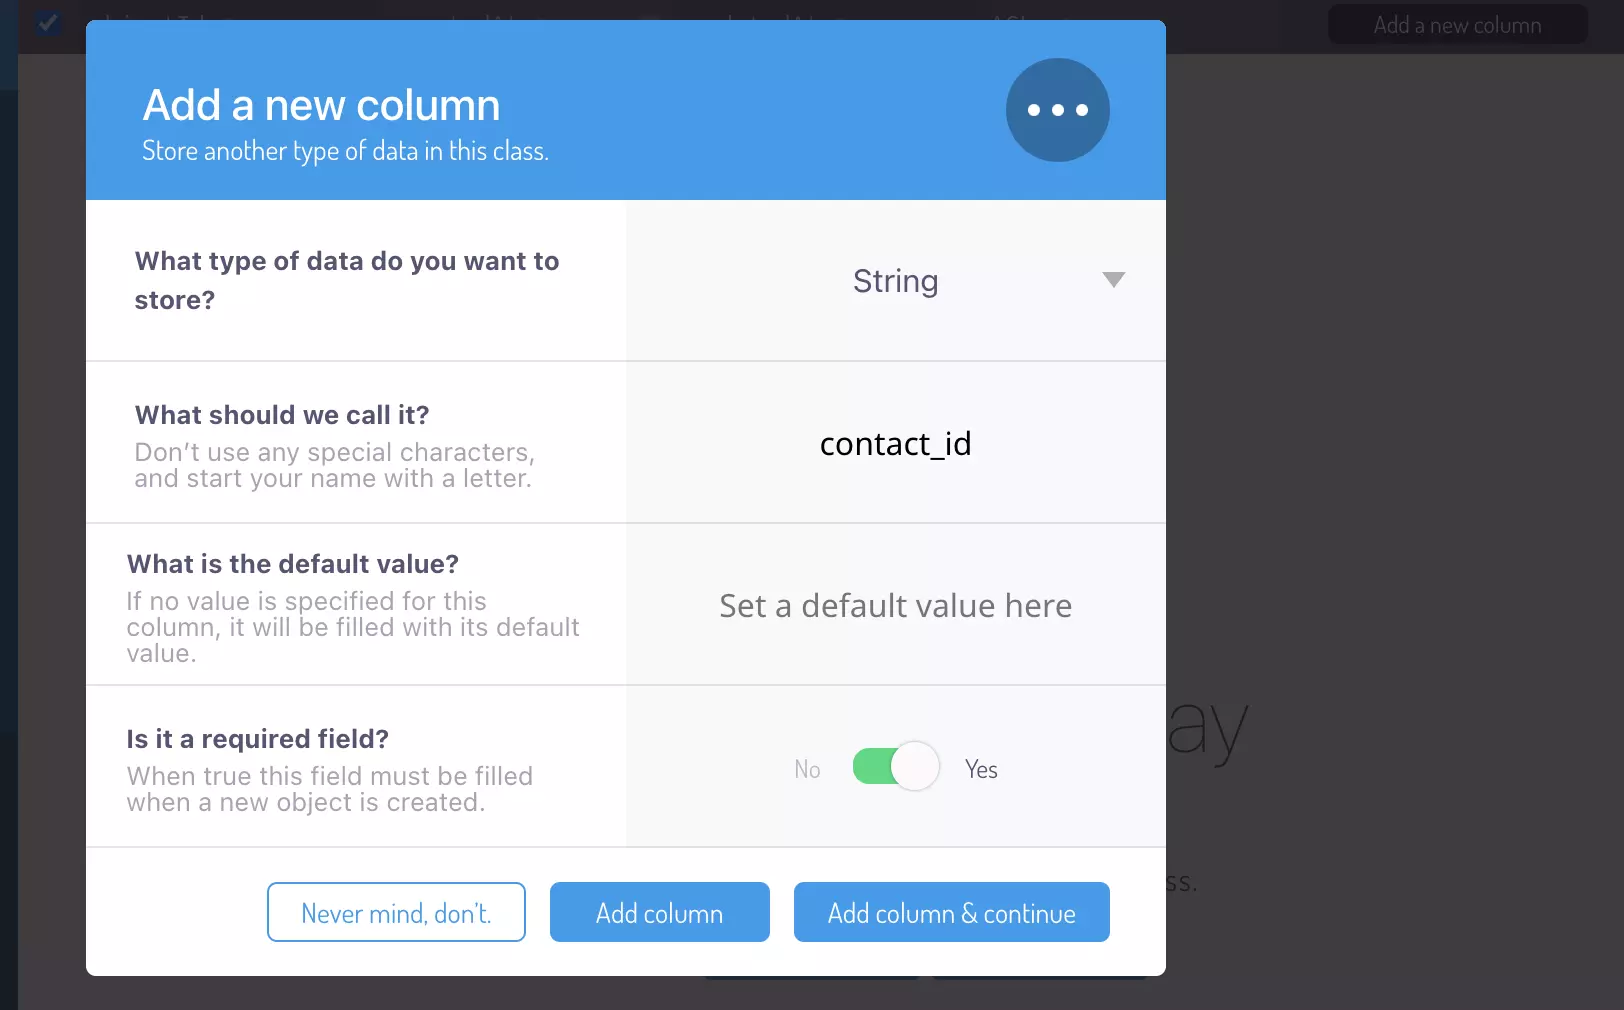
Create the columns for the data fields in Contact, and then do the same for the ZipCode class. Back4app allows you to customize each column created.
Admin Panel
Back4App provides an intuitive GUI (Graphical User Interface) called Admin Panel to manage the backend of your applications effortlessly.
The Admin Panel is a powerful tool to monitor, edit, and analyze data, making it an invaluable asset for app management.
You can access your app’s admin panel within your app. On the app dashboard, you’ll find a button or link labeled “Admin Panel” under “More,” which will direct you to the Admin Panel. There you can toggle on and enable the admin app.
You will provide a username and password to access the admin app.
The final step to setting up your admin app is to pick a domain name you’d like to use to access the panel.
For this guide, a good example would be; flutter-backend.admin.back4app.com.
You can now log in to your admin dashboard by opening the provided domain on a browser.
To learn more about Back4app Admin App visit the official docs.
Securing the App
Currently, your backend app is completely vulnerable, and the information within it can be tampered with from the client side.
To prevent this in the production stage you can configure regulations and access permissions.
To control how classes are created and disallow class creation from the client side, navigate to your Dashboard > App Settings and locate Client Class Creation. Toggle this option off, as your app currently only requires the two classes you have created.
A popup will appear when you toggle off. This is to confirm and save your app changes.

CRUD API Testing With Flutter
In this section, you will test your app’s backend API functions and database with a Flutter application you will build. You will start with building the user interface for the Flutter application.
You must install the Flutter SDK on your computer to initialize a Flutter app.
Follow Flutter’s official Get Started Docs to install the Flutter SDK and the necessary tools for building a Flutter application on your Windows or Mac machine.
To initialize a Flutter application, run the following commands in your terminal:
#Initialize your Flutter app
flutter create my_flutter_app

#Run your Flutter app
flutter run
These commands will scaffold and start up a simple Flutter application for you to build on.
In the interest of keeping this guide simple, the main.dart file will contain most of the code to run your Flutter application. We will not be discussing Flutter code here as that is not the aim of the guide.
Overwrite all the code in main.dart with the following:
import 'dart:ffi';

import 'package:flutter/material.dart';
import 'package:parse_server_sdk_flutter/parse_server_sdk_flutter.dart';

void main() async {
  WidgetsFlutterBinding.ensureInitialized();
  final keyApplicationId = 'appID';
  final keyClientKey = 'clientKey';
  final keyParseServerUrl = '<https://parseapi.back4app.com>';

  await Parse().initialize(keyApplicationId, keyParseServerUrl,
      clientKey: keyClientKey, debug: true);

  runApp(MaterialApp(
    title: 'Contacts',
    theme: ThemeData(
      primaryColor: Colors.white,
    ),
    home: ContactsApp(),
  ));
}

class ContactsApp extends StatefulWidget {
  const ContactsApp({Key? key}) : super(key: key);

  @override
  // ignore: library_private_types_in_public_api
  _ContactsAppState createState() => _ContactsAppState();
}

class _ContactsAppState extends State<ContactsApp> {
  List<Contact> contacts = [];
  String? selectedZipCode; // Initialize with a default value

  @override
  void initState() {
    super.initState();
    selectedZipCode = '1234'; // Initialize with a default value
  }

  @override
  Widget build(BuildContext context) {
    return Scaffold(
      appBar: AppBar(
        title: const Text('Contacts'),
      ),
      body: ListView.builder(
        itemCount: contacts.length,
        itemBuilder: (context, index) {
          return ListTile(
            title: Text(contacts[index].name),
            subtitle: Text(contacts[index].phoneNumber),
            trailing: IconButton(
              icon: const Icon(Icons.delete),
              onPressed: () {
                setState(() {
                  contacts.removeAt(index);
                });
              },
            ),
          );
        },
      ),
      floatingActionButton: FloatingActionButton(
        onPressed: () {
          _showAddContactDialog();
        },
        child: const Icon(Icons.add),
      ),
    );
  }

  void _showAddContactDialog() async {
    showDialog(
      context: context,
      builder: (context) {
        String name = '';
        String phoneNumber = '';

        return AlertDialog(
          title: const Text('Add Contact'),
          content: Column(
            mainAxisSize: MainAxisSize.min,
            children: [
              TextField(
                decoration: const InputDecoration(labelText: 'Name'),
                onChanged: (value) {
                  name = value;
                },
              ),
              TextField(
                decoration: const InputDecoration(labelText: 'Phone Number'),
                onChanged: (value) {
                  phoneNumber = value;
                },
              ),
              // Checkbox for Zip Code
              ListTile(
                title: const Text('Select Zip Code'),
                subtitle: Column(
                  children: [
                    RadioListTile(
                      title: const Text('1234'),
                      value: '1234',
                      groupValue: selectedZipCode,
                      onChanged: (value) {
                        setState(() {
                          selectedZipCode = value;
                        });
                        print(selectedZipCode);
                      },
                    ),
                    RadioListTile(
                      title: const Text('4321'),
                      value: '4321',
                      groupValue: selectedZipCode,
                      onChanged: (value) {
                        setState(() {
                          selectedZipCode = value;
                        });
                        print(selectedZipCode);
                      },
                    ),
                  ],
                ),
              ),
            ],
          ),
          actions: [
            TextButton(
              onPressed: () {
                Navigator.of(context).pop();
              },
              child: const Text('Cancel'),
            ),
            ElevatedButton(
              onPressed: () async {
                setState(() {
                  contacts.add(Contact(
                    name: name,
                    phoneNumber: phoneNumber,
                    zipCode: selectedZipCode as String,
                  ));
                });

                // Save the contact to Back4App
                final contact = ParseObject('Contact');
                contact.set('name', name);
                contact.set('phoneNumber', phoneNumber);
                contact.set(
                    'zipCode',
                    (ParseObject('ZipCode')..objectId = selectedZipCode.objectId)
                        .toPointer());

                await contact.save();

                // ignore: use_build_context_synchronously
                Navigator.of(context).pop();
              },
              child: const Text('Save'),
            ),
          ],
        );
      },
    );
  }
}

class Contact {
  final String name;
  final String phoneNumber;
  final String zipCode;

  Contact({
    required this.name,
    required this.phoneNumber,
    required this.zipCode,
  });
}

class ZipCode {
  final String zipCode;

  ZipCode({
    required this.zipCode,
  });
}
With this, you will have the basic UI for your Flutter app working.
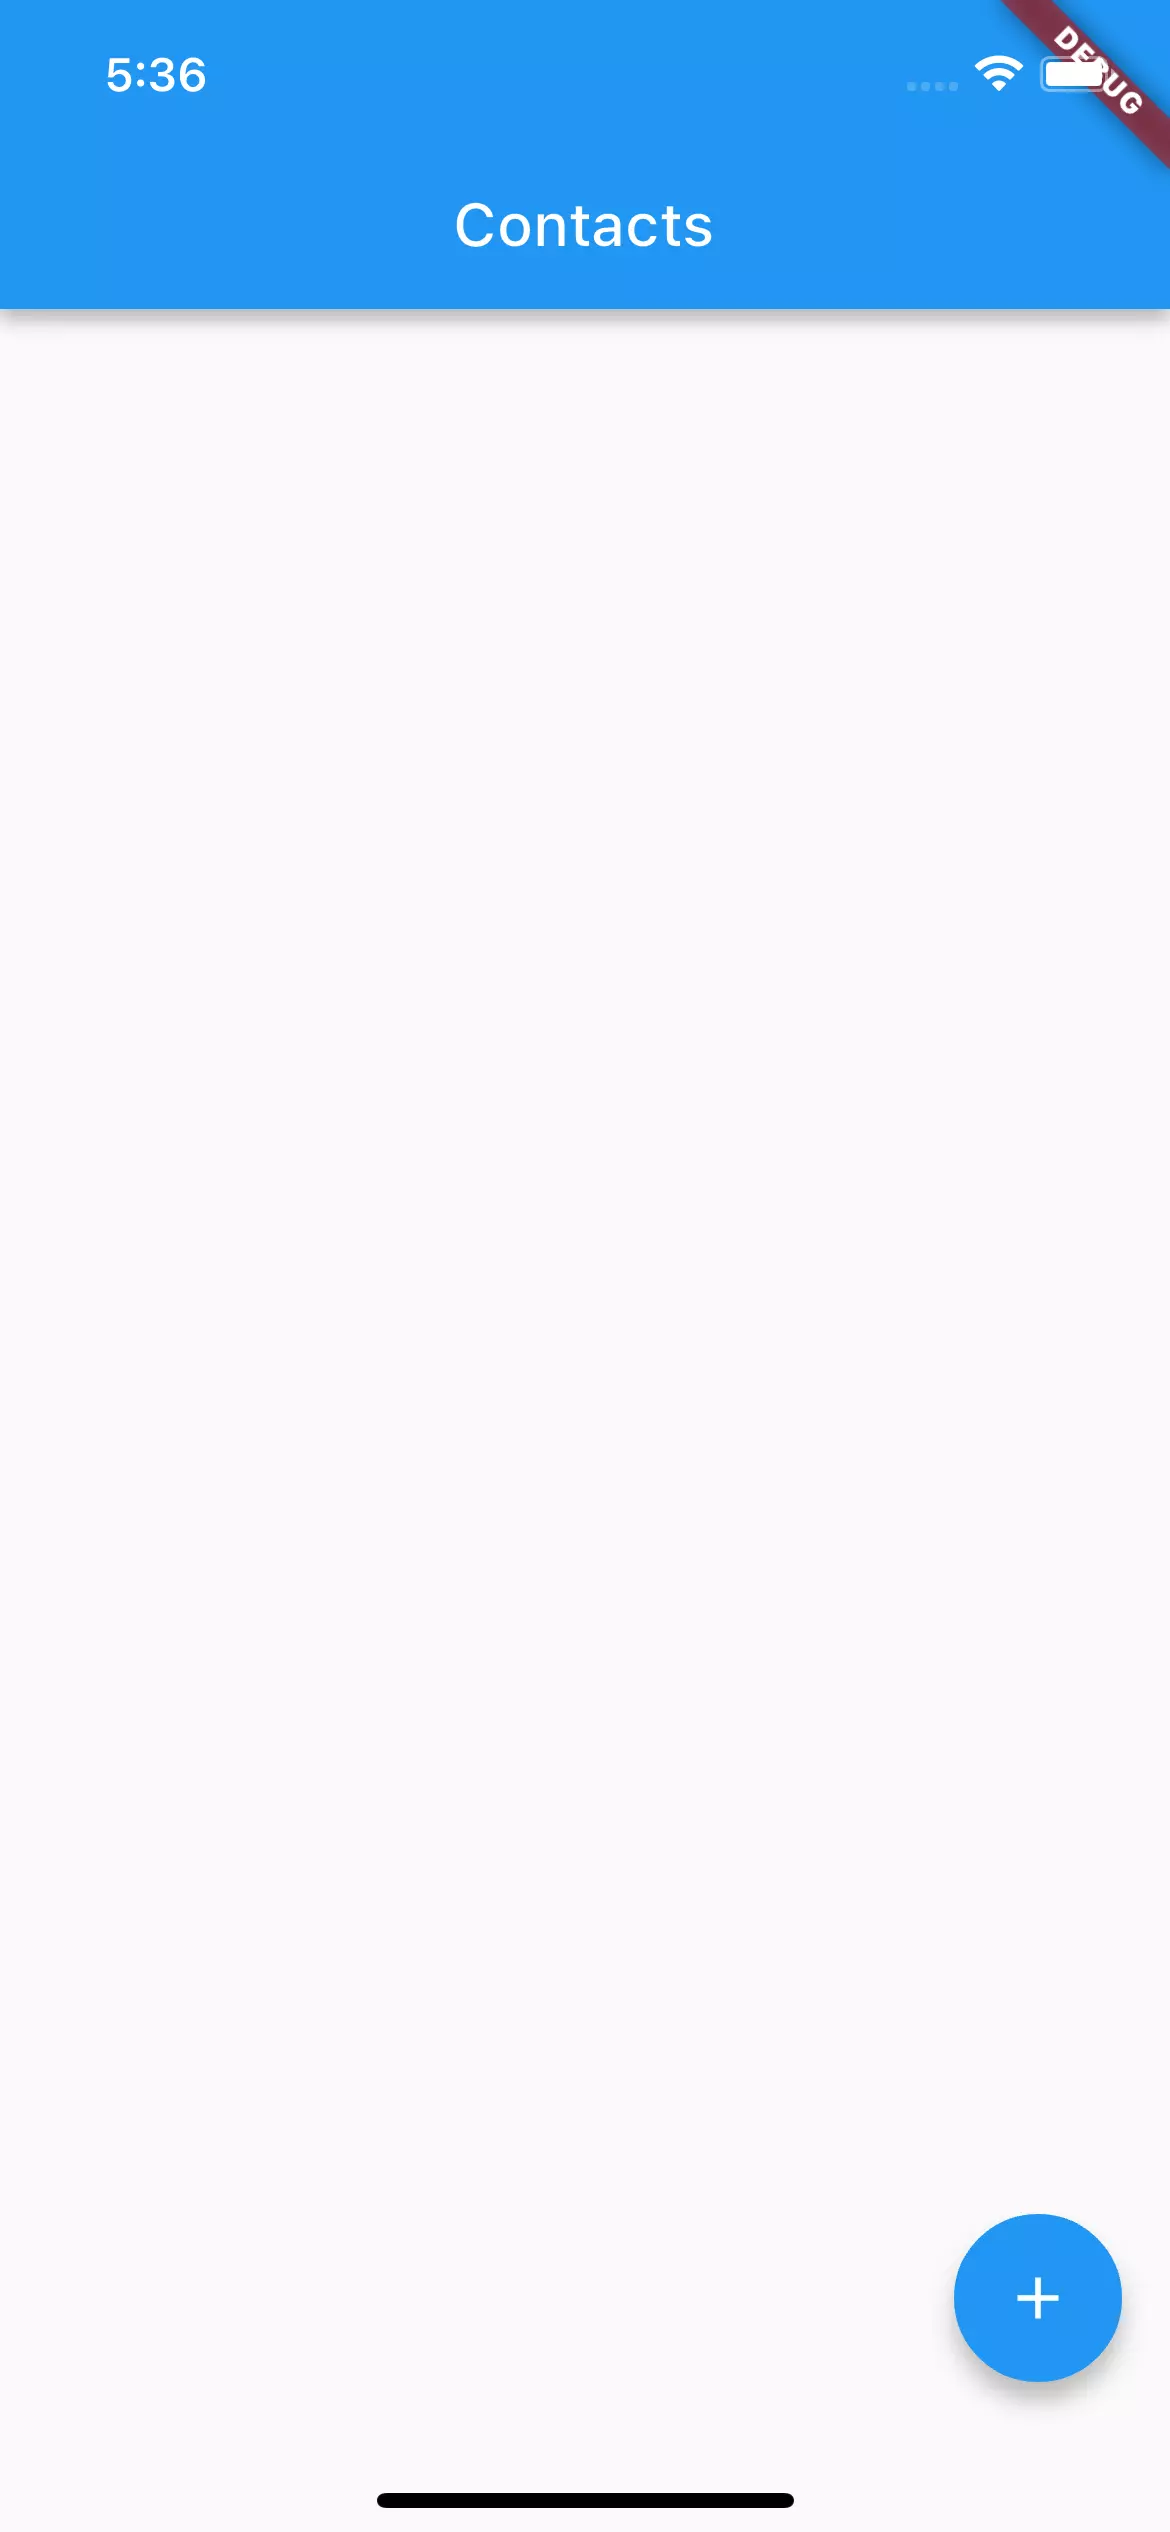
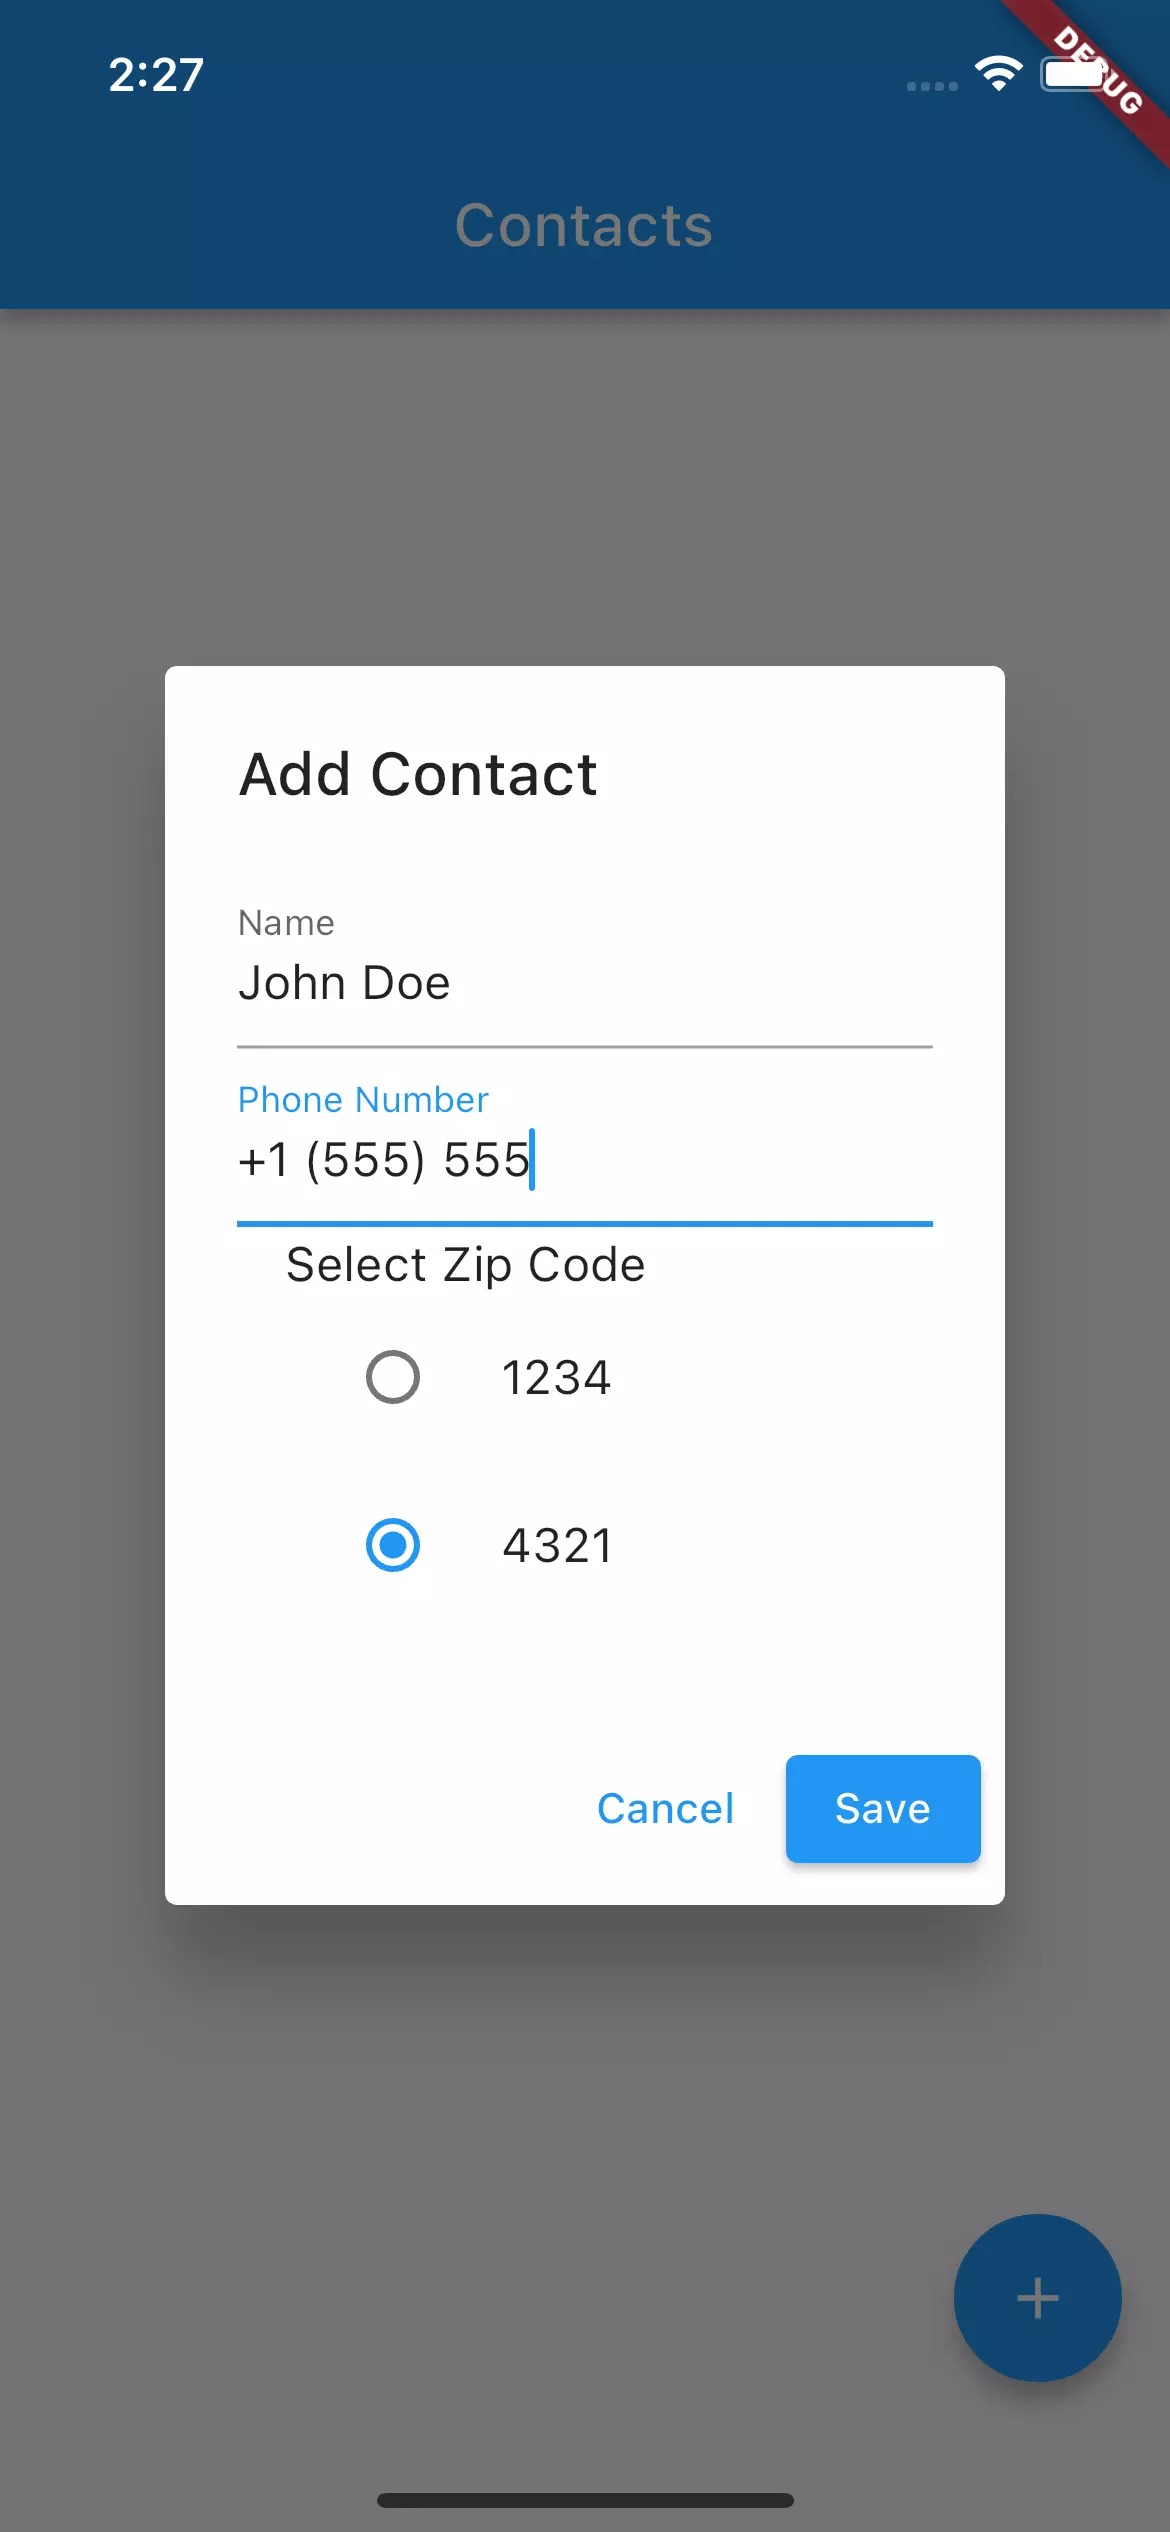
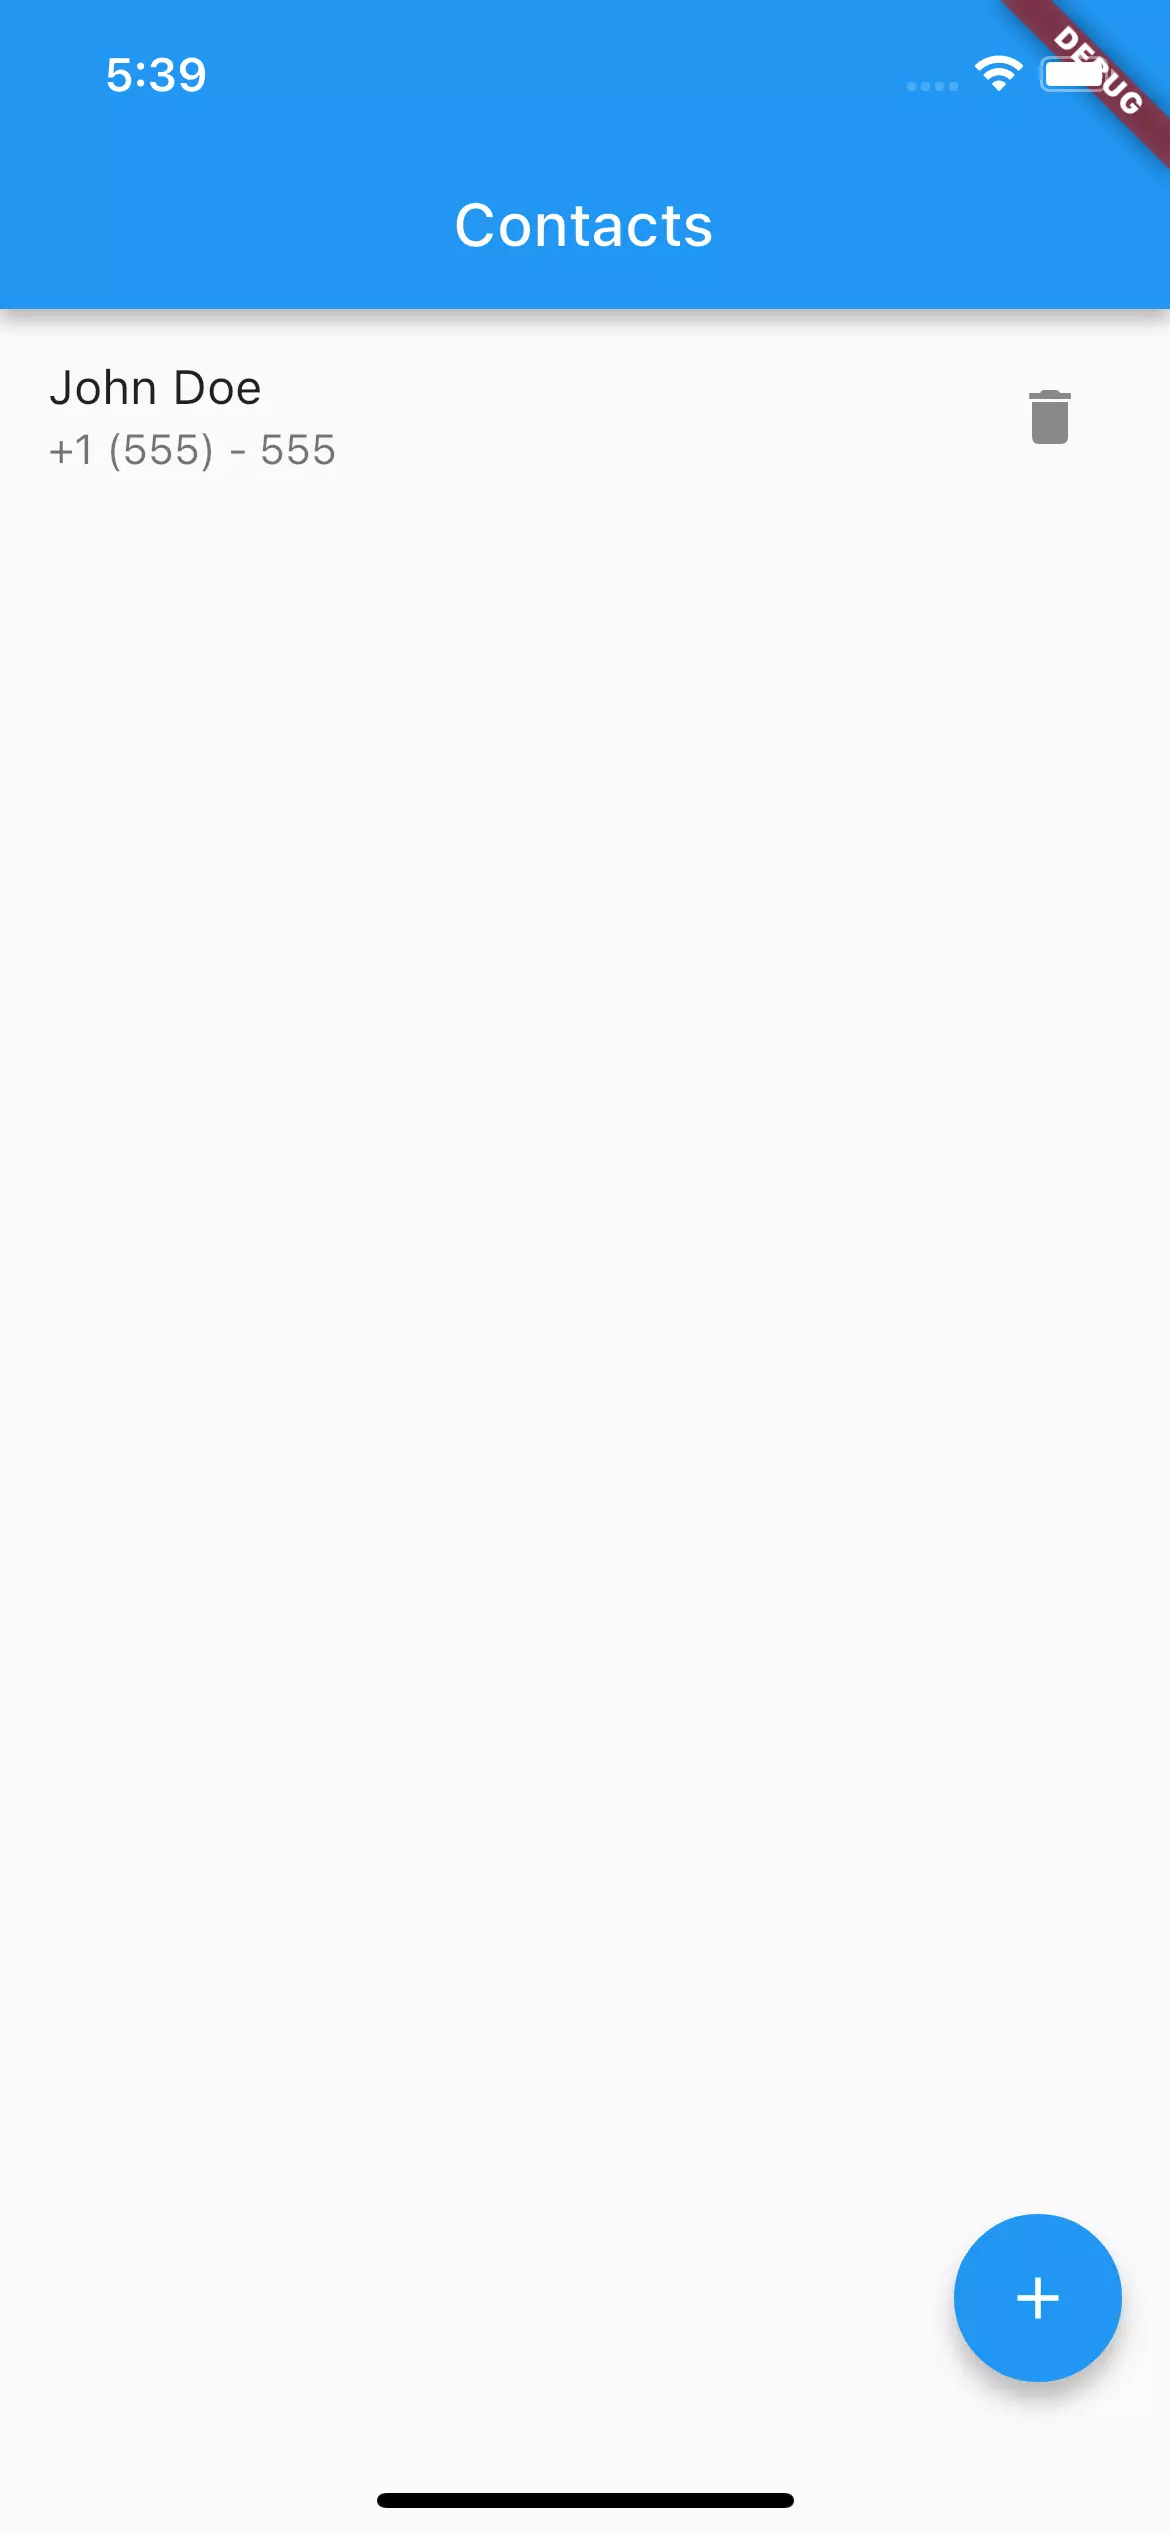
Now you can start the Back4app implementation. Back4app uses the Parse Flutter SDK to integrate Parse Server into a Flutter application.
Parse Server is an open-source backend platform that provides a ready-to-use infrastructure for managing app data.
With the SDK, you can communicate with the Parse Server API from your Flutter app, making it easier to perform CRUD operations (Create, Read, Update, Delete) on data, manage user sessions, and handle other server-side functionalities.
To use the Parse SDK, install it as a dependency in your Flutter project pubspec.yaml file.
Specify the Parse server:
dependencies:
	# Parse SDK
  parse_server_sdk_flutter: ^5.1.1

  flutter:
    sdk: flutter
Ensure your indentation is accurate. .yaml files are very sensitive to case and indentation.
Run the command to install the specified dependency:
flutter pub get
Head to main.dart and import your added Parse SDK:
import 'package:parse_server_sdk_flutter/parse_server_sdk_flutter.dart';

void main() async{
  WidgetsFlutterBinding.ensureInitialized();
	// code for runApp()

  const keyApplicationId = 'YOUR_APPLICATION_ID_HERE';
  const keyClientKey = 'YOUR_CLIENT_KEY_HERE';
  const keyParseServerUrl = '<https://parseapi.back4app.com>';

  await Parse().initialize(keyApplicationId, keyParseServerUrl,
      clientKey: keyClientKey, debug: true);
}
Here you import the ParseSDk into your main.dart file. You also initialize Parse inside main() by calling Parse().initialize(). Since this is an asynchronous program, mark main() with the async keyword.
The placeholders for your Application_Id and Client Key must be replaced with the actual values. These are the application credentials for communicating with your backend.
To get these keys, navigate to App Settings > Security & Keys from your Back4app dashboard. Then replace the placeholders with the respective keys.
On running your app, main() is fired, Parse will be initialized with your app, and your Flutter app will be connected to your Back4app backend.
Writing to the Contact and ZipCode Class
Here you will learn how to create and write to the classes in your database from the client side of your app. To create the Contact and Birthday classes, you will modify main.dart.
Inside the onPressed() method for the elevated button widget, you will use ParseObject() to create a new instance of the Contacts class:
final contact = ParseObject('Contact');
contact.set('name', name);
contact.set('phoneNumber', phoneNumber);

final ParseResponse parseResponse = await contact.save();

if (parseResponse.success) {
   final contactId = (parseResponse.results!.first as ParseObject).objectId!;
		print('Object created: $contactId');

	} else {
      print('Object created with failed: ${parseResponse.error.toString()}');
    }
The Parse Flutter SDK uses ParseObject() to create a new instance of whatever class name you pass as an argument. Calling Contact.set() with the name of the object field and its values will write and update those fields.
You can create a ParseResponse object to hold the save operation results. ParseResponse will contain a success property that will be true if the save operation was successful and false if the save operation failed.
The code then initializes a variable contactId to null. This variable will be used to store the automatically generated objectId of the saved contact object. Then follow up with some error handling.
Underneath the above code:
final zipCodeObject = ParseObject('ZipCode')
    ..objectId = selectedZipCode as String;
zipCodeObject.set('zipCode', selectedZipCode);
contact.set('zipCode', zipCodeObject.toPointer());

await contact.save();
await zipCodeObject.save();
Here you create the zip code ParseObject. When adding a new contact through the dialog, the code will properly create a ZipCode object and associate it with the Contact object’s zipCode field.
It uses the objectId of the selected zip code to establish the association as a pointer. Use the .save() method to save both objects to the backend.
Querying/Reading Data From the Database
Here we will discuss how you can send a query to the database from your Flutter app. You can make a query to retrieve all contacts with the same zip code. This would be rather complex to achieve in a non-relational database system.
If the retrieval is successful, you can show a list of all the contacts in your Flutter app.
To retrieve a list of contacts with the same zip code:
Future<void> _loadContacts() async {
  final queryBuilder = QueryBuilder<ParseObject>(ParseObject('Contact'))
    ..whereEqualTo('zipCode', selectedZipCode) // Filter by zip code
    ..orderByAscending('name');

  final response = await queryBuilder.query();

  if (response.success && response.results != null) {
    final List<Contact> loadedContacts = response.results!.map((parseObject) {
      return Contact(
        name: parseObject.get('name'),
        phoneNumber: parseObject.get('phoneNumber'),
        zipCode: parseObject.get('zipCode')!.objectId,
      );
    }).toList();

    setState(() {
      //set your contacts to loadedContacts
    });
  }
}

@override
  void initState() {
    super.initState();

    _loadContacts(); // Load contacts when the app starts
  }
The _loadContacts method builds a query to the Contacts class, looking for contact objects with the specified zip code.
The method then returns the contacts in a list while ordering them by name in ascending order based on the ‘name’ field.
When the app starts (initState), the _loadContacts method is called to retrieve the contacts with the selected zip code.
Conclusion
Having a controlled backend where you can properly structure the data flow in your app is absolutely necessary. With Back4app, you can build out your mobile application’s backend on the go.
You are also able to use the Back4app platform to implement user authentication with a set-up user model database.
What Is Flutter?
Flutter is a development framework that allows for creating native-like apps across multiple platforms. It simplifies the process of building platform-specific apps and is known for its fast development pace and beautiful UI.
What Are the Backend Deployment Options?
– IaaS
– PaaS
– BaaS
How to Build a Flutter App Backend?
1. Plan the database Data Model structure for your app
2. Setup a database to mirror that structure
3. Write the UI view logic and connect to the backend
4. est your backend for security vulnerabilities and perform CRUD operations
5. Pick a deployment platform like Back4app
6. Deploy your app to the backend


