How to Host a Static Site?

This article offers a detailed guide on how to host a static site using a serverless infrastructure, utilizing the concept of “Container as a Service.” Our goal is to demystify this process for both experienced developers and newcomers to web development, making it as uncomplicated and user-friendly as possible.
Navigating the digital landscape involves mastering the art of deploying websites quickly and securely. The myriad of platforms and technologies available can often be overwhelming, making it difficult to identify a solution that’s efficient, user-friendly, and economical. Here, Back4App emerges as a distinct choice in this crowded field due to its adaptability and intuitive design.
Contents
What are Static Sites?
Static sites, as the name suggests, are websites that are built using static, fixed content. Each page is coded in HTML and displays the same information to every visitor.
Unlike dynamic websites, which generate content on-the-fly based on user interaction or database queries, static sites are pre-built with specific content. The simplicity of static sites can lead to significant benefits such as faster loading times, increased security, and easier scalability.
They are especially ideal for content that doesn’t need to change frequently, like blogs, documentation sites, and portfolio pages. With advances in modern development techniques, static sites have seen a resurgence, offering a blend of performance, security, and ease of deployment.
Benefits of Static Sites
Static websites offer a variety of advantages that make them an attractive choice for many developers and businesses. Here are some of the key benefits:
- Speed
Static sites are generally faster than dynamic ones since the server sends the files directly without having to process any scripts or fetch data from a database. This can lead to a better user experience and potentially improved search engine rankings.
- Security
Without a database or dynamic content, static sites are less vulnerable to common web attacks such as SQL injection or Cross-Site Scripting (XSS). They also avoid the security risks associated with server-side scripting.
- Scalability
Static sites can handle high-traffic loads without requiring complex load balancing or large server infrastructures. Since each page is a pre-built file, it can be served to many users simultaneously.
- Ease of Deployment and Hosting
Static sites can be hosted anywhere, from a simple file server to a Content Delivery Network (CDN), making them incredibly easy to deploy. Many hosting providers also offer free or low-cost hosting for static sites.
- Version Control
Since static sites are made of simple files, they can be easily managed with version control systems like Git, allowing for better tracking of changes, easy rollbacks, and collaboration among development teams.
- Reduced Server-side Complexity
With no need for backend programming or database setup, static sites reduce the server-side complexity, leading to fewer things going wrong.
- Cost-Effective
Given the simplicity and ease of deployment, static sites can often be a more economical choice, with reduced development time and lower hosting costs.
Drawbacks of Static Sites
While static sites have many advantages, there are also some drawbacks to consider. Here are a few:
- Limited Interactivity
Static sites are not ideal for web applications that require server-side processing, user-generated content, or real-time updates. Features like comment sections, search functionality, and user profiles are challenging to implement with a static structure.
- Content Updates
Every time you want to update content on a static site, you need to change the source code and redeploy the website. This could be time-consuming for large websites or websites that need frequent updates.
- No Personalization
Since static sites serve the same content to every visitor, they are not the best choice for websites that need to deliver personalized content based on user preferences or behavior.
- Scalability of Content Management
Managing and updating content can become complex and challenging for very large sites with many pages. Dynamic sites with content management systems can handle such scenarios more efficiently.
- Lack of Dynamic Features
Features like form processing, user authentication, and other dynamic functions require server-side processing, which isn’t available with a static site. Such features would need third-party services or client-side scripts to work with a static site.
- SEO Limitations
While static sites can load quickly and provide a good user experience, they may have limitations when it comes to SEO if the content isn’t regularly updated or if the site lacks the structure and metadata that search engines use to understand and rank content.
Steps to Host a Static Site using Back4App Containers
- Create an account on Back4app
First, we have to create an account on the Back4app platform.

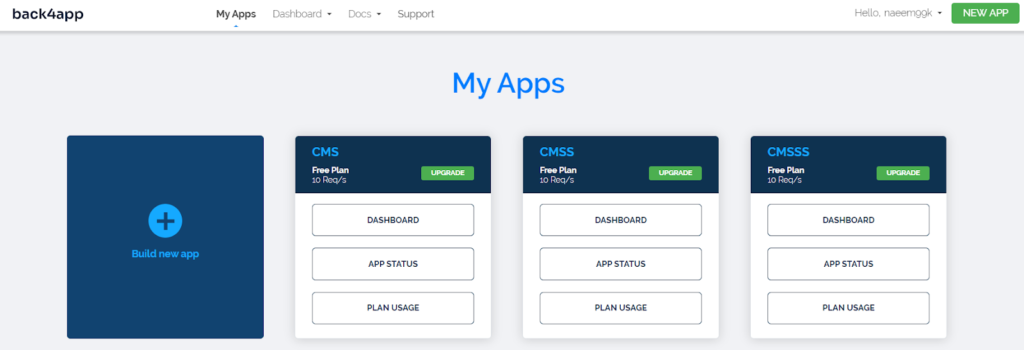
If you already have an account, then login and after login you can see the following app screen.

- Make a New Static Web Project
Make a new folder in the directory and assign any name, for instance, “staticsiteproj”.

Open VS Code, and there, open the folder we have made.

The “staticsiteproj” folder has been successfully opened in the VS Code.

Now click on the new file icon and create a new file named “index.html”.

Write the following code inside this file.

- Run the Static Web Project on the Local Machine
Now right click the “index.html” file and select the “Copy Path” option.

Now open your browser, paste the URL’s path, and press enter. It will display your static web project in the browser.

- Create Dockerfile and Integrate it with the Static Site
Click on the new file icon and create “Dockerfile” in the root repo of the project.

Add the following code snippet in the Dockerfile. “nginx:alpine” uses an existing Docker Image as a base and copies the static website files to the Nginx document root.

- Test Docker Integration in Your Local Machine
Open the “Terminal” in the Visual Studio Code.

Run the command in the “Terminal” to build the Docker image of your project. The given command instructs Docker to construct an image by utilizing the Dockerfile located in the current directory (.) and assign it the tag (-t) “my-static-site.”

Run the following command for running a Docker Container. This command tells Docker to run a container in detached mode (-d) from the “my-static-site” image and map port 8080 of your host machine to port 80 of the container (-p 8080:80).

The Docker Image will run on its Desktop.

After that, click on the “8080:80” port in the Docker Desktop and view your static site.

- Make a New GitHub Repository
You have to create a GitHub account, and after that, click “New” to create a new GitHub repository.

Select any name for your repo, for instance, “StaticSite”.

Click “Create Repository” for creating your repo.

- Push Static Site Project to the GitHub Repo
In the Terminal, use the “cd” command to turn toward your main project.

Use the following command to start the git in the repo.

Add “staticsiteproj” repo into git. After that, commit your code as “first commit’. Choose any name of your choice.
Run the “git branch -M main” command to change the name of an available Git branch. The option -M represents “move/rename” and indicates the intention of changing the name of that branch to main. Afterward, execute the command “git remote add origin https://github.com/naeem99k/StaticSite.git” to include a remote repo into your local Git repository.

To upload code to a remote git repository, run:

- Creating & Deploying the Django Application on Back4App
Back4App provides a wide range of “Container as a Service” solutions which help the industry to deploy their projects directly on the back4app platform. This feature enhances the reliability and also encourage the developers to create application’s backend and deploy it using the same platform i.e. Back4App.
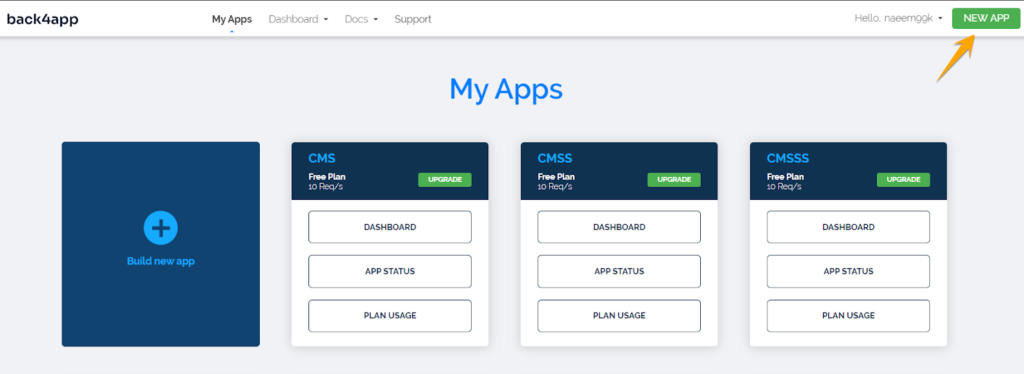
Click “New App” to create a new “CaaS” application.

Choose “Container as a Service” option.

Next, you will encounter a screen that allows you to import your Git projects into the Back4App platform.

Select “Import GitHub Repo”.

Select the “StaticSite” repo created before in your GitHub account.

Save it.

This will import your repo into the Back4App.

After that, click “Select” to develop an app for this repository, write its Name, branch, and Root Directory, and click “Create App.”

This will deploy the app using Dockerfile. You can now visit the following link to view your application.

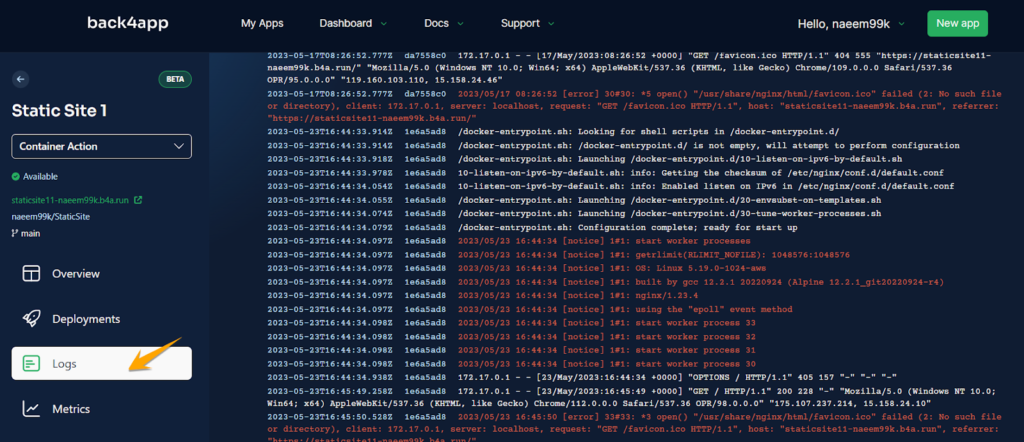
The static site project has been successfully deployed to the Back4App container. Here you can find more options in the platform regarding your application. For example in “Logs” you can find the logs of the application by which you can track the errors and bugs etc.

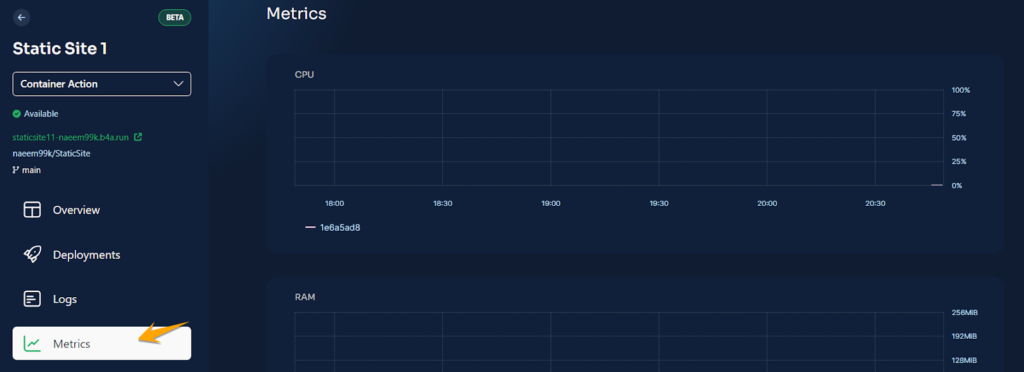
Similarly you can also see the metrics details under the “Metrics” option.

Back4App’s “Container as a Service” technology is very useful and reliable as it provides everything in one platform.
Conclusion
We’ve taken a deep dive into the process of deploying a static site on Back4App using the “Service as a Container” approach. We’ve explored static sites’ essence, advantages, and potential drawbacks, giving us a solid foundation to understand their fit in the web development landscape.
We’ve also uncovered the steps to deploy such sites on Back4App, a versatile and efficient platform. Although static sites may not be the right solution for all web projects, they offer substantial benefits that make them an ideal choice for certain use cases. From speed and security to scalability and ease of deployment, the advantages are numerous.
By harnessing the power of Back4App, you can further amplify these benefits, making your web development journey simpler and more efficient. For more information, please check our Static Site Template at GitHub.


