How to Deploy a Meteor Application?
In this tutorial, we will guide you through the steps of deploying an application developed using Meteor, utilizing the container capabilities provided by Back4app.
This approach combines the efficient user interface construction of Meteor, which avoids the conventional virtual DOM diffing process for quicker rendering times and reduced memory usage, with the extensive hosting solutions offered by Back4app.
Contents
Meteor Overview
Meteor.js is a comprehensive JavaScript framework that simplifies web development by providing an integrated platform for creating real-time web applications.
It unifies the front-end, back-end, and database layers, allowing developers to build reactive, scalable, and cross-platform applications with ease.
By utilizing a reactive data model, Meteor.js automatically updates the user interface whenever the underlying data changes.
Additionally, it supports hot code reloading, enabling real-time updates to the application without requiring a manual refresh.
With built-in features like authentication, database integration, and real-time communication, Meteor.js streamlines the development process, reducing the time and effort needed for application creation.
Prerequisites:
To follow this tutorial, you’ll need:
- Setting up Node.js and npm: You can directly download the latest version of Node.js from its official website. Additionally, Node.js installation includes npm, which is an essential package manager.
- Creating a GitHub Account: Create a GitHub account to manage version control and keep track of changes in your project’s source code.
- Signing up for Back4app: Sign up for an account on Back4app, a platform that assists in the deployment process of your application.
- Installing Docker Desktop: Download and install Docker for your operating system from the official Docker website.
- Using Visual Studio Code: Visual Studio Code is a coding environment equipped with essential tools for scripting and effectively managing your code.
Step 1: Create a Meteor Project
To install Meteor and create a new Meteor project in Visual Studio Code, follow these steps:
Install Meteor globally on your system: Open a terminal or command prompt and execute the following command to install Meteor.
| npm install -g meteor |
This command will download and install Meteor.
Create a new Meteor project: Open Visual Studio Code and navigate to the desired location for your Meteor project. Open a terminal within Visual Studio Code and run the following command to create a new Meteor project.
| meteor create my-meteor-app |

Navigate to the project directory: Change your current directory to the project directory using the following command:
| cd my-meteor-app |
Step 2: Launch the Development Server/ Run your Project Locally
Launch the Meteor application: Start the Meteor development server by executing the following command:
| meteor |
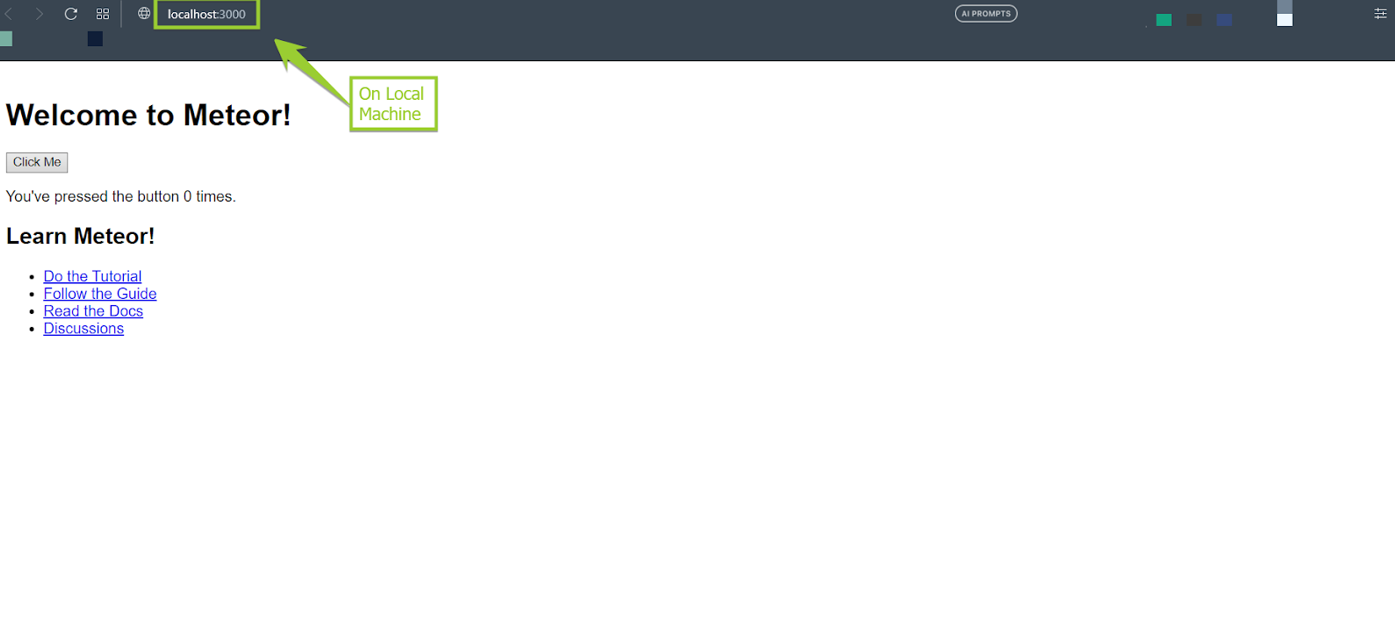
This will initiate the Meteor application, and you can access it at http://localhost:3000 in your browser.

Meteor application has been successfully launched.
Step 3: Dockerize the Application
To dockerize the application first create a Dockerfile for a Meteor.js project:
| # Use the official Node.js base image FROM node:14 # Set the working directory inside the container WORKDIR /usr/src/app # Install Meteor RUN curl https://install.meteor.com/ | sh # Copy package.json and package-lock.json to the working directory COPY package*.json ./ # Install dependencies RUN meteor npm install # Copy the entire project to the working directory COPY . . # Set a non-root user to run the Meteor application RUN chown -R node:node ./ USER node # Expose the port that Meteor runs on (default is 3000) EXPOSE 3000 # Start the Meteor application CMD meteor |
To build a Docker image from this Dockerfile, follow these steps:
- Create “Dockerfile” in the root directory of your Meteor project.
- Copy the content of the above Dockerfile into the “Dockerfile” you created.
- Open a terminal or command prompt and navigate to the directory containing the Dockerfile and your Meteor project.
- Build the Docker image using the following command:
| docker build -t my-meteor-app . |
After the image is built, you can run a container using the image with the following command:
| docker run -p 3000:3000 my-meteor-app |
This command maps port 3000 of the container to port 3000 of your local machine. You can modify the mapping if necessary.

Now, your Meteor.js project is containerized and running within a Docker container. You can access the application by visiting http://localhost:3000 in your browser.

Step 4: Pushing Project to GitHub
To upload your ‘my-meteor-app’ project to a GitHub repository, you can follow these steps.
- Login to your GitHub account and create a git repo on GitHub.

- Initialize a new Git repository in your project directory by running the command:
| git init |
- Add the files of your ‘my-meteor-app’ project to the Git repository using the command:
| git add my-meteor-app |
- Commit the changes to the repository with a descriptive message using the command:
| git commit -m “first commit” |
- Optionally, if you prefer to use the ‘main’ branch instead of the default ‘master’ branch, rename it with the command:
| git branch -M main |
- Set the remote repository (GitHub repository) as the origin using the command:
| git remote add origin https://github.com/naeem99k/meteor.git |
- Push the local repository to the remote repository (GitHub) using the command:
| git push -u origin main |
This will push your committed changes to the ‘main’ branch of the remote repository.

Step 5: Deploying the Project to the Back4app Platform
Upon successfully uploading your code, navigate to the Back4app platform.

Initiate the application creation procedure by utilizing the ‘Containers as a Service’ feature.

You will be prompted to connect your GitHub account with Back4app by following the provided guidelines.
- This step authorizes Back4app to access your repositories.
- You have the choice to grant access to all repositories or solely to those you intend to deploy.
- After completion, click “Save” to return to your Back4app dashboard and proceed with the application configuration.

- In the “Container Apps” segment of Back4app, locate and choose your ‘meteor’ repository.
- Assign a name to your application, determine the branch name as per your preference, and set the source directory as needed.
- To initiate the Meteor application on the Back4app Container, click the “Create App” button.


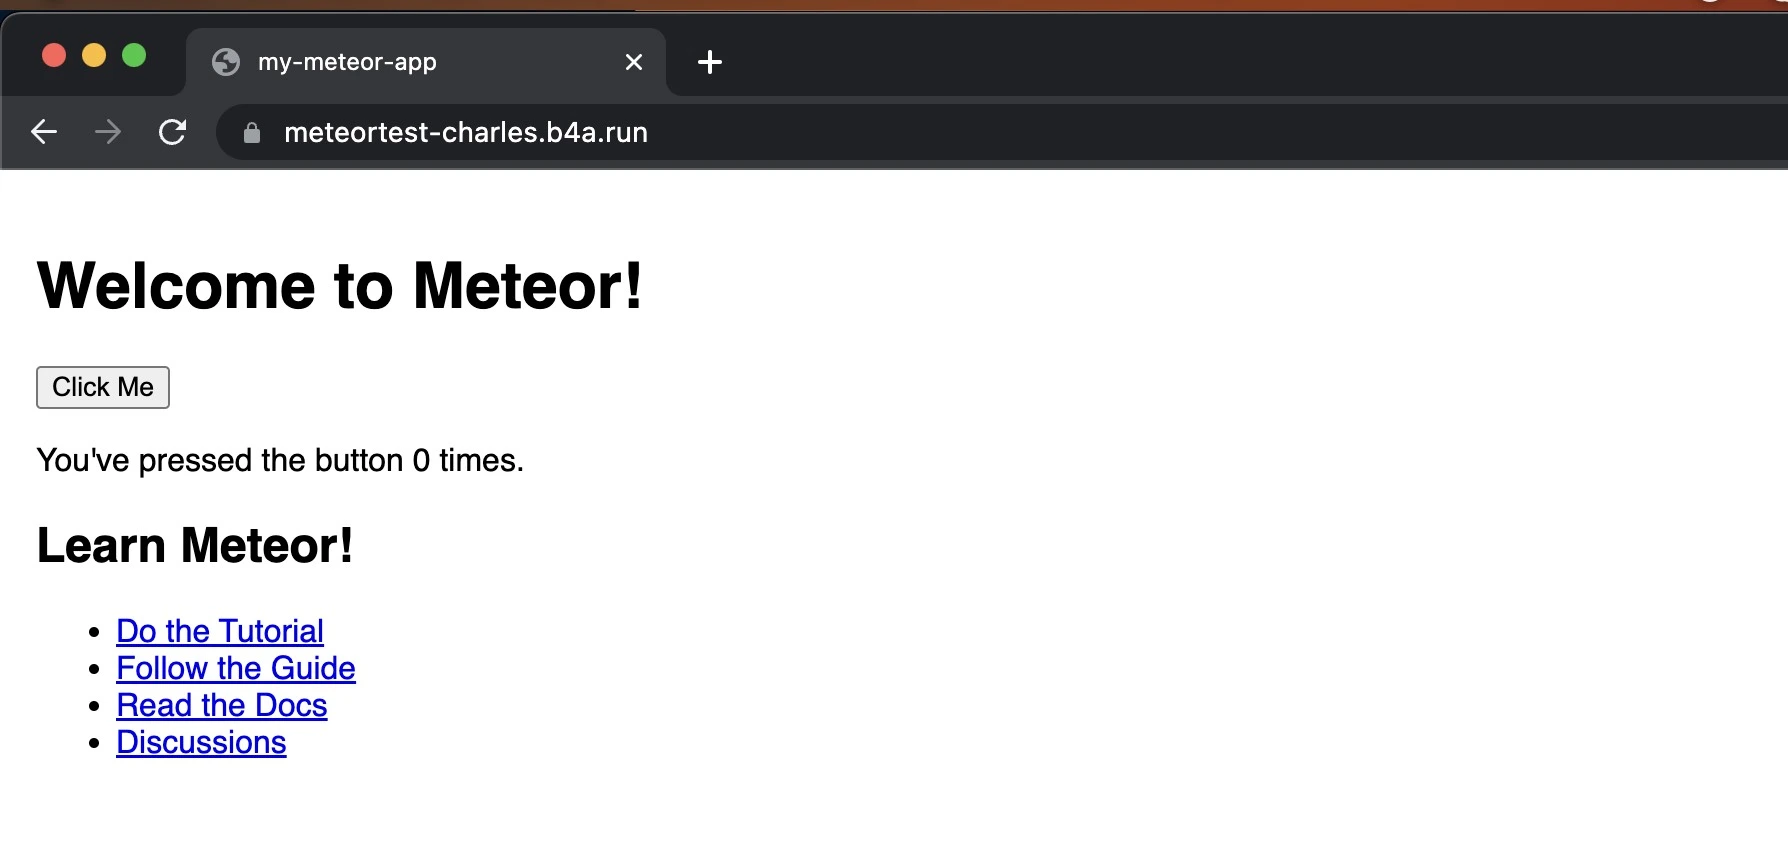
Once the deployment process is finalized, utilize the application’s link supplied by the Back4app platform.

This link directs you to the Meteor application’s homepage, where you can leverage its powerful features such as reactive data updates, hot code reloading, built-in authentication, database integration, and real-time communication.

Congratulations! Your Meteor project has been successfully launched on the Back4app Containers, empowering you to build real-time and scalable applications effortlessly.
Conclusion
In summary, Meteor.js is an impactful JavaScript framework that simplifies web development by providing a cohesive platform for building real-time applications.
Its reactive data model, hot code reloading, and built-in features for authentication, database integration, and real-time communication streamline the development process.
Leveraging containerization with platforms like Back4app Containers offers developers advantages such as improved scalability, portability, and simplified deployment.
By combining the strengths of Meteor.js and containerization technology, developers can create scalable and cross-platform applications efficiently.
With its seamless integration and user-friendly environment, Meteor.js and Back4app Containers empower developers with streamlined workflows and accelerated application development, making them invaluable resources for modern web development.


