How to Deploy a Ruby on Rails Application?
This article delves into the process of deploying a Ruby on Rails (RoR) application using a serverless container platform. It begins with an overview of RoR, discussing its advantages and drawbacks.
Then it proceeds with a detailed, step-by-step guide on how to deploy an RoR application, demystifying the process for beginners and seasoned developers alike. By the end of this guide, you will have a clear understanding of how to effectively utilize a serverless container platform for your RoR applications
Contents
What is Ruby on Rails?
Known commonly as Rails, Ruby on Rails is an open-source framework tailored for web application development, built upon the Ruby programming language. Following the principle of Convention over Configuration (CoC), it simplifies the programming process by applying universal conventions.
It leverages the Model-View-Controller (MVC) structure to enable organized and efficient coding, wherein the Model pertains to data and its manipulation rules, the View symbolizes the user interface and the Controller handles incoming requests and business logic, tying the Model and View together.
The framework comes equipped with numerous libraries and tools that ease tasks like form submission processing, complex database queries, or HTML generation.
Encouraging adherence to web standards and best practices such as RESTful application design and dynamic content usage via JavaScript, Rails has been the framework of choice for prominent organizations like Twitter, GitHub, Shopify, and Airbnb since its 2004 release.
What are the Advantages of using Ruby on Rails?
Ruby on Rails brings several distinct benefits to web application development:
- Streamlined Configuration: Rails adheres to the “Convention over Configuration” philosophy, reducing the need for extensive setup and configuration, as Rails provides a suite of standard conventions that expedite the development process.
- Efficient Development: Rails features a wide array of plugins and modules, known as gems, which can be quickly integrated, eliminating the need for developers to build basic functionalities from scratch, hence, facilitating rapid application development.
- Uniformity: Rails promotes uniformity by offering standardized programming conventions and file storage systems. This consistent approach simplifies the transition between different Rails projects, as they tend to follow the same structure and coding practices.
- Active Record Implementation: Rails incorporates the active record design pattern, which intuitively maps tables to classes and rows to objects, making database operations more developer-friendly.
- MVC Design: Rails utilizes the Model-View-Controller (MVC) design principle, segregating data handling logic (Model), user interface (View), and control flow logic (Controller). This separation makes the application more maintainable and scalable.
- Facilitates Test-Driven Development: Rails encourages test-driven development (TDD), providing built-in structures for testing code at various levels, thereby maintaining code quality and detecting potential issues early.
- Scalability: Contrary to common misconceptions, Rails is capable of scaling to manage high traffic, as evidenced by its usage by high-traffic platforms like Airbnb, Shopify, and Github.
- Security: Rails has numerous in-built security measures, and its active community promptly identifies and patches any newly discovered vulnerabilities.
What are the Limitations of using Ruby on Rails?
While Ruby on Rails is a highly competent framework with numerous advantages, it’s not without drawbacks. Some of the limitations include:
- Performance: Ruby, the language behind Rails, may not perform as swiftly as some other languages, such as Java or C. This performance disparity can potentially impact your Rails application, especially if it’s performing CPU-intensive tasks.
- Scalability: Scaling up Rails to accommodate large-scale applications can be more challenging compared to other technologies. Thus, if your application is anticipated to see a significant surge in data or traffic, Rails may not be the most suitable choice.
- Boot Time: The startup time for Rails applications, especially larger ones, can be prolonged. This extended boot time can affect the productivity of developers and increase the time required for application deployment or restart.
- Multithreading: Due to Ruby’s Global Interpreter Lock (GIL), it does not facilitate true concurrent threading within the same process. This constraint can hinder the performance of Rails applications under certain scenarios.
- Learning Curve: Despite Rails offering numerous conveniences and being relatively beginner-friendly, mastering it necessitates a deep understanding of various conventions and fundamental Ruby concepts. This complexity can present a steep learning curve for newcomers.
- Reliance on Libraries and Plugins: The development speed of Rails is partly attributed to its reliance on libraries, plugins, and gems. However, this reliance can lead to dependencies that may become obsolete or incompatible over time as software evolves or gets phased out.
How to Deploy a Ruby on Rails Application?
Deployment is the crucial step for any application, and we will learn how to deploy the Ruby on Rails application on the Back4app platform.
What are Back4app Containers?
Back4app containers play a crucial role in the deployment of numerous applications by utilizing their resources. They leverage the Dockerfile to launch the project on remote servers, preserving user resources in the process.
Furthermore, users have the ability to monitor the advancement and resource usage status of their deployed applications. Back4app containers additionally facilitate application redeployment following new git commits.
Step-by-Step Guide: How to Deploy a Ruby on Rails on Back4app
We’re going to delve into the process of constructing a Rails application from the ground up, identify the necessary prerequisites, and ultimately guide you through deploying this RoR application on the Back4app platform.
- Login or Signup to Back4app Account
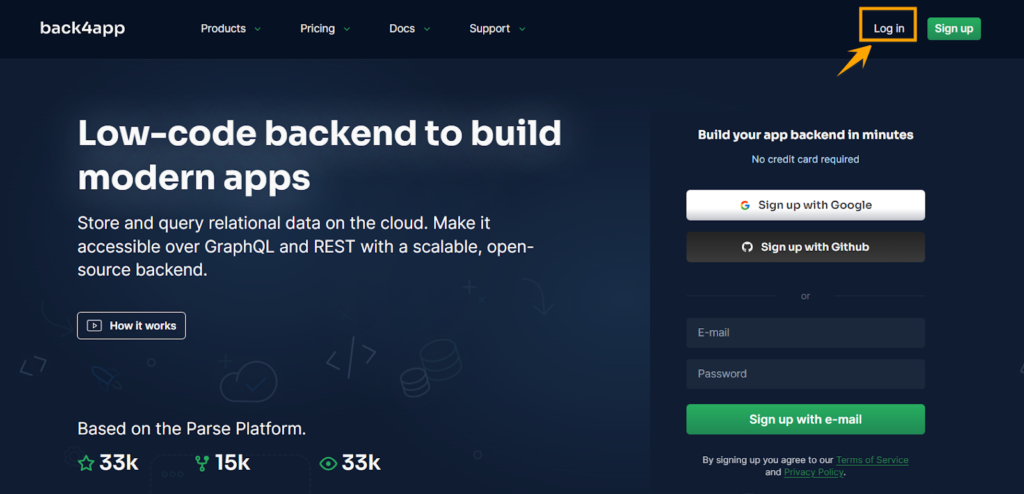
Click on the appropriate option according to your choice. As we already have an account on Back4app, we will click the ‘Log in’ button.
Choose the ‘Continue with Google’ option.

Back4app’s dashboard will appear after login. This screen will contain all the previously created apps.

Prior to setting up our application on Back4app, we must first focus on crafting the Rails application locally on our own device. Once completed, we’ll proceed to upload it to GitHub. Now, let’s get started with these essential steps.
- Download and Install Ruby and Rails
Ruby is a programming language, and Rails is its framework, so we must download and install them before any development.
- Ruby
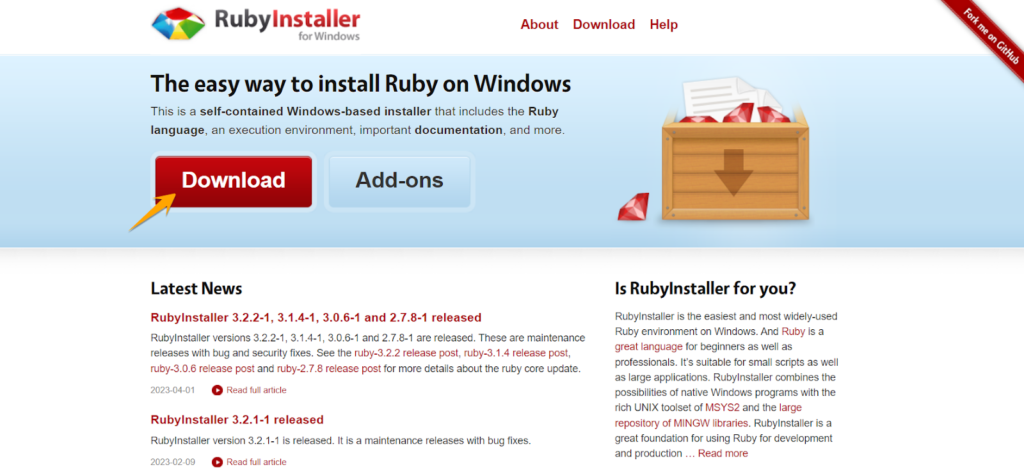
Download Ruby from their official web link. Click on the ‘Download’ button.
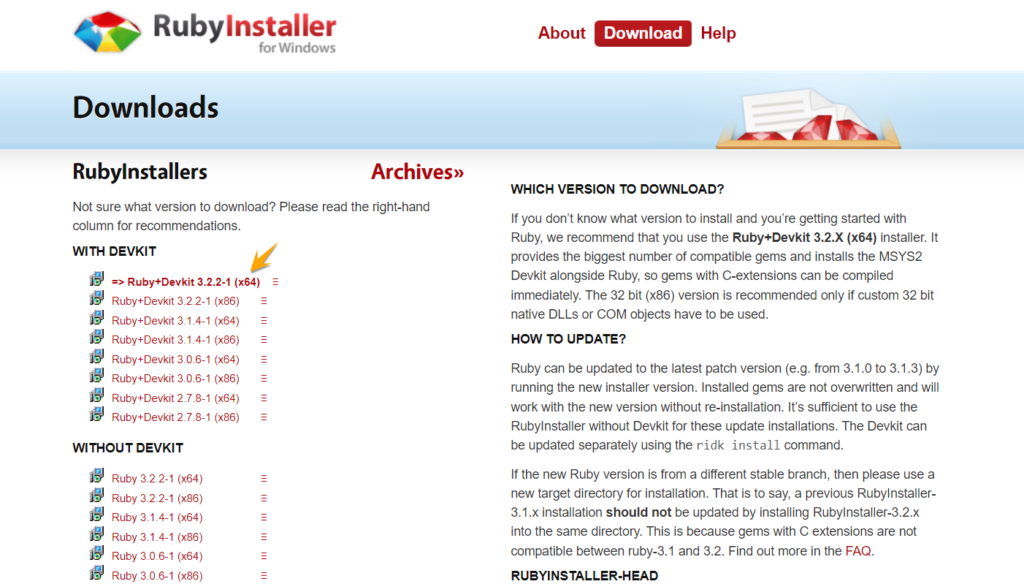
Click on the desired version of Ruby according to your need inside the ‘WITH DEVKIT’ option.
A popup will appear to download the Ruby, so click on the ‘Save’ button and download it.

Ruby Installer has been downloaded. Now double-click on it to initialize the installation process.

Now checkmark the ‘I accept the license’ agreement in this installation popup and click on the ‘Next’ button.

Define the destination path for the Ruby installation, checkmark both checkboxes and click on the ‘Install’ button.

The installation has started.

Ruby’s installation has been done. Click the ‘Finish’ button to close the popup.

After clicking on ‘Finish’, the following popup will open. Here we need to install the other required dependencies for Ruby on the Windows platform. Multiple options are available here, but select the first option, press ‘1’ on the keyboard, and then hit Enter.

It has started setting the configurations.

Verify the installation of Ruby by executing the command “ruby -v” in the CMD. Ruby version shows that Ruby has been successfully installed on our machine.

- Rails
Open the Visual Studio Code.

Open VS Code’s ‘Terminal’ and write the command ‘gem install rails’ in it to install the rails on your device.

Run the command ‘rails -v’ in the Windows CMD to verify that Rails has been installed. The Rails version depicts that it has been installed successfully.

- Create and Run the Ruby on Rails Application in Visual Studio Code
Firstly, create a folder in your PC’s directory and assign it a good name. As we are working on Ruby on Rails, we gave it a short name ‘ror’.

After creating the folder, open VS Code and click on the ‘Open Folder’.

Load ‘ror’ created folder into the VS Code.

The ‘ror’ project has been imported into the VS Code.

Now open the ‘New Terminal’ from the VS Code’s top bar menu.

Run the following command to create a new Rails project having the name ‘my_ror_project’.

The Rails project has been initialized.

Now move the position to the newly created Rails project folder using the ‘cd’ command.

Run the command ‘rails server’ to run the Rails project on your local device.

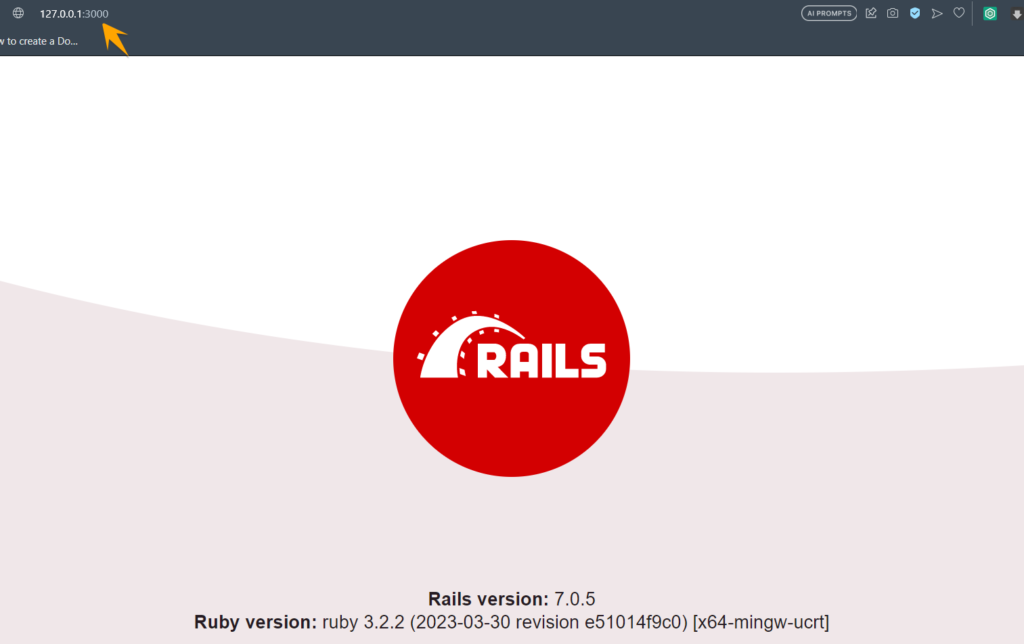
Ruby on Rails application has been successfully created and executed on the local server port 3000.
- Dockerize and Test the Ruby on Rails Project
Initialize the ‘Dockerfile’ in the Rails project.

Write the following code in the Dockerfile for instructing Docker during the image-building process.

Execute the following command in the Terminal to build the Docker image with the name ‘my-rails-app’. Users can assign any name according to this choice.

Now run the Docker command to run the Docker image in the Docker Containers.

Open Docker Desktop from the Windows search bar.

‘my-rails-app’ will be created successfully in the Docker Desktop.

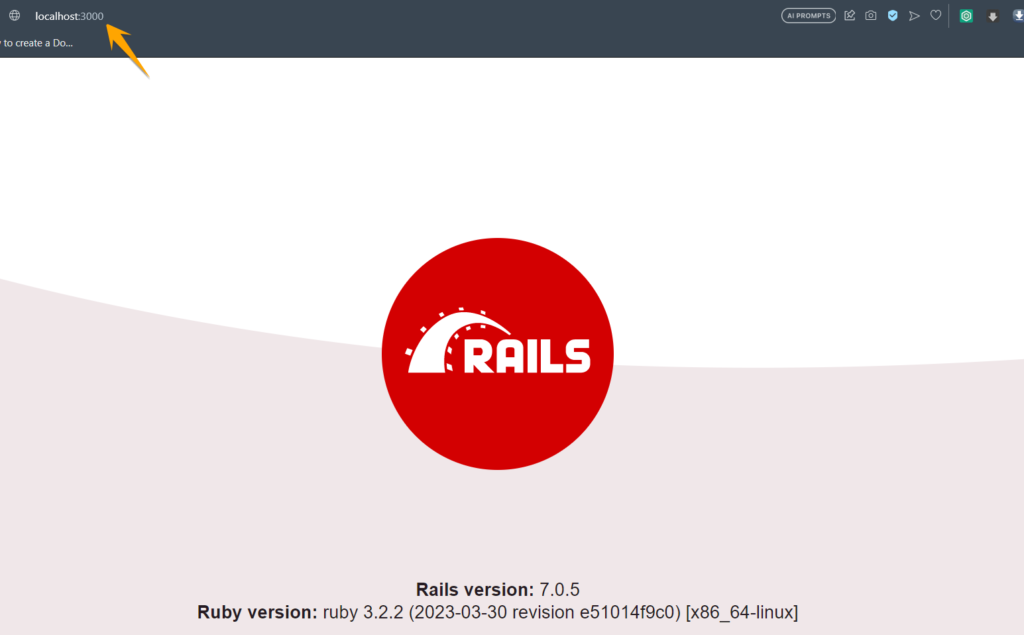
Now click on Port 3000:3000 to visit the Rails application.

Ruby on Rails application has been successfully running in the Docker Containers.
- Log in to GitHub and Create a Repository
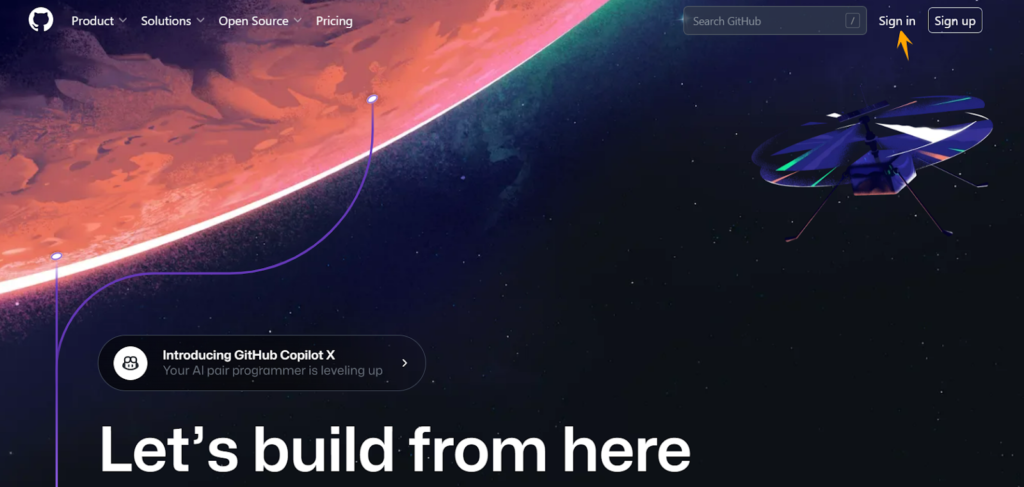
Hit the GitHub URL and click on the ‘Sign in’ option.
Give your username and password and press the ‘Sign in’ button.

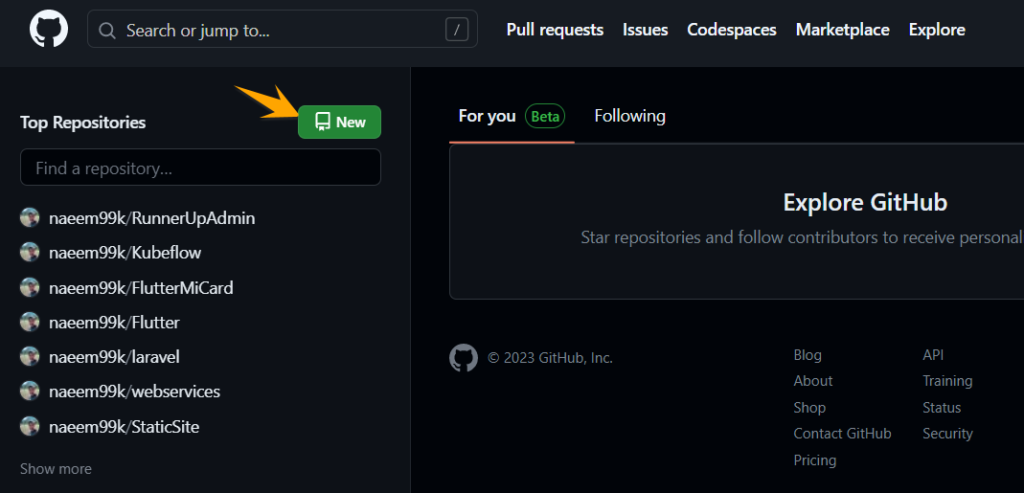
To create a new Git repository, click the green-colored ‘New’ button on the GitHub dashboard.
Assign a suitable name to your repository, as we have assigned ‘ror’ in this case.

Press the ‘Create Repository’ button highlighted to finally create the repository.
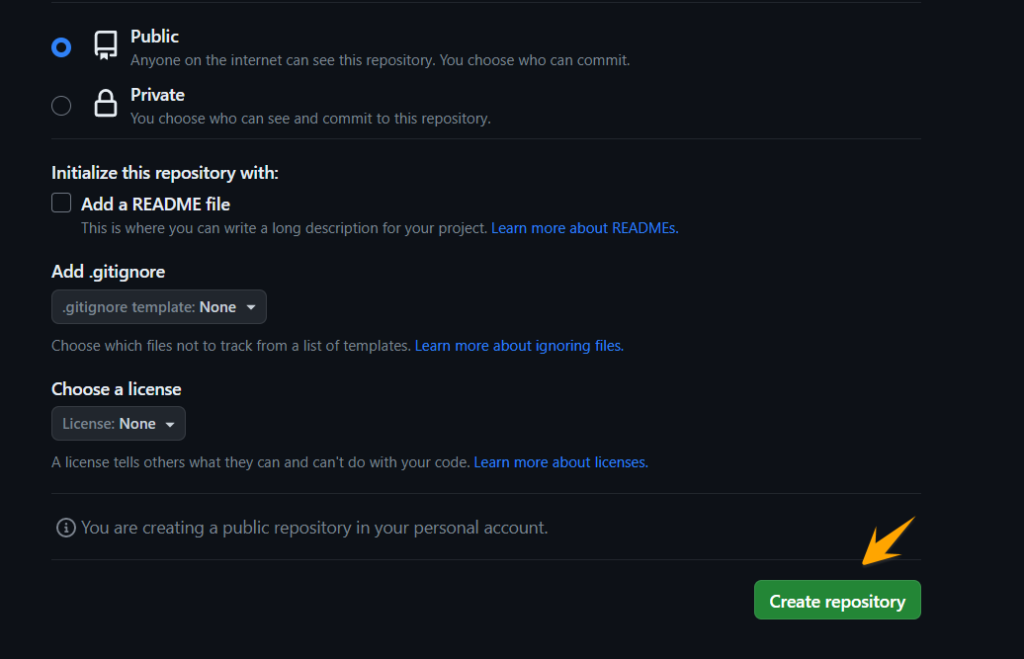
A repository has been created in the GitHub account.

- Push Ruby on Rails Project to GitHub
Open the Window command line prompt and move to the root directory in which the project was developed using the ‘cd’ command.

Initialize the git in the root directory.

Add the Rails project ‘my_ror_project’ into Git.

Commit the rails project code.

Give a reference to the main branch of your Git Repository.

Set the remote origin name that is basically a repository of your GitHub.

In the end, run the push command to push the committed code.

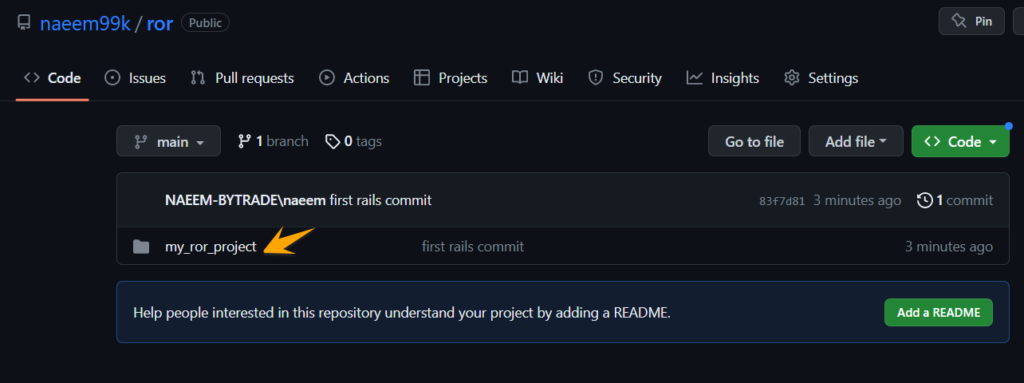
The Rails project has been successfully pushed to the GitHub platform.
- Create Ruby on Rails App on the Back4app Containers
As we have already logged in, click on the ‘New App’ button at the top-right corner of the Back4app dashboard.

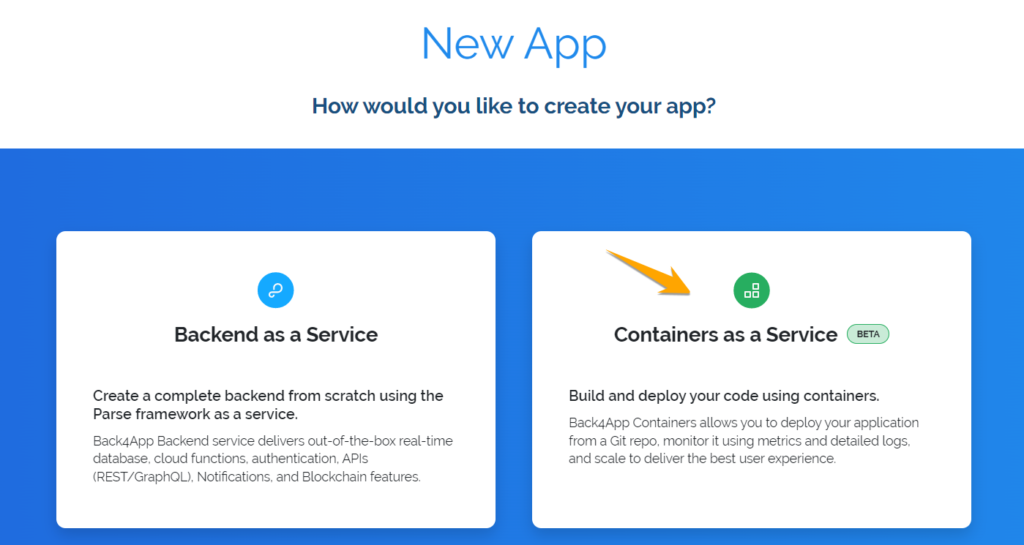
Here select the ‘Containers as a Service’ option for building a containerized app in Back4app.
Back4app Containers applications will be visible in this dashboard.
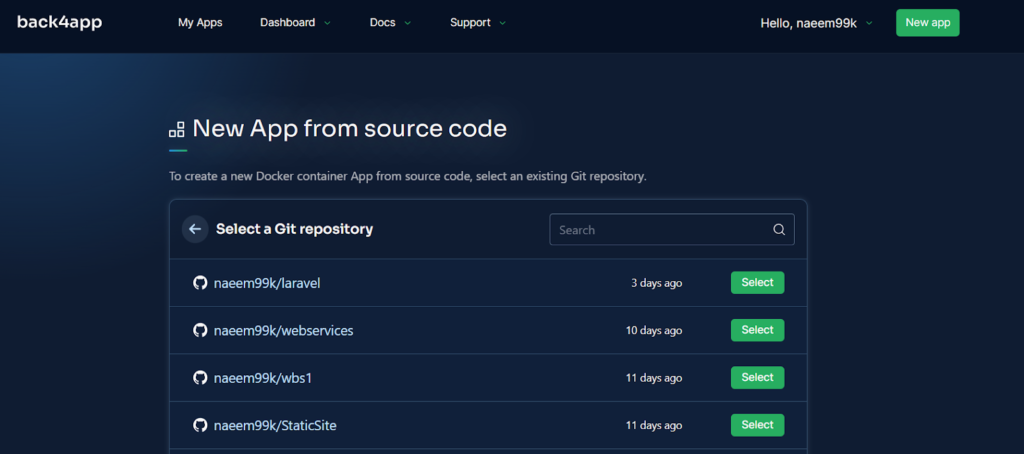
Click on the ‘Edit GitHub Permissions’ to link the Rails project with the Back4app containers.

A popup will be shown. Select your relevant Git repository here and click the ‘Save’ button.

The Git repository has been imported into the Back4app Containers platform.
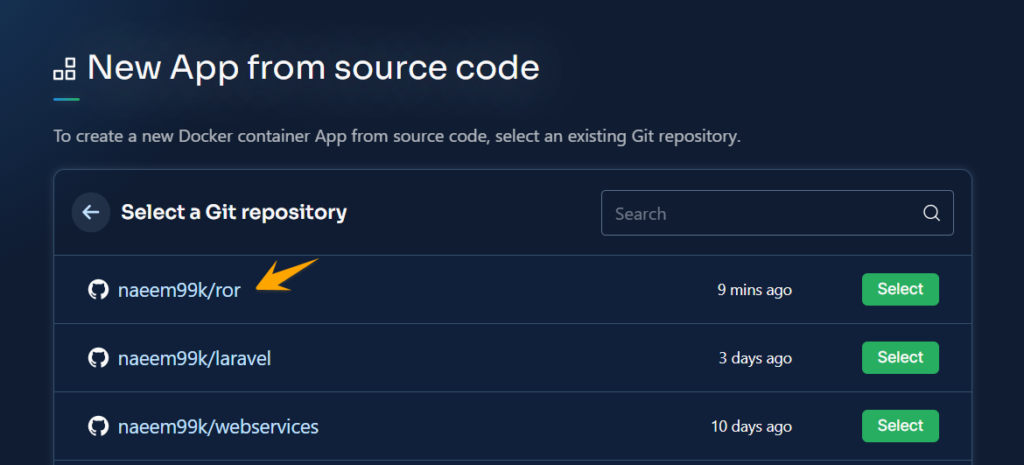
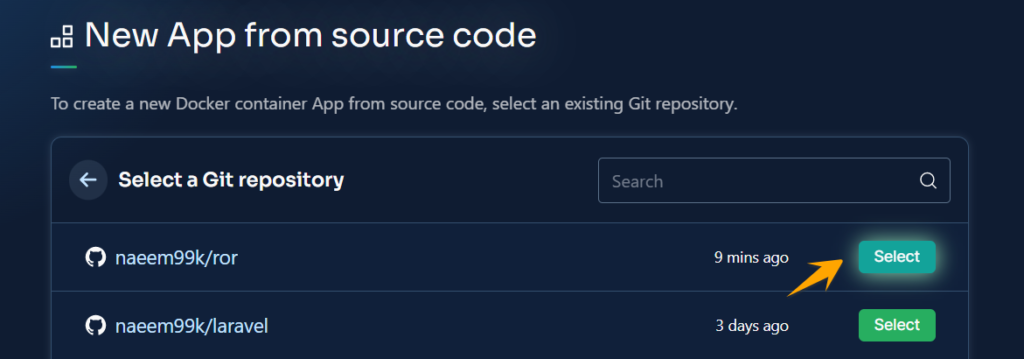
Click the ‘Select’ button to create an app using this repository.
Configure the instructions and give the App Name, Git Branch and Directory where Dockerfile exists.

In the end, click the ‘Create App’ button to generate the application.

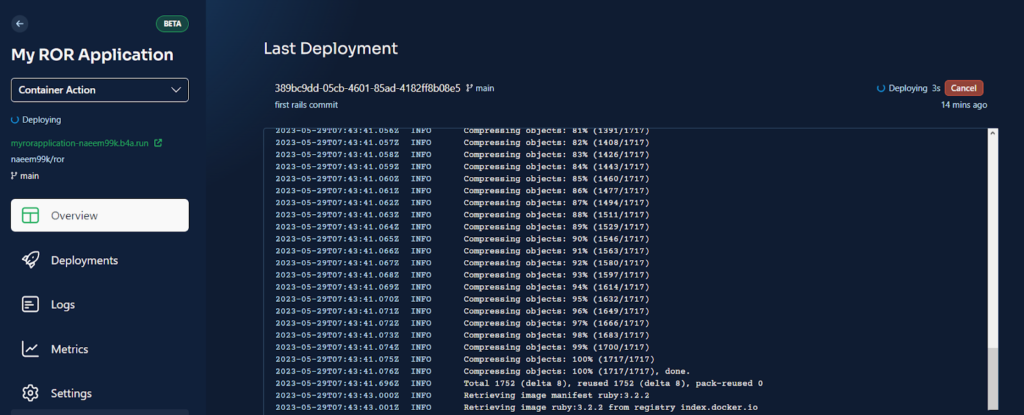
The Rails application has started deploying, but there would be a restriction error here because we have not given permission to Back4app to access our app. So, we need to add permission to our app.
- Grant Host Permission to Rails Application
Go to the Rails project, open the config folder, and then open the ‘development.rb’ file. Add the following line of code to it. This line will allow the following host to access and run our app. Give the hostname correctly according to your application.

Stage your code changes by pressing on the ‘+’ sign.

Changes have been staged.

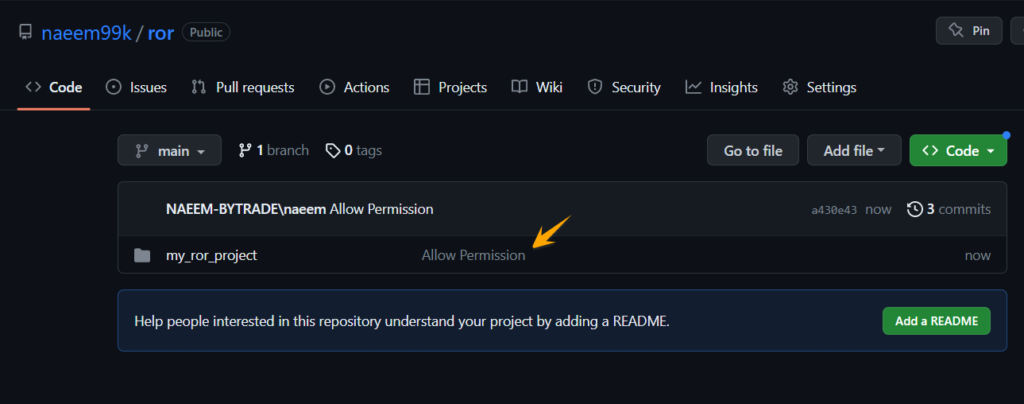
Now give any name to this commit as ‘Allow Permission’ and select the ‘commit & push’ option from the dropdown.

Changes have been pushed to the GitHub repository.
- Redeployment and Other Functionalities
Go back to the Back4app platform, click the ‘Container Action’ dropdown, and select the ‘Deploy the latest Commit’ option.

The application has been successfully deployed on the Back4app Containers using the latest commit.
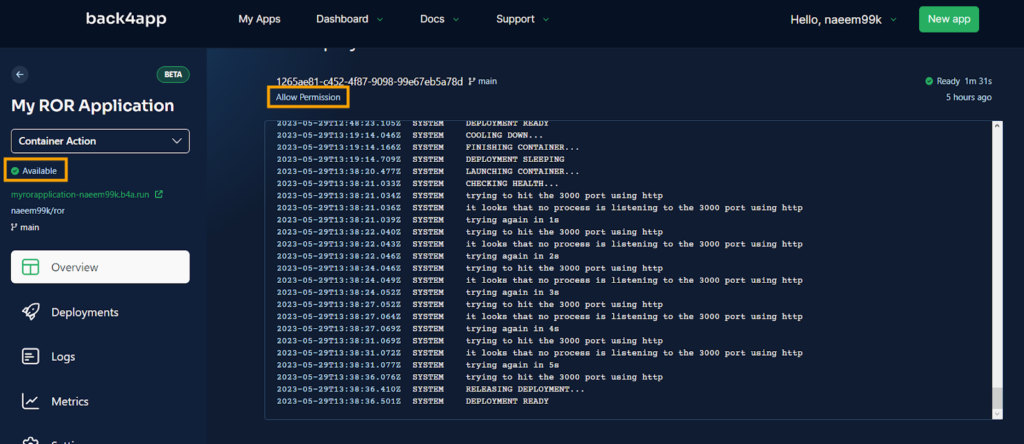
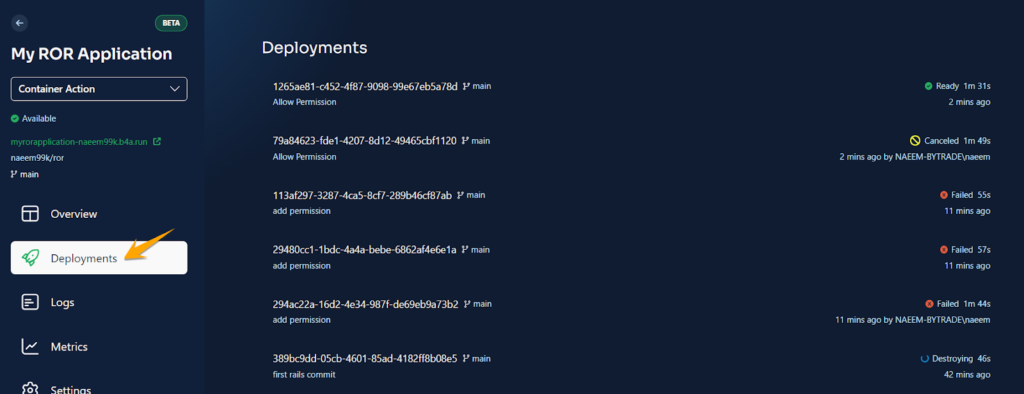
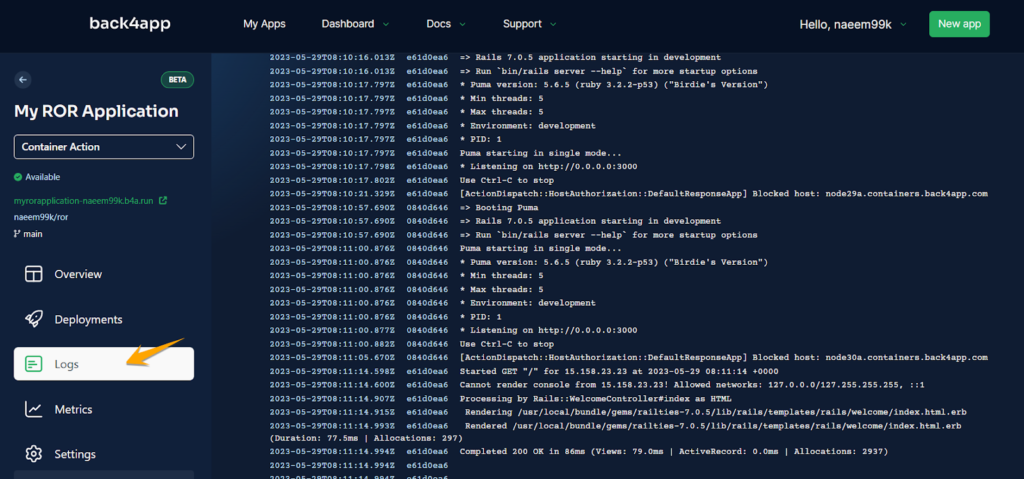
On Back4app, we have the ability to monitor each deployment of our application and scrutinize crucial logs generated during these deployments.
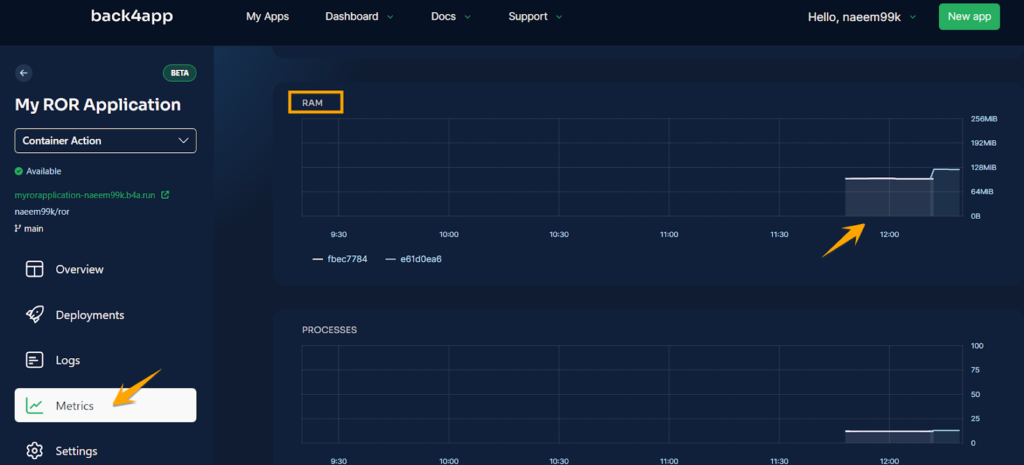
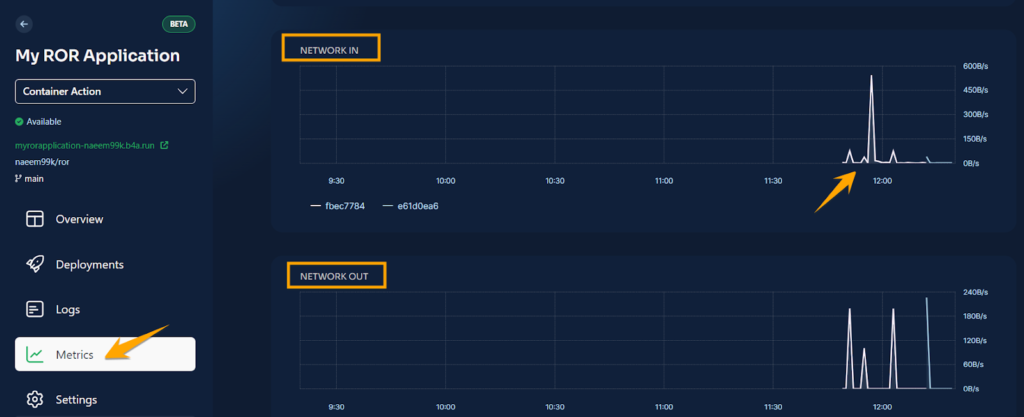
Back4app’s ‘Metrics’ showcase the important notes of the application, like the performance and memory usage. It enables the users to make their applications more reliable and scalable.
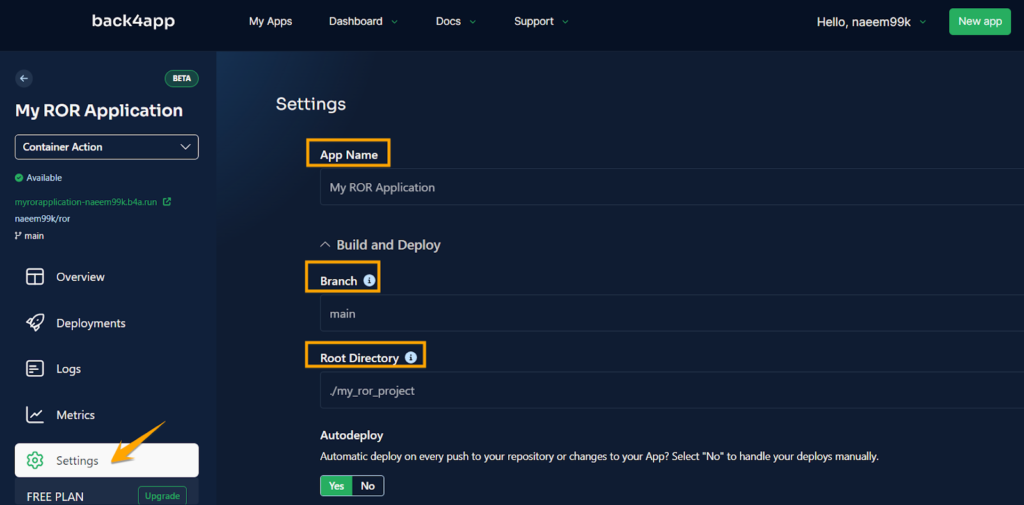
Users can also set the properties of their application in the ‘Setting’ tab of the Back4app containerized application.
Click on the link below to test the Ruby on Rails deployment on the Back4app platform.
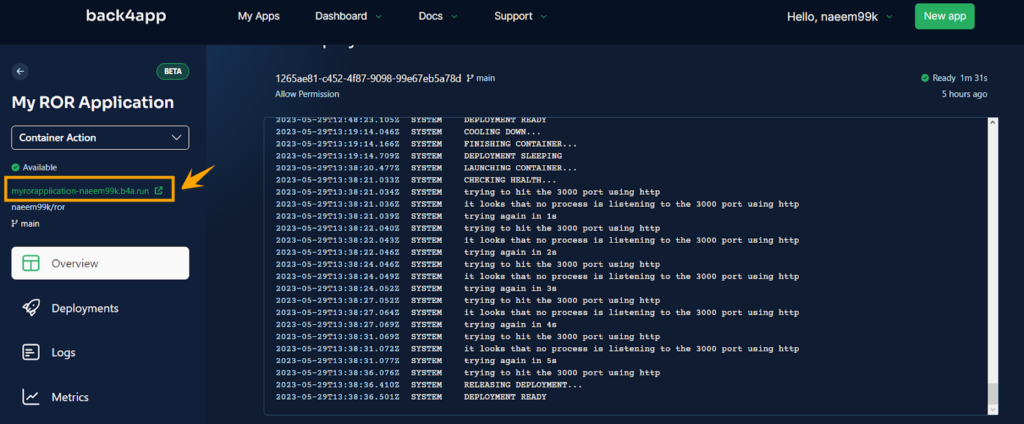
Back4app Containers has successfully deployed the Ruby on Rails application.

Conclusion
Developing a web application extends beyond mere coding; the deployment phase carries equal significance. This article has provided a detailed walkthrough of establishing a Ruby on Rails application and its subsequent deployment using Back4App.
It’s evident that the robust features and simplified configuration offered by Back4App can expedite this process, rendering it an excellent choice for developers. However, it’s imperative to bear in mind that the choice of tools should align with the specific requirements and size of your project.
What is Ruby on Rails?
Ruby on Rails, often called RoR, is a robust, open-source web development framework that uses the Ruby programming language
What are the pros&cons of Ruby on Rails?
Pros: Efficiency, MVC Design, Scalability
Cons: Multithreading, Learning Curve, Libraries and Plugins
How to deploy a Ruby on Rails application?
– Sign up to Back4app
– Download and Install RoR
– Dockerize the RoR application
– Log in to GitHub
– Connect GitHub to Back4app
– Deploy the application


