Building a Real-time React application with Parse

In this article, you will learn how to use Parse to leverage ReactJS power in building web applications. You will quickly build a simplified version of a social network with 2 main features: user authentication and feed posting.
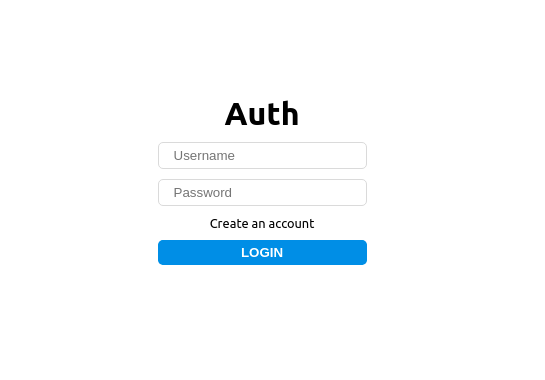
The application will have two routes, one for authentication, where our users will be able to register and log into the application:
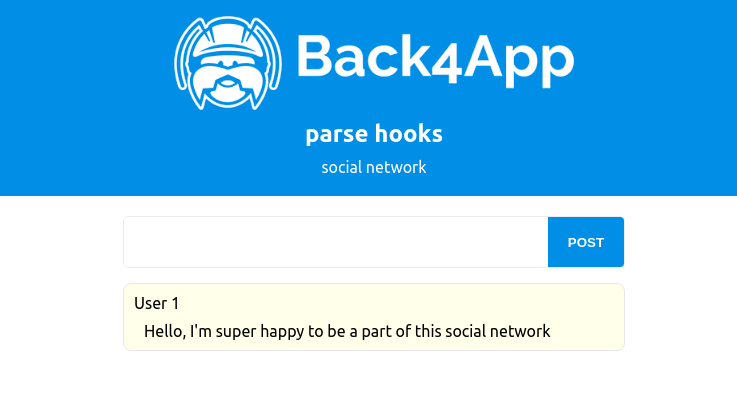
and the other will be a feed, where users will be able to share messages publicly
This is the scope of the application we will build today
but before starting its construction, let’s get to know the technologies we’ll use to bring our app to life.
This tutorial assumes that you will follow its instructions step by step, but if you want to see the final version of the project, you can download it using the following command
git clone --branch final https://github.com/templates-back4app/react-real-timeReact
React is indeed one of the biggest and most loved front-end frameworks today.
In fact, according to Stack Overflow annual developer survey, React is the most commonly used web framework of the present time.

There are many reasons why React is so popular. We talked about them in one of the last posts on the Back4app blog, you can check it out at:
Parse
Parse is the best open-source backend framework today and therefore offers an out-of-the-box solution that allows you to use pre-built sophisticated backend capabilities with minimal overhead
You can learn more about Parse in the following article:
or in the following video:
Building a Real-Time application
Using these two powerful tools, we can create wonders in a few minutes of work.
To back this statement we will put this pair to the test while building a simplified social network
Cloning the initial boilerplate
To speed up the development process you can clone the project below where I created a basic app with styles and the boilerplate code.
https://github.com/templates-back4app/react-real-time
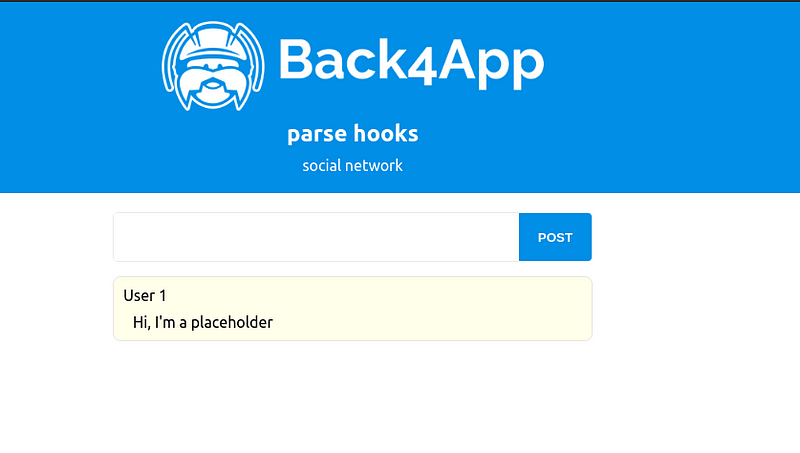
After cloning it, open it in the terminal and proceed to install its dependencies with the following command:
npm iWhen the installation of the modules is completed, you can run the project with
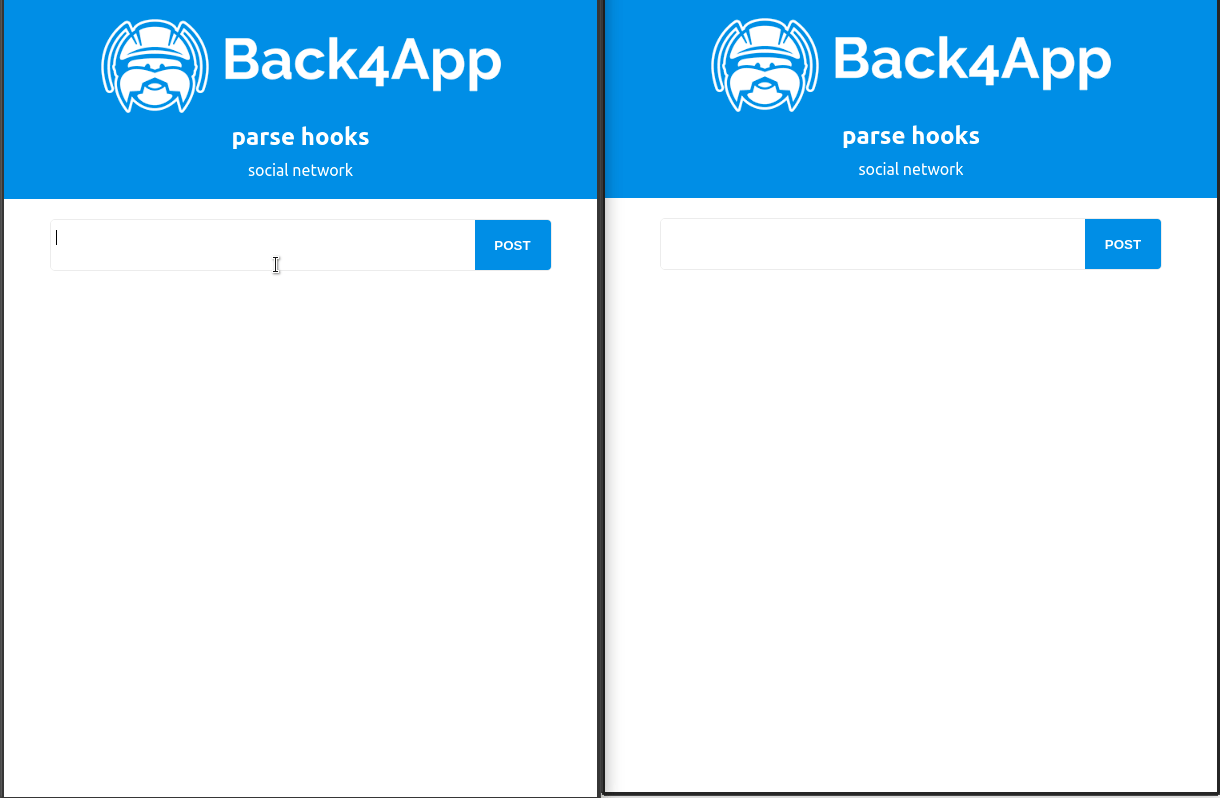
npm run startYour project will be automatically opened in a new tab and should look like the following:
Breaking down the starter code
The initial application consists of a basic create-react-app bootstrapped application with the addition of react-router-dom, the most common choice for managing routes in React applications. The app contains two routes
- The home (which you already know)
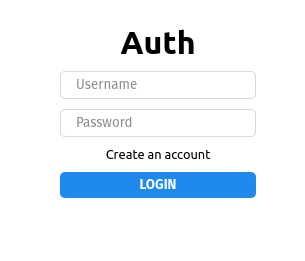
- The auth page
Currently, these two routes don’t have any functionality, but we are going to implement them using Parse hooks
Parse hooks
In addition to all the infrastructure provided by Parse, it also provides easier ways to use its functionalities in the React ecosystem applications through parse-react.
This project includes packages for many of the tools available in the ecosystem to react
Currently, the available packages are:
- @parse/react – Used with client-side-rendered React applications (the one we are using today)
- @parse/react-native – Used with React Native
- @parse/react-ssr – Used with server-side-rendered applications (read: Real time Nextjs applications with Parse for more info on @parse/react-ssr)
We are going to use @parse/react to easily leverage Parse’s capability of handling real-time interactions through live queries
Installing Parse hooks
In order to use Parse hooks, we need to install them alongside Parse’s base package. This can be achieved through the following command:
npm install parse @parse/react --saveCreating a Parse Application on Back4app
Although you can self host a Parse application, that brings a certain amount of overhead because gives you the responsibility to maintain, scale and deploy the infrastructure of the application.
When you choose to use Back4App on the other hand, you are a few clicks away from setting up everything you need for a scalable and reliable application.
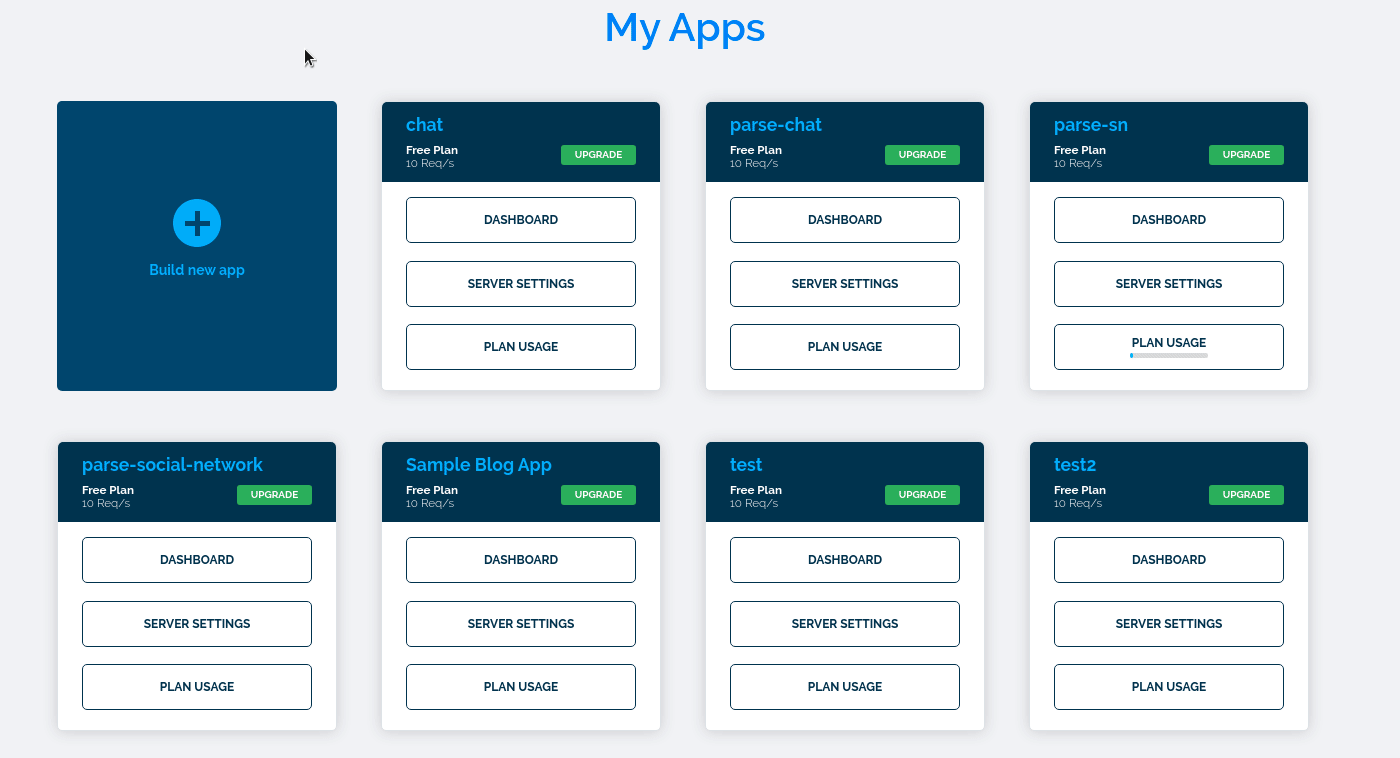
The first needed step is creating a Back4app account (or logging in if you already have one) once you are logged into your account, you will be redirected to the application’s dashboard, where you can create a Back4app application. Creating an application is really simple, you need to click the “Build new app” button, give it a name and wait for its’s creation to be completed.
With our app created, let’s create the Posts class, which we will use to store the posts of our social network.
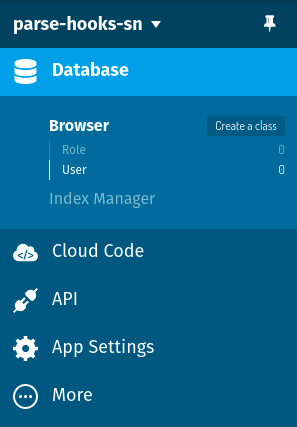
In the menu on the left side of your application, click “Create class”
Name it “Post” and finish its creation by clicking the create class button
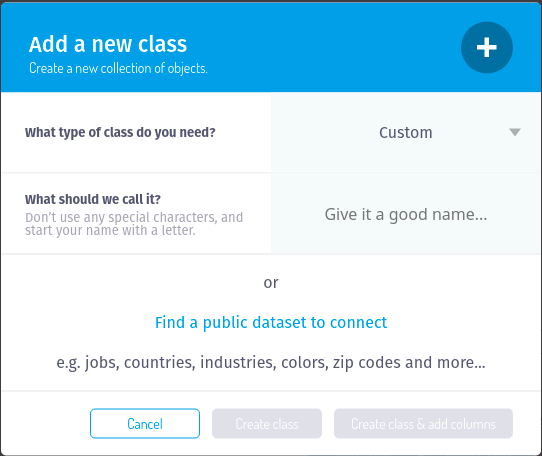
With our class created, let’s create add the two properties responsible for storing our posts data
- authorName – The post creator’s name
- text – the actual post content
Enabling live queries
Another important step that needs to be done inside Parse’s dashboard is enabling live queries.
To enable live queries, navigate to server settings and find the “server URL and live query” option
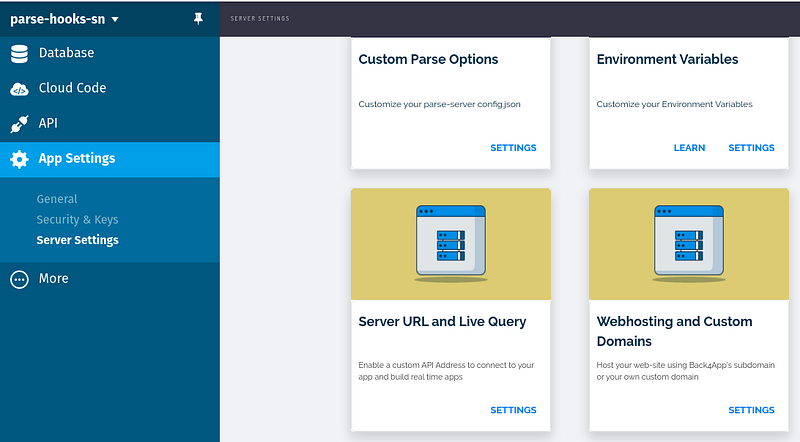
After finding it, open it by clicking on the settings option.
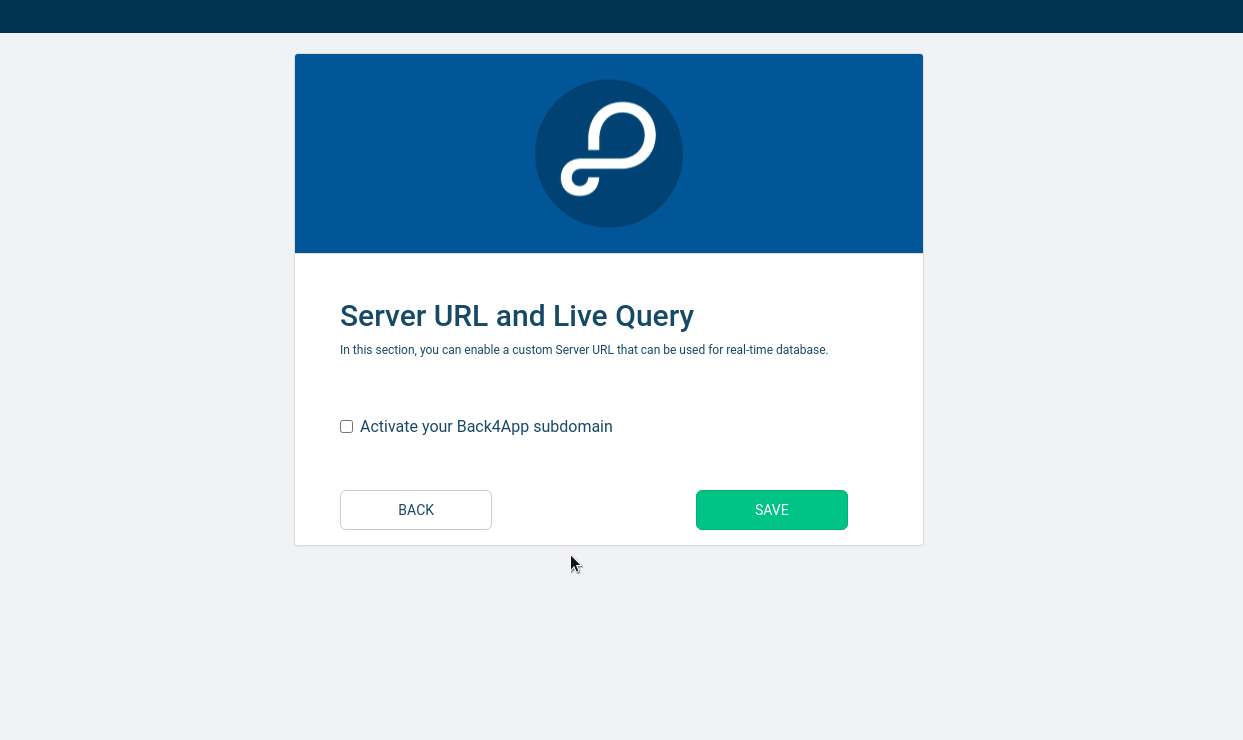
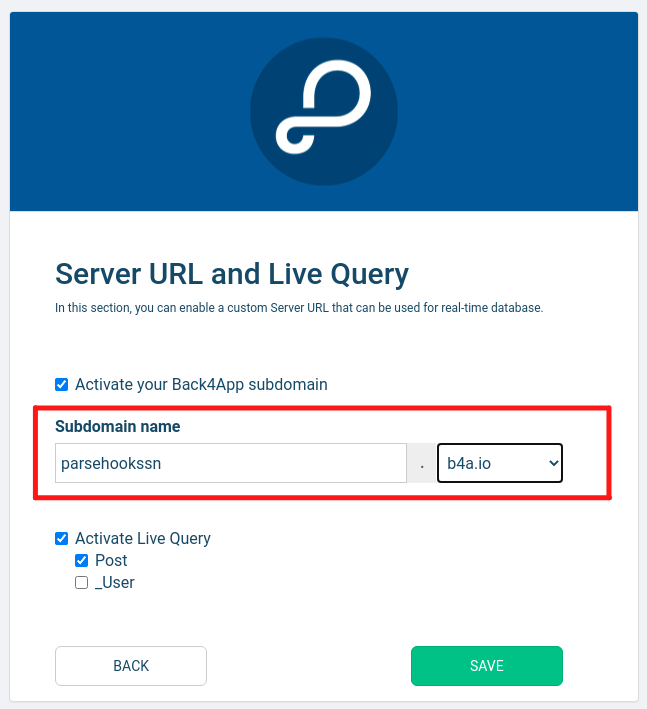
To activate live queries, you must enable a Back4app subdomain first, by checking the option “enable your Back4app subdomain”. This will make the enable live queries button visible, check it along with the “Post” sub-item and click the save button
Live queries need to be enabled for each of the classes that will use them, so in this example, we have to enable live queries in general and also specifically mark the classes that will make use of this functionality
This completes the necessary steps within the Back4app dashboard
Configuring the application
With the configuration steps completed, it’s time to connect our application to Parse.
Parse needs to be initialized, and this can be done with the initializeParse method. Let’s add it to our index.js file, like this:
But we need to replace the placeholder values with actual values.
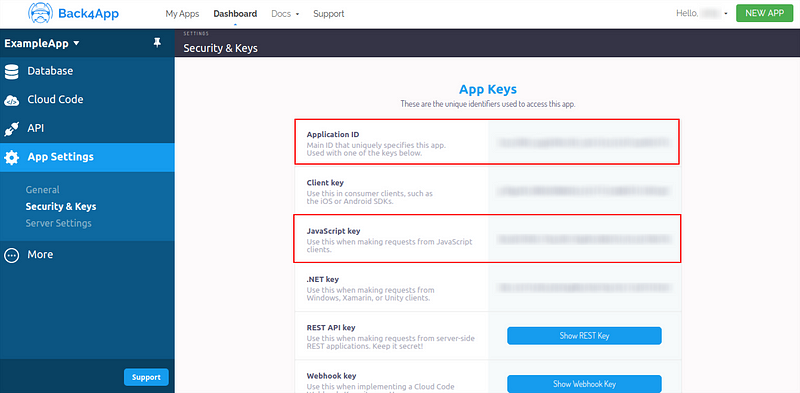
The first value required is the server URL. This is the value shown when we created our custom URL and enabled live query
the other two values can be found in the security & keys option, inside app settings
Handling authentication with Parse
Now that we’ve finished the initial settings for our application, it’s time to build its functionalities.
Let’s start by creating the authentication.
Parse has a default “User” class, created along with your application. It is very useful for authentication control, as in addition to standard fields such as username and password, this class has standard log-in and sign-up methods.
Let’s use it to handle our app’s authentication
In this chunk of code, we added two important functions. handleLogin and handle handleRegister. Let’s take a closer look at each one of them.
handleLogin
In the handleLogin function, we instantiate the user object. Then we proceed to set the “username” and “password” properties to be the same as our state values. with our credentials set up, we use the “logIn” method, available by default in the user class, to send those values to be validated by our Parse backend
If all goes well in the login process, we will redirect the user to the application’s home
But we cannot log in users if they are not registered in our user base. So let’s talk about the user registration function, handleRegister
It works very similarly to the login function. The first step is to instantiate a User object and change its username and password properties. After that, we use another standard user object function, signUp, if all goes well with the user registration, we call the login function to redirect the user to the home screen
Simple as that, we completed the necessary actions in the authentication route.
Home page
The first action required on the home screen is to verify that the user in question is logged in. If not, we must redirect it to the authentication screen
This validation can be done through the currentAsync function, present in the User class. If there is a currently logged user, this function will return its data, otherwise, it will return null
This function is called within an useEffect with an empty dependency array, meaning this validation only runs the first time the page is rendered.
This will ensure that unlogged users cannot see the home page.
Reading posts
In this step, we get rid of the “initialPosts” data mockup and replace it with our actual data through the star of today’s post, useParseQuery
As mentioned earlier in this very post, the Parse hooks allow us to use sophisticated features with ease, including live queries
To use the useParseQuery hook, we need to pass a Parse query as a parameter. as we are interested in retrieving the data on the Post class, we are going to query it with the following line of code
const parseQuery = new Parse.Query('Post');After creating this query, we must pass it as a parameter to our hook, which will return several properties, including “results”, an array of Parse objects that represent the data of our application
Finally, we iterate through the records returned by our Parse hook and extract the data we desire from them
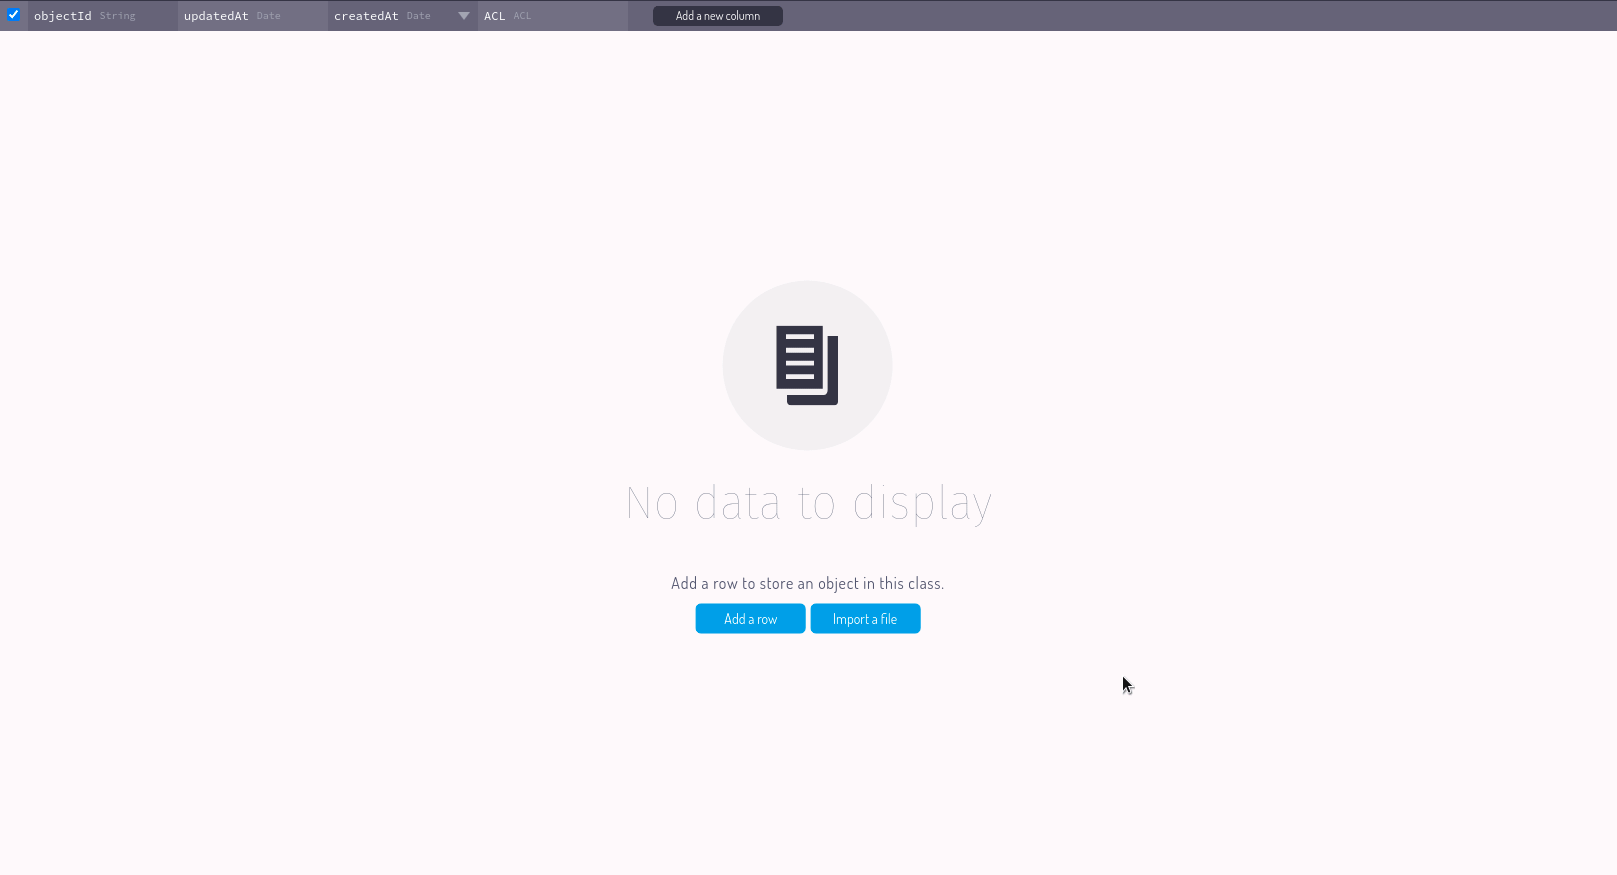
currently we don’t have any data to iterate through. Let’s change this by creating a way of adding data to our application
Creating Posts
To create posts, we create a state that manages the postText and is updated every time the textarea is updated
We also created a function responsible for creating our posts called handleSubmitPost
In the handleSubmitPost function, we create an instance of Post, and then save the necessary data using the “save” method. Upon the completion of the post creation, the textarea value is cleared
Differently from User, Post is not a Parse default class, so it is not directly accessible in the imported “Parse” Object.
The way we access no default classes is through the Parse.Object.extend() method
Now we can create posts, and if you open two browsers (one normal and one in incognito mode) It’s possible to post with two different users and see the changes being updated in real-time, thanks to the power of liveQuery
One last detail
If you reload the page, you’ll notice that posts come in a different order than they were created. So we’ll make some changes to make sure it gets fixed.
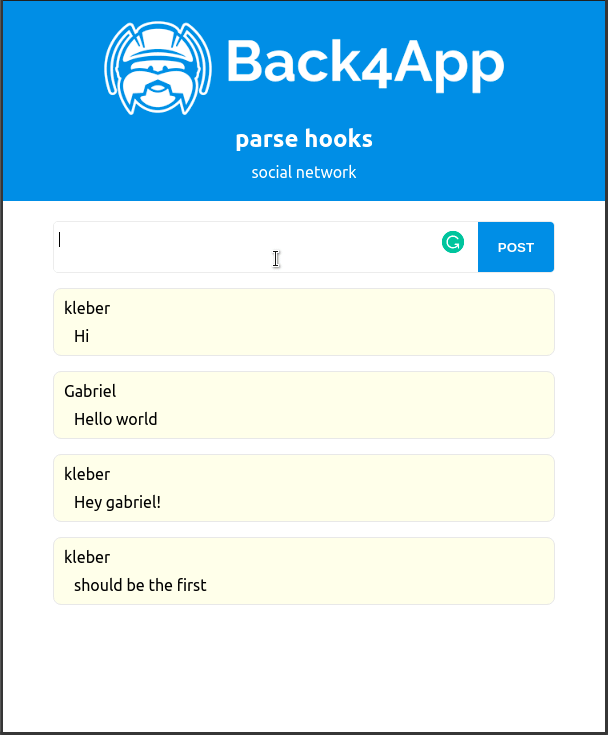
The only needed change is changing our query so that it brings us data in a decreasing way. This is achieved through the following code
Wrapping it up
That’s it! We’ve just created a simplified social network within minutes. This really shows the power of the React + Parse combo and how much it can tremendously speed up the construction of your projects.
You can delve deeper into the world of Parse by visiting its official repositories as well as projects that use it. A good starting point is the examples folder, available in the Parse-React repository.
an example of these projects can be found at the link below:
https://github.com/parse-community/parse-react/tree/master/examples/react-ts-todo
I hope this tutorial has been useful and wish you a happy and productive coding 😀

