How to Deploy a Django Application?
Dive into the intricacies of deploying a Django application on a serverless container platform with this comprehensive article. The piece commences by outlining Django, including its benefits and limitations.
Following that, it walks you through a meticulous step-by-step tutorial for deploying a Django application, simplifying the process for novices and experienced developers alike.
After reading this guide, you’ll have a concrete grasp of how to efficiently deploy your Django applications using a serverless container platform.”
Contents
- 1 What is Django?
- 2 What are the Pros of Using Django?
- 3 What are the Limitations of using Django?
- 4 What is Back4App Containers?
- 5 Step-by-Step Guide: How to Deploy a Django Application?
- 5.1 Sign Up for a Back4app Account
- 5.2 Create a New Project using Django
- 5.3 Run the Django Project on Local Machine
- 5.4 Add Dependencies and Docker integration in the Django App
- 5.5 Test Docker Integration in the Local Machine
- 5.6 Create a New Repository on GitHub
- 5.7 Push Django Application to the GitHub Repository
- 5.8 Create and Deploy the Django Application
- 6 Conclusion
What is Django?
Django is a powerful, open-source Python web framework designed for rapid and efficient web application development. Following the Model-View-Controller (MVC) design pattern, it promotes the separation of application components into data models, views, and controllers.
With built-in features like an Object-Relational Mapping system, form handling, URL routing, and authentication support, Django allows developers to focus on their application’s unique functionality. Its “batteries-included” approach provides numerous prebuilt tools and libraries, making Django a popular choice for varying sizes and complexities of web projects.
What are the Pros of Using Django?
Django offers several advantages that make it an appealing choice for web development projects:
- Model-View Architecture
Django follows the Model-View-Controller (MVC) design pattern, which promotes a clear separation of concerns between data models, views, and controllers. This architecture leads to better application maintainability, testability, and scalability by allowing developers to modify individual components without affecting others.
- Security
Django is known for its focus on security, offering built-in security against common web vulnerabilities such as Cross-Site Request Forgery (CSRF), Cross-Site Scripting (XSS), and SQL injection. By providing secure default configurations and easy-to-use security features, Django enables developers to build more secure web applications with less effort.
- Admin Panel
One of the most powerful features of Django is its automatically generated admin panel. This panel provides a web-based interface for managing the data in your application, allowing developers and administrators to easily create, update, and delete records without writing any additional code. The admin panel can be customized to fit specific requirements, making it a valuable tool for managing web applications effectively.
In addition to these advantages, Django offers a wealth of built-in features, a “batteries-included” philosophy, and an active, supportive community, making it popular for web development projects across various industries and complexity levels.
What are the Limitations of using Django?
While Django offers numerous advantages, it also has some limitations that developers should be aware of:
- No Conventions
Unlike some other web frameworks, Django does not enforce strict conventions for project structure, which can lead to inconsistencies in how different developers approach application design. This lack of conventions might result in increased development time, especially for larger projects or teams with varying coding styles.
- Not for Small Projects
Django’s comprehensive set of features and its “batteries-included” philosophy make it well-suited for complex projects. However, for smaller projects or simple websites, Django might be overkill, adding unnecessary overhead and complexity. In these cases, a lightweight web framework or even a static site generator might be more suitable.
- Monolithic Framework
Django is often considered a monolithic framework, meaning that it provides a tightly integrated set of components and tools, which can limit flexibility. While this integration can be advantageous for many projects, developers looking for a more modular approach might find it constraining, as replacing or customizing specific components can be more challenging.
Despite these limitations, Django remains popular for many web development projects due to its powerful features, maintainability, and scalability. It is essential for developers to carefully consider the requirements and constraints of their projects before choosing a web framework.
What is Back4App Containers?
A Back4App container refers to the use of containerization technology within the Back4App platform. Containerization involves bundling an application along with its dependencies, libraries, and configurations into a single, portable unit called a container. This approach allows developers to run their applications consistently across different environments, simplifying deployment and scaling processes.
Step-by-Step Guide: How to Deploy a Django Application?
Here is a list of steps to follow when deploying a Django application on Back4app.
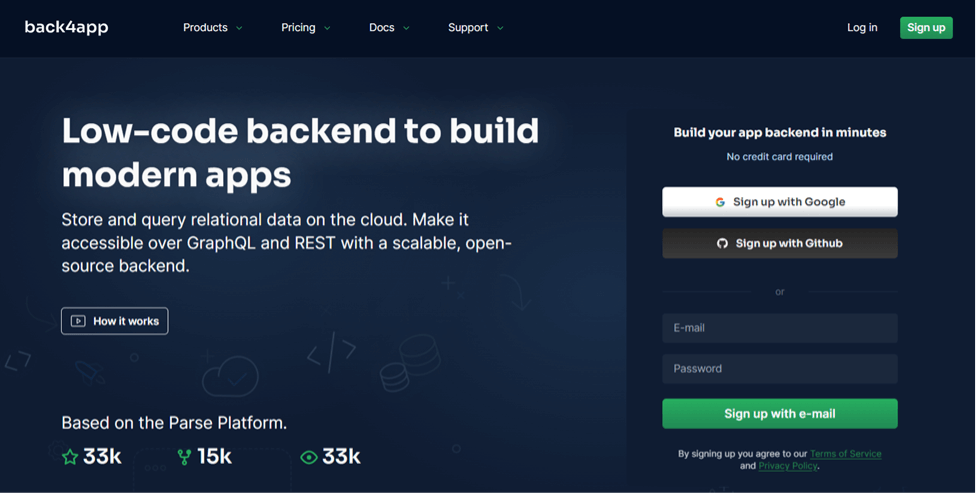
Sign Up for a Back4app Account
Start by creating a Back4app account on its website for backend integration.
Create a New Project using Django
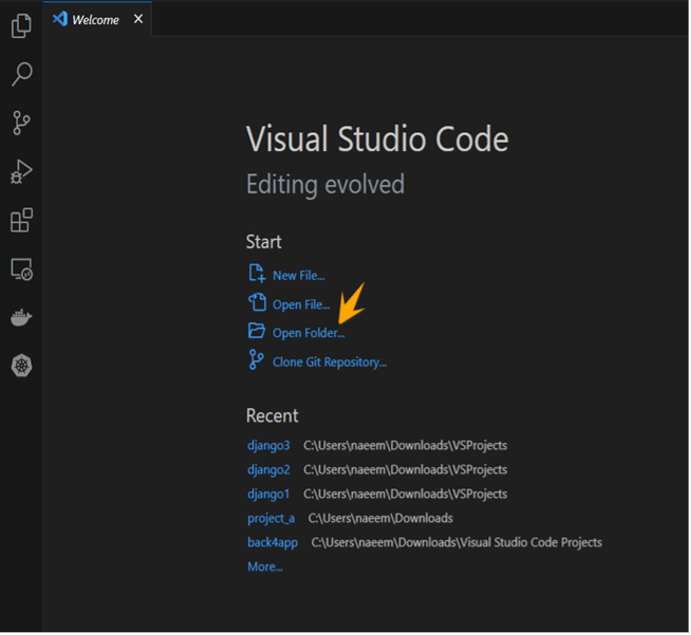
To create a new project, create a folder in your directory and give it any name as we created here with the name “django3”.

Now open the Visual Studio Code and open this folder into it. It is an empty project now.
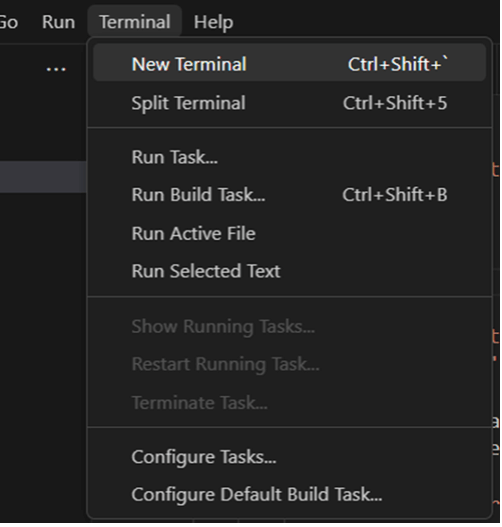
Open the “Terminal” in the Visual Studio Code and run the following command “pip install django” in it to install the Django framework in your application.

Now create a Django starter project by using the “django-admin startproject mysite” command having the name “mysite” and then change your directory using the “cd” command.

“manage.py” is a command-line utility in Django that provides several commands to help with managing a Django project. It is automatically created in the root directory of a Django project and provides a convenient way to manage various aspects of the project.
Run the following command to create a new Django App in the project using “manage.py”.

Run the following command for database migrations in the project.
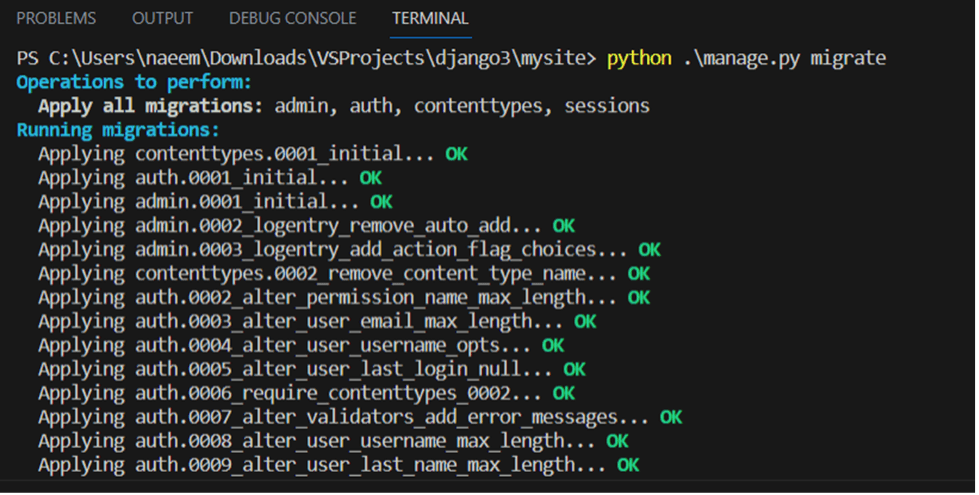
Run the Django Project on Local Machine
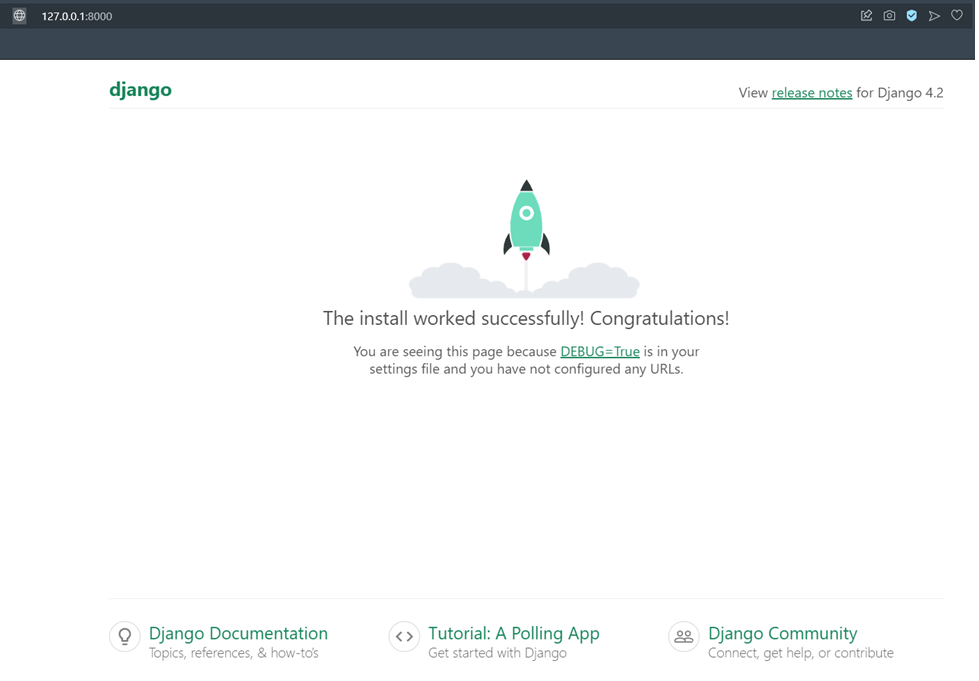
To run and test the application on your local machine, run the following command.

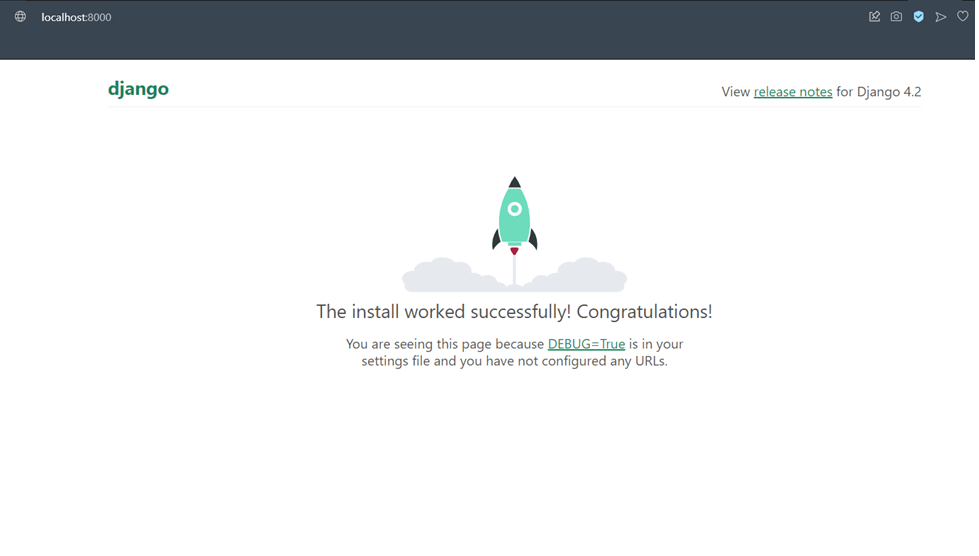
Go to the above-mentioned URL and verify that the project is established successfully and running on a local server. Our app has run successfully.
Add Dependencies and Docker integration in the Django App
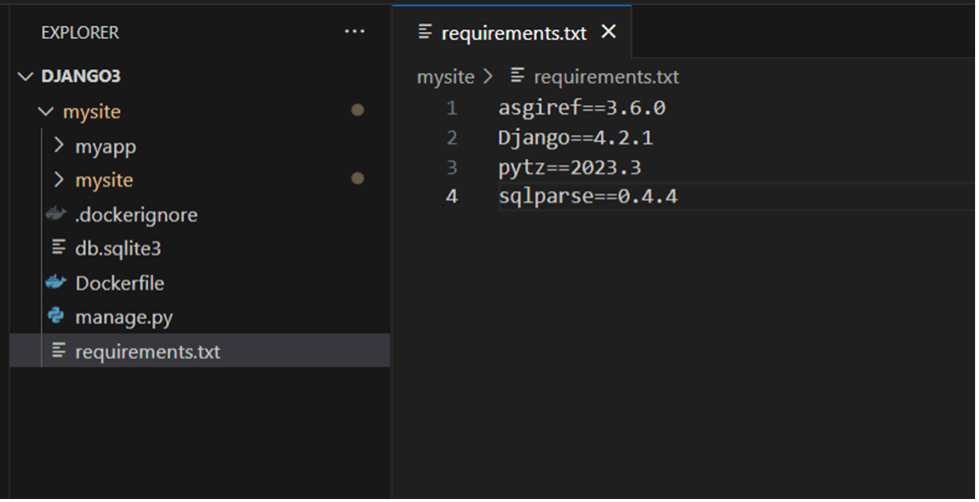
To add the dependencies for the app, create a new file named “requirements.txt” in the app main folder and write the following dependencies into it.
Now create a “.dockerignore” file in the main app folder. This file is usually used in a Docker environment to specify a list of files and directories that should be excluded from the build context.
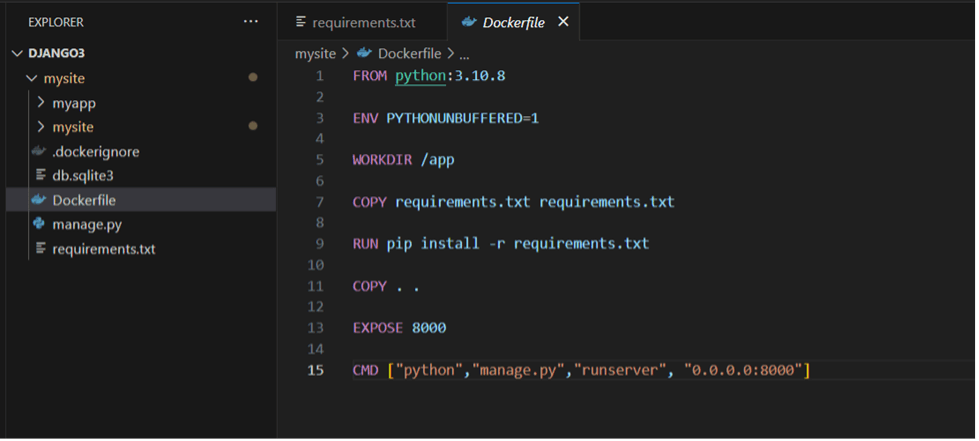
Create a “Dockerfile” in the main app repo folder and add the necessary commands in it that would be used by the Docker container to create the image of our Django app.
Test Docker Integration in the Local Machine
To test the Docker integration on the local machine, you must have “Docker Desktop” installed on your machine. Run the following command to make a tag of your application image in “Docker Desktop.”

Run the following command to create the Docker Image in the “Docker Desktop” and execute it.

Django App Image has been successfully created with the tag “python-django”.

Now click on the Port “8000:8000”, as shown in the above image, and you will see the Django Application running inside Docker Container.
Create a New Repository on GitHub
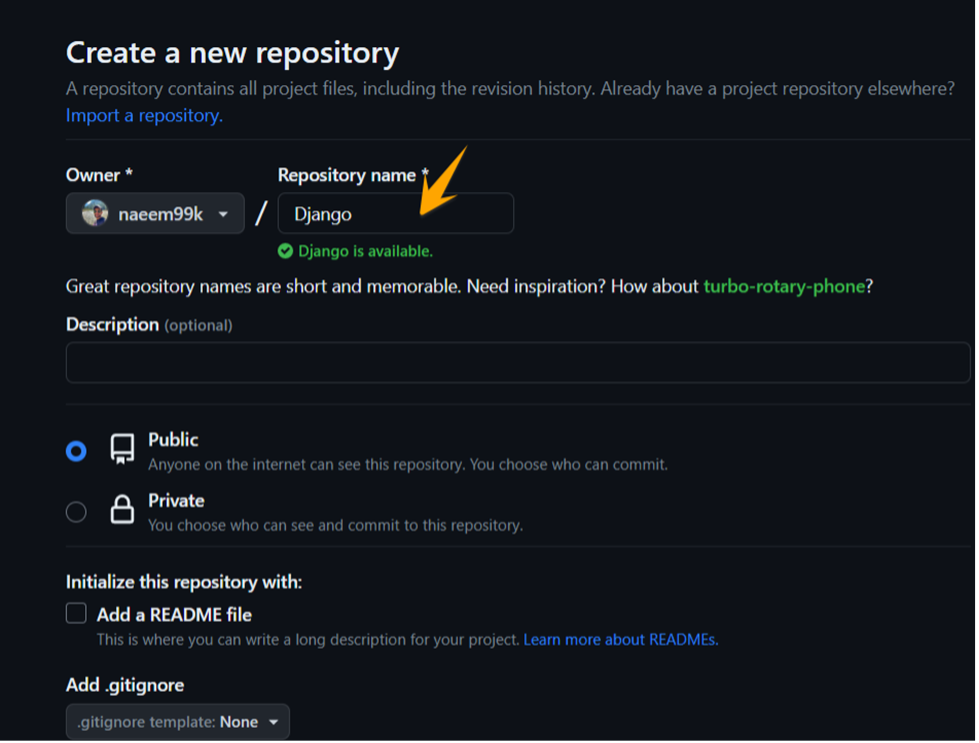
First, create an account on GitHub and then click on the “New” button to create a new repository on GitHub.

Write the name of your repository as we used “Django”.
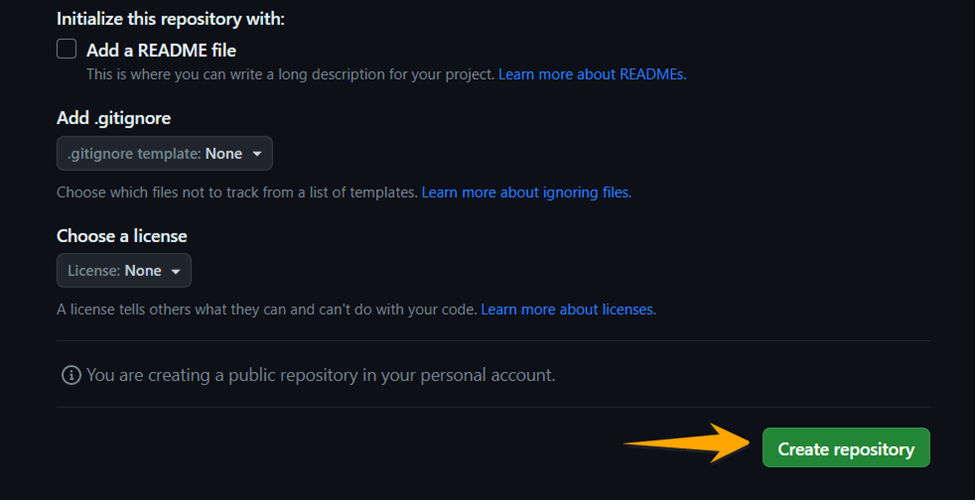
Click on the “Create Repository” button to finally create it.
Push Django Application to the GitHub Repository
Move back your current position to the main project, “django3”, using the “cd” command in the Terminal.

Initialize the git in the repo using the following command.

Add “mysite” repo into the git and then commit the code as your “first commit’. You can assign any other name.

Run the following “git branch -M main” command to rename an existing Git branch. The -M option stands for “move/rename” and is used to specify that you want to rename the current branch to the new name main. Then run the “git remote add origin https://github.com/naeem99k/Django.git” command to add a remote repository to your local Git repository.

Run the following command to push the code to the remote git repo.
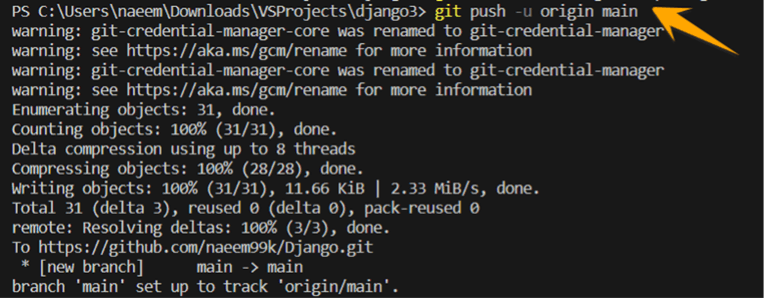
Create and Deploy the Django Application
Click on the “New App” button.

Select the “Container as a Service” approach while creating the app.
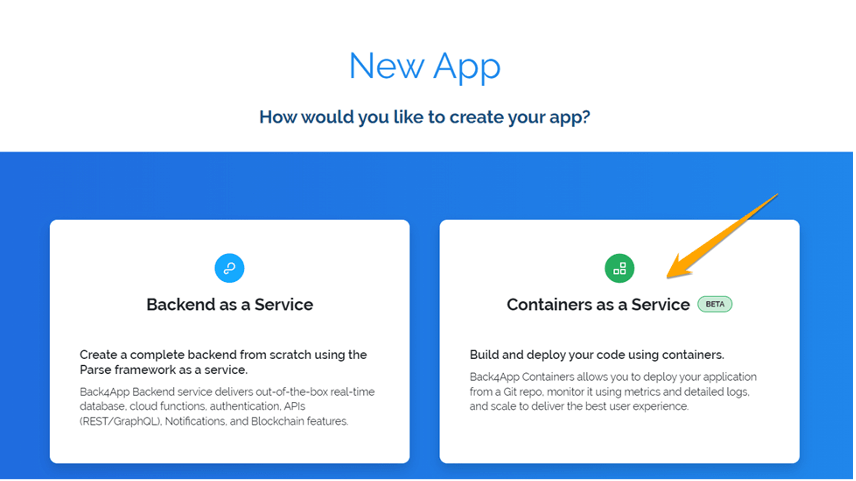
Now the following screen will appear to import the git projects into the Back4App platform.
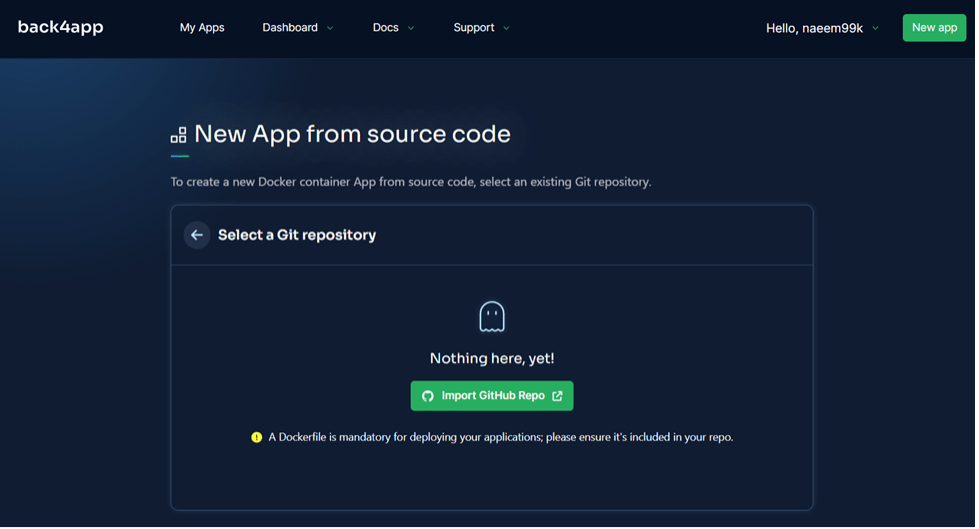
Click on the “Import GitHub Repo” button.
Now, select the “Django” Repo we have already created in our GitHub account.
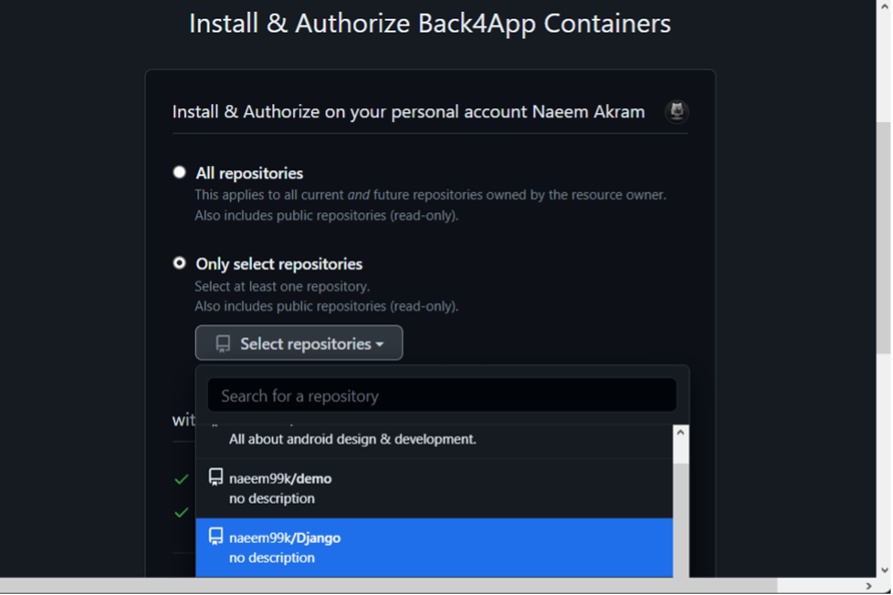
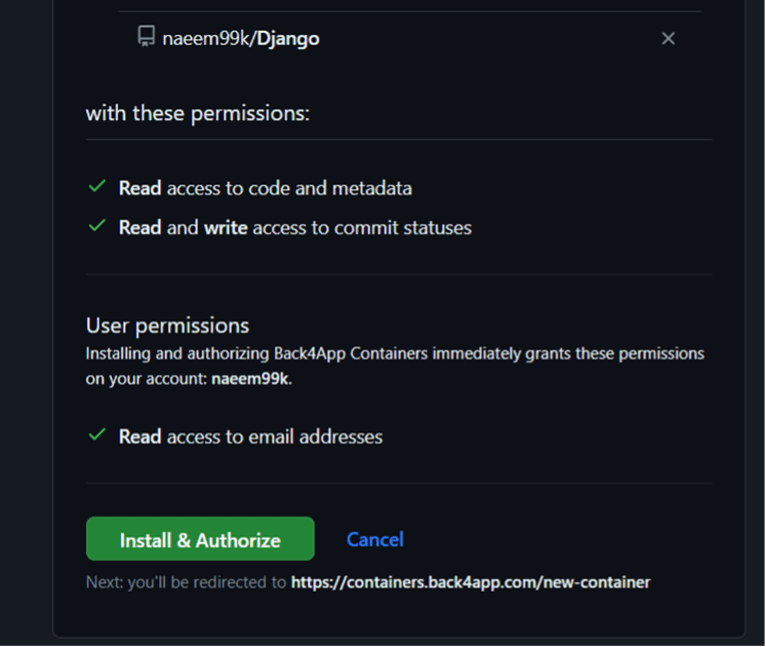
Click on the “Install & Authorize” button after the repo selection.
Repo has been imported into the Back4App.
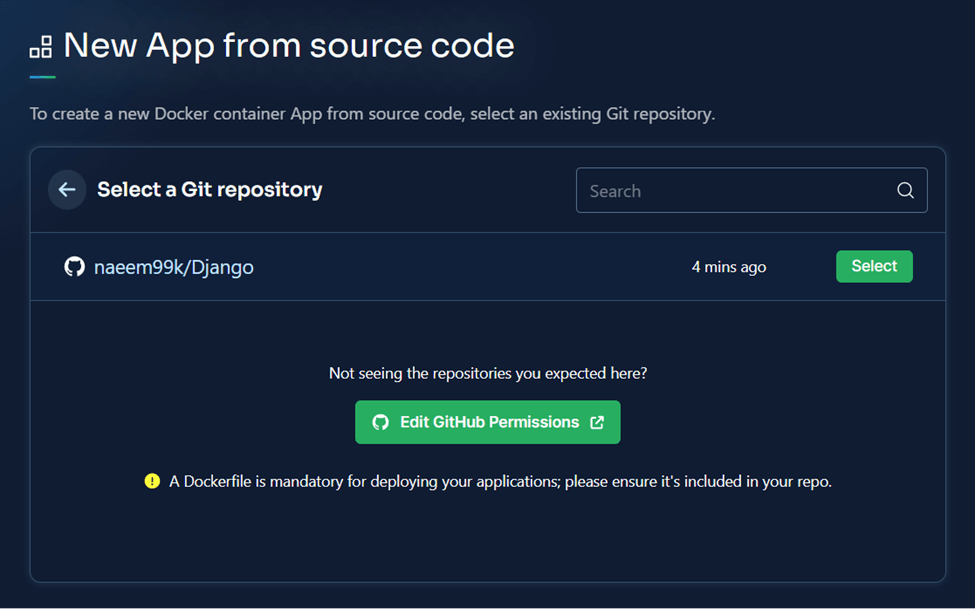
Now click the “Select” button to create an App against this Repo.

Write the App Name, branch, and Root Directory according to your project.
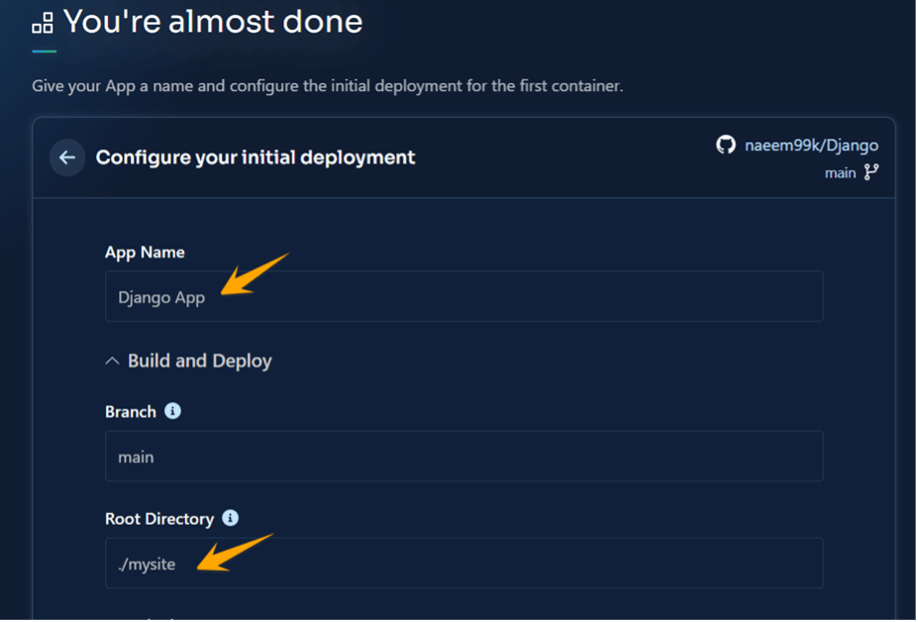
Now click on the “Create App” button.
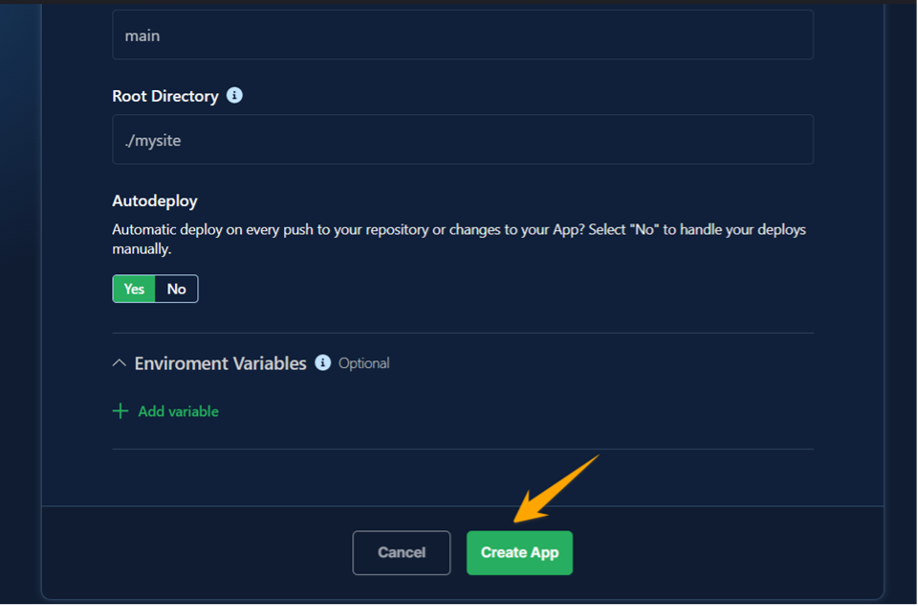
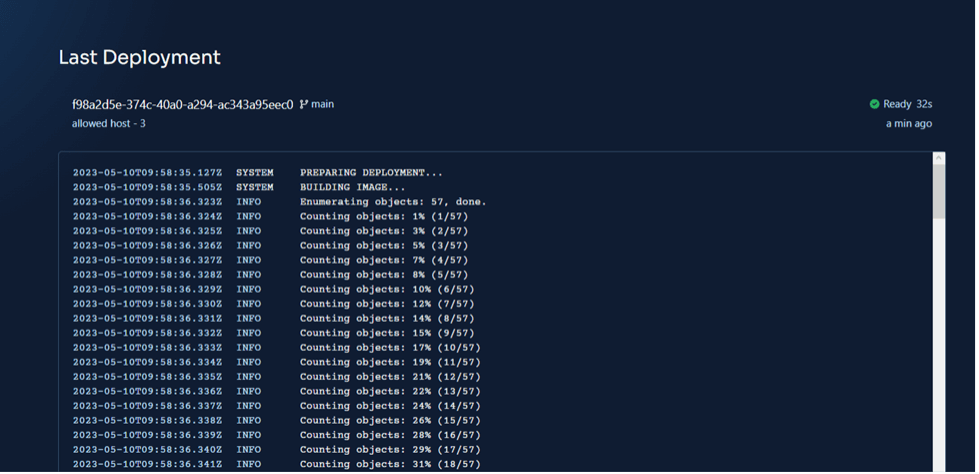
Back4App has started initializing the project using Dockerfile information.
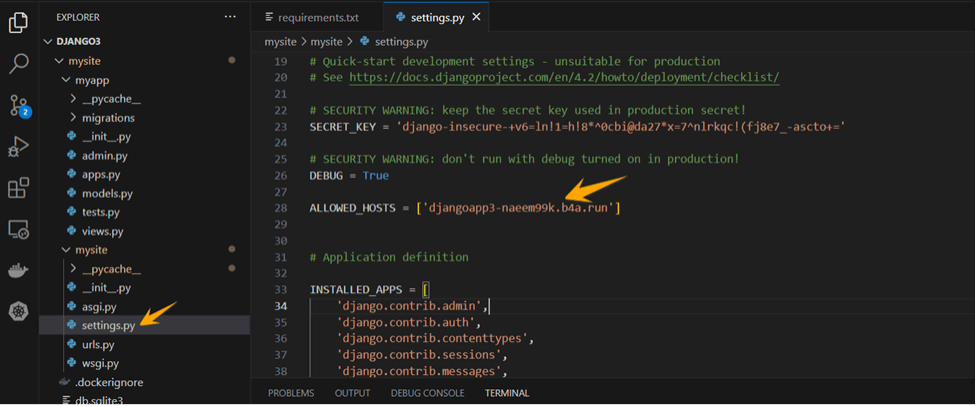
Here, we might face an error of “Allowed Hosts”, so go to the “settings.py” file in your app and then write the name of the host of Back4App that will access your application.
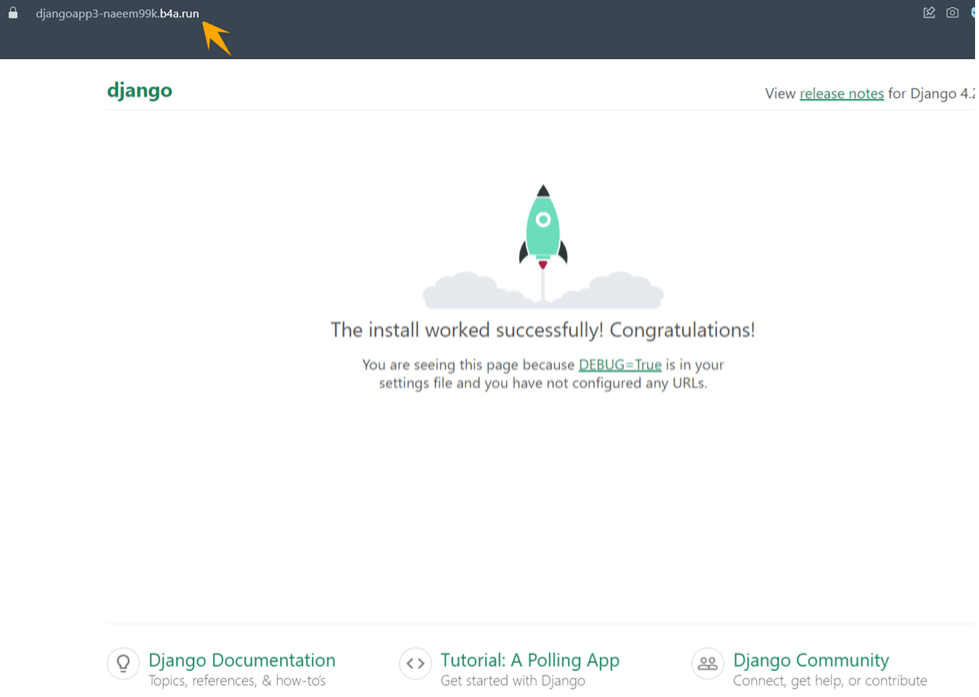
The app has been successfully deployed using Dockerfile by Back4App. Now click on the following host link to view the running application.
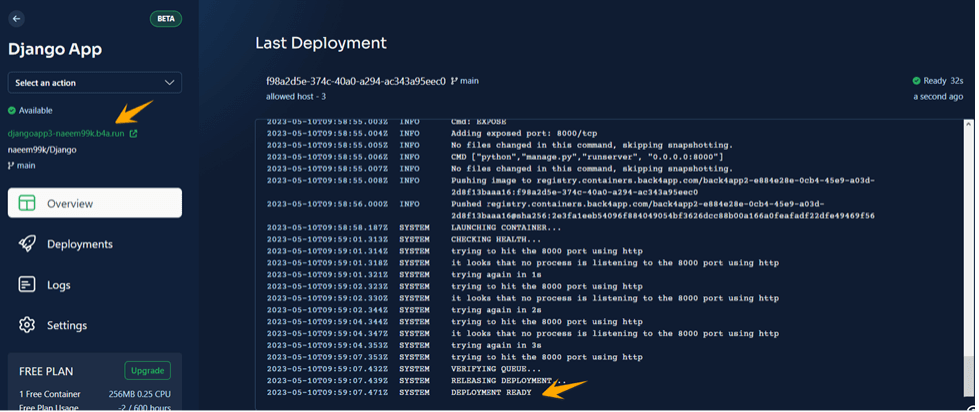
Django App has been successfully deployed.
Conclusion
To sum up, Django is a potent and flexible web framework that brings numerous advantages to the table, such as its Model-View design, strong security measures, and user-friendly admin interface. However, it is not without its drawbacks, including a lack of strict conventions, potential unsuitability for smaller projects, and its monolithic structure.
Developers must carefully assess their projects’ requirements and objectives before selecting a web framework. Despite its limitations, Django’s all-inclusive feature set, ease of maintenance, and scalability make it a popular choice for various web development projects. By being aware of both its strengths and weaknesses, developers can make well-informed decisions and capitalize on Django’s best aspects to create top-notch, secure, and scalable web applications.


