How to Deploy a Gatsby Application?

Gatsby is an advanced, open-source platform for creating swift and effective websites and apps. Built on React and GraphQL, it provides accelerated load times, extensive plugin support, and a straightforward development environment.
It produces Progressive Web Apps, facilitating offline use and a native app experience. It’s excellent for SEO due to its static site generation, while its data-agnostic capability lets it gather data from diverse sources. Simply, Gatsby is a fast and versatile solution for modern web developers.
In this tutorial, we’ll guide you on how to deploy a Gatsby-based application, taking advantage of Back4app’s container features. This strategy unites Gatsby’s robust static site generation with the all-encompassing hosting solutions of Back4app.
Contents
- 1 Key Takeaways
- 2 Prerequisites:
- 3 Step 1: Create a Gatsby.js Project
- 4 Step 2: Launch the Development Server/ Run your Project Locally
- 5 Step 3: Dockerize the Application
- 6 Step 4: Pushing Project to GitHub
- 7 Step 5: Deploying the Project to the Back4app Platform
- 8 Conclusion
- 9 FAQs
- 10 What is Gatsby.js?
- 11 What are the Advantages of Gatsby.js?
- 12 How to deploy a Gatsby.js application?
Key Takeaways
- Understand the Basics: Gatsby.js, based on React and GraphQL, offers a robust environment for building swift, efficient websites. Its feature-rich ecosystem including Progressive Web Apps and static site generation provides SEO advantages and versatile data sourcing.
- Master the Setup: From installing Node.js, npm, Gatsby CLI, and setting up GitHub and Back4app accounts, to Dockerizing your Gatsby application, the preliminary setup is crucial for a successful deployment.
- Deploy Successfully: Following the thorough deployment process on the Back4app platform, combined with Gatsby’s capabilities, results in the deployment of high-performing, scalable, and reliable web applications.
Prerequisites:
To follow this tutorial, you’ll need:
- Installation of Node.js and npm: The latest version of Node.js can be fetched directly from the Node.js official website. Moreover, npm comes bundled with Node.js during installation.
- Setting Up Gatsby CLI: To set up the Gatsby Command Line Interface (CLI) throughout your system, execute the following instruction:
| npm install -g gatsby-cli |
- Setting up a GitHub Account: Establish a GitHub account to manage version control and monitor modifications in your project’s code.
- Creating a Back4app Account: Register for a Back4app account. This will assist in deploying your application.
- Docker Desktop Installation: Procure Docker for your system by downloading it from its official webpage.
- Visual Studio Code: It serves as a coding environment equipped with the essential tools for scripting and structuring your code.
Step 1: Create a Gatsby.js Project
Once everything is installed, you can create a new Gatsby site by following these steps:
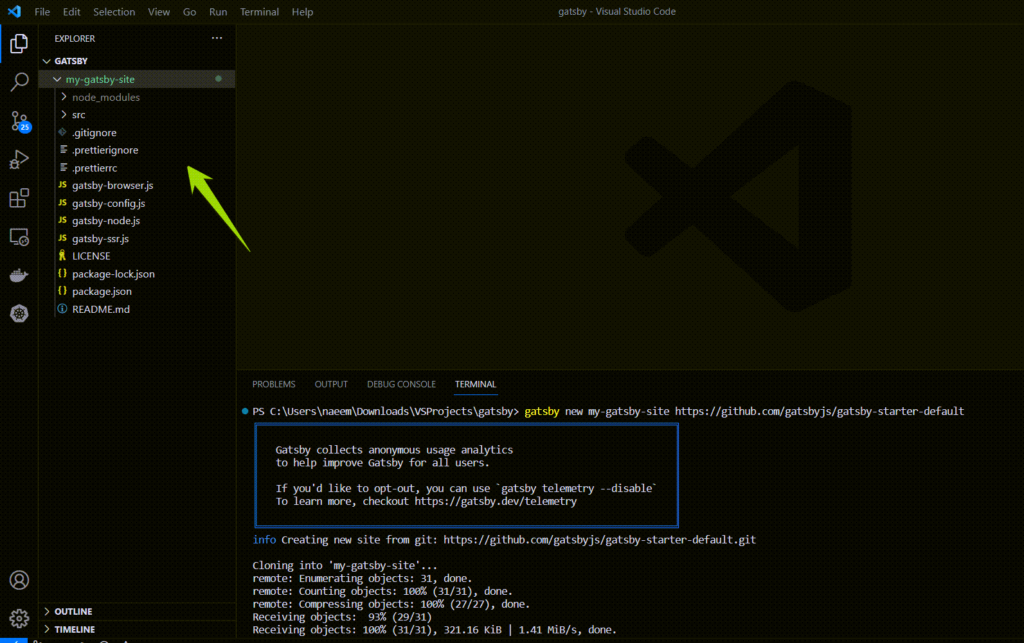
Create a new Gatsby app using Gatsby CLI: Open the terminal from within VS Code by clicking on View -> Terminal. Choose a location on your computer where you want to put your website, navigate there in your terminal, and then run the following command:
| gatsby new my-gatsby-site https://github.com/gatsbyjs/gatsby-starter-default |
This command will do three things: it forms a new directory named “my-gatsby-site”, pulls the ‘gatsby-starter-default’ starter code into this directory, and fetches all the required dependencies.
Step 2: Launch the Development Server/ Run your Project Locally
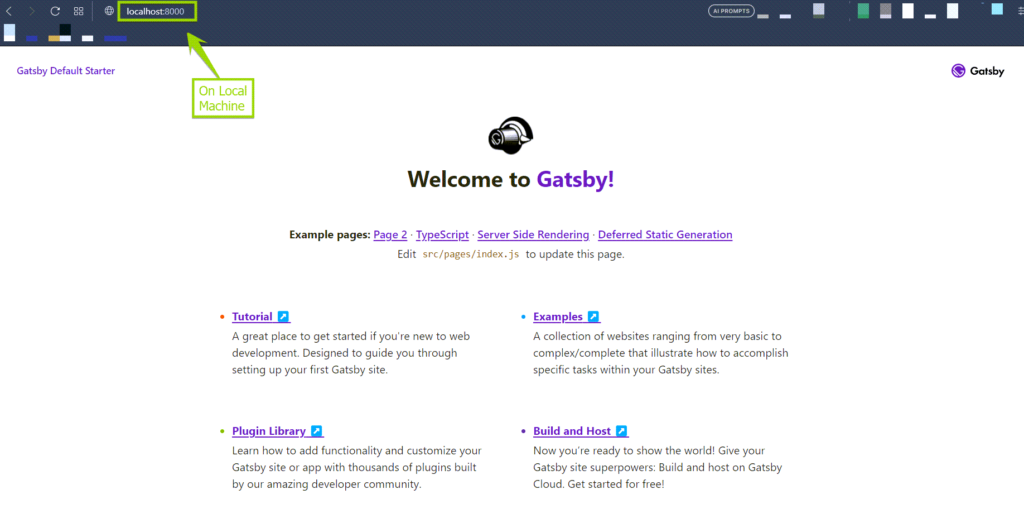
Once the website is set up, you need to move into the new site’s directory and initiate the development server. Perform these actions using the following commands:
| cd my-gatsby-site gatsby develop |
By running these commands, your Gatsby site will be live on your local server and can be viewed at http://localhost:8000 through your web browser.
Step 3: Dockerize the Application
To create a Docker file for a Gatsby project, you can start by creating a new file in the root directory of your Gatsby project named Dockerfile. This file instructs Docker how to build a Docker image of your Gatsby application.
Here’s a basic example of a Dockerfile for a Gatsby application:
| # Base image FROM node:20-alpine as builder # Set working directory WORKDIR /app # Utilize Docker cache to save re-installing dependencies if unchanged COPY package*.json ./ # Install dependencies RUN npm install # Copy all files COPY . . # Build the application RUN npm run build # We use the nginx-alpine image as the base image for our final build FROM nginx:stable-alpine # Copy the build output from the previous stage (builder) as the nginx content COPY –from=builder /app/public /usr/share/nginx/html # Expose port 80 to the Docker host, so we can access it # from the outside. EXPOSE 80 # The command uses the nginx -g daemon off; to start nginx in the foreground, # so Docker can track the process properly (otherwise, your container would stop immediately after starting)! CMD [“nginx”, “-g”, “daemon off;”] |
The Dockerfile starts by creating a temporary image named builder with Node.js installed, where it builds your Gatsby app. It then creates the final Docker image with nginx installed, where it copies over the built Gatsby app to be served.
To build and run this Docker container:
Build the Docker image: In the terminal, run the following command (don’t forget the dot at the end):
| docker build -t my-gatsby-app . |
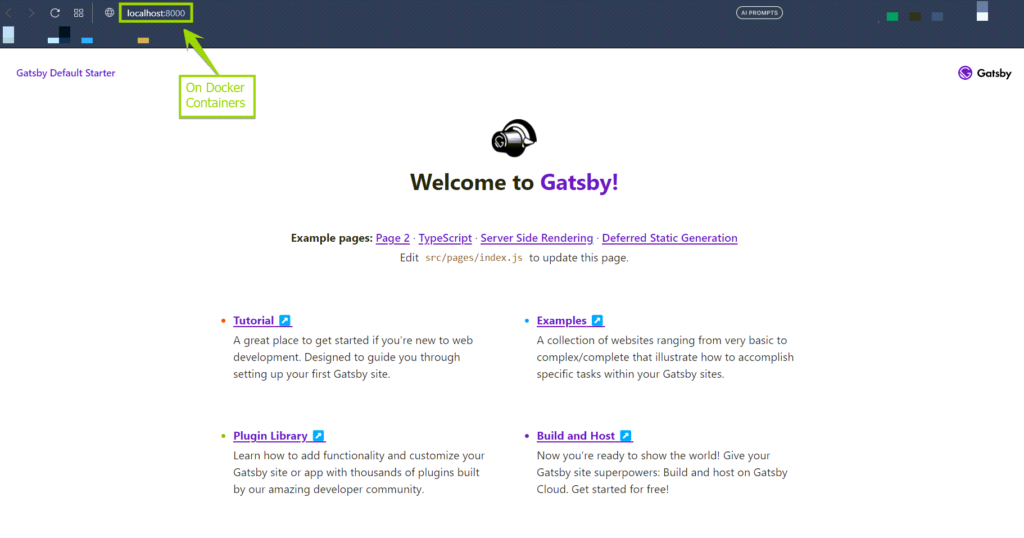
Run the Docker container: Once your Docker image has been built, run the following command to start a Docker container with your Gatsby app:
| docker run -p 8000:80 my-gatsby-app |

After running these commands, you should be able to see your Gatsby application at http://localhost:8000.
Step 4: Pushing Project to GitHub
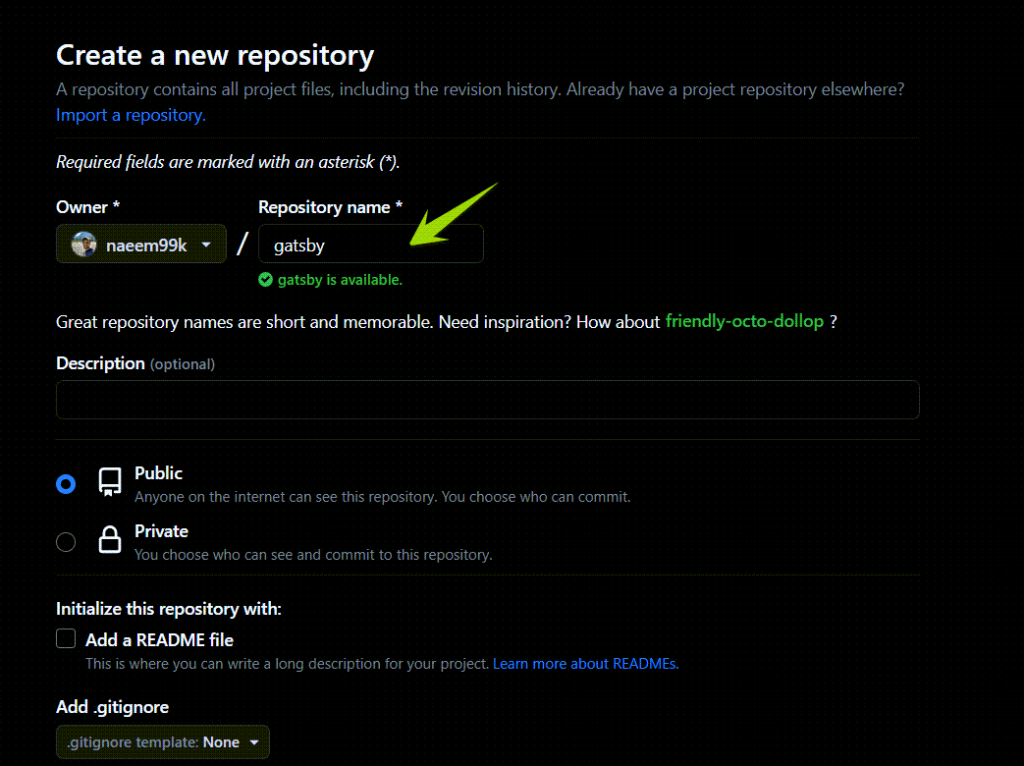
Create a new repository in the GitHub Platform named ‘gatsby’.
Open your terminal or command prompt and make your way to your Gatsby project’s base directory.
Set up a fresh Git repository within the existing directory.
| git init |
Include all updated and newly created files into the Git staging area.
| git add . |
Establish a new commit with the note “firstl commit”.
| git commit -m “first commit” |
Formulate a new branch called “main” and transition into it.
| git branch -M main |
Link your GitHub repository as a remote designated “origin”.
| git remote add origin https://github.com/naeem99k/gatsby.git |
Transmit all the commits on the “main” branch to the “origin” remote.
| git push -u origin main |
After completing these steps, your Gatsby project will be successfully pushed to your GitHub repository.

Step 5: Deploying the Project to the Back4app Platform
After your code upload is complete, move to the Back4app platform.
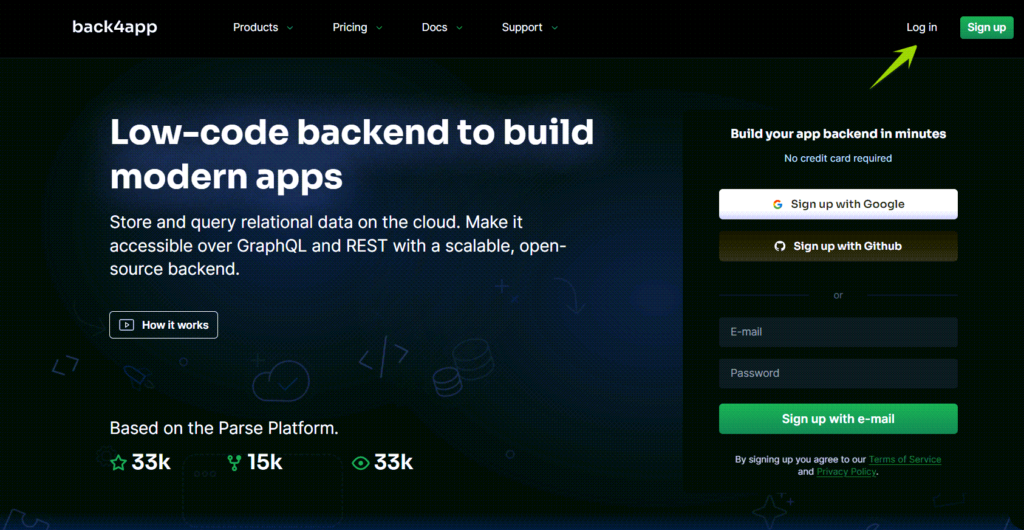
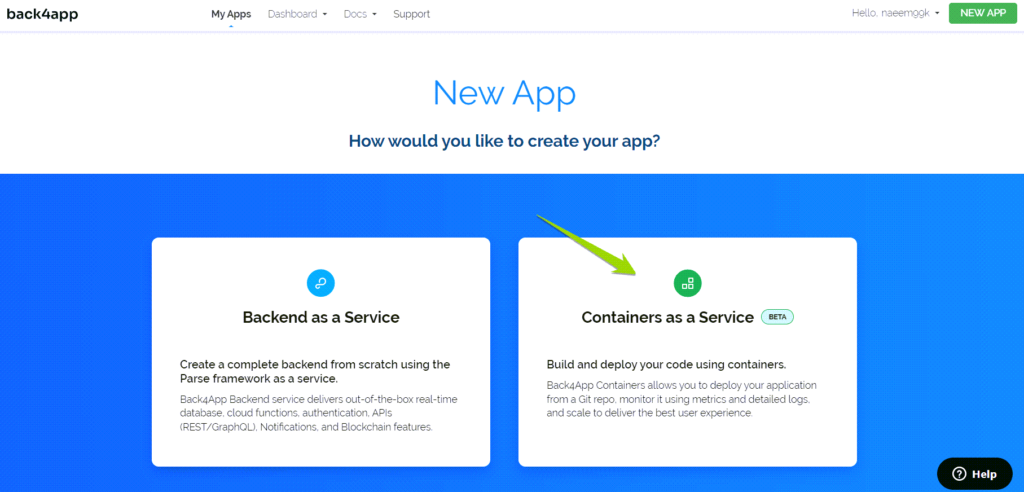
Start the application creation process using ‘Containers as a Service.’
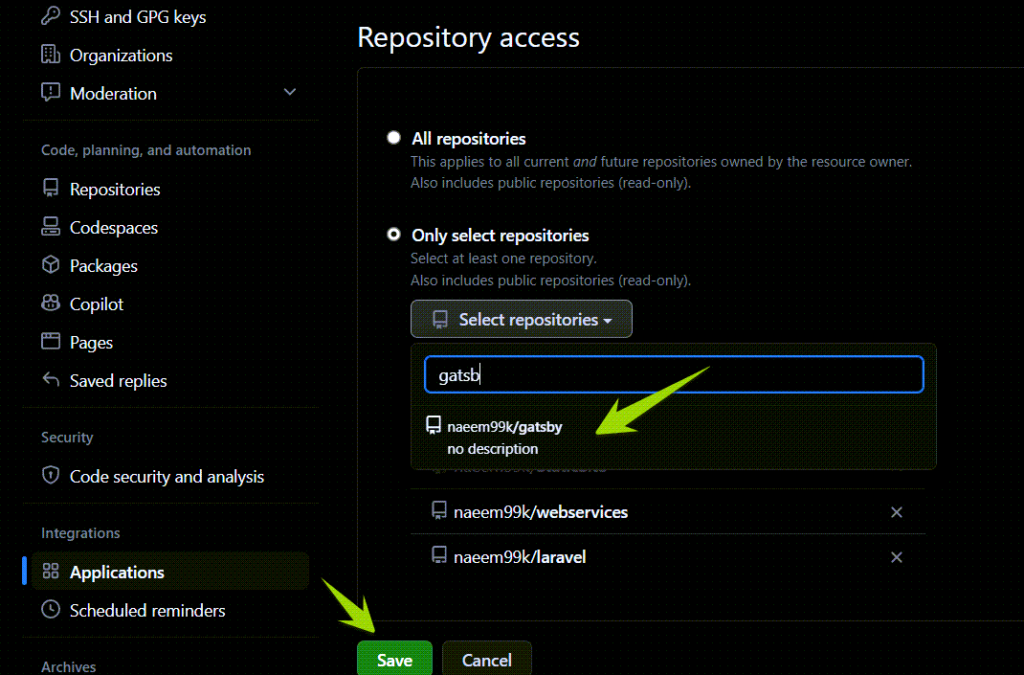
You’ll be guided to link your GitHub account with Back4app by following the given instructions.
- This process gives Back4app permission to reach your repositories.
- You’re given the option to provide access to all repositories or only those you plan to deploy.
- Once done, hit “Save” to go back to your Back4app dashboard and continue setting up the application.
- This process gives Back4app permission to reach your repositories.
- You’re given the option to provide access to all repositories or only those you plan to deploy.
- Once done, hit “Save” to go back to your Back4app dashboard and continue setting up the application.
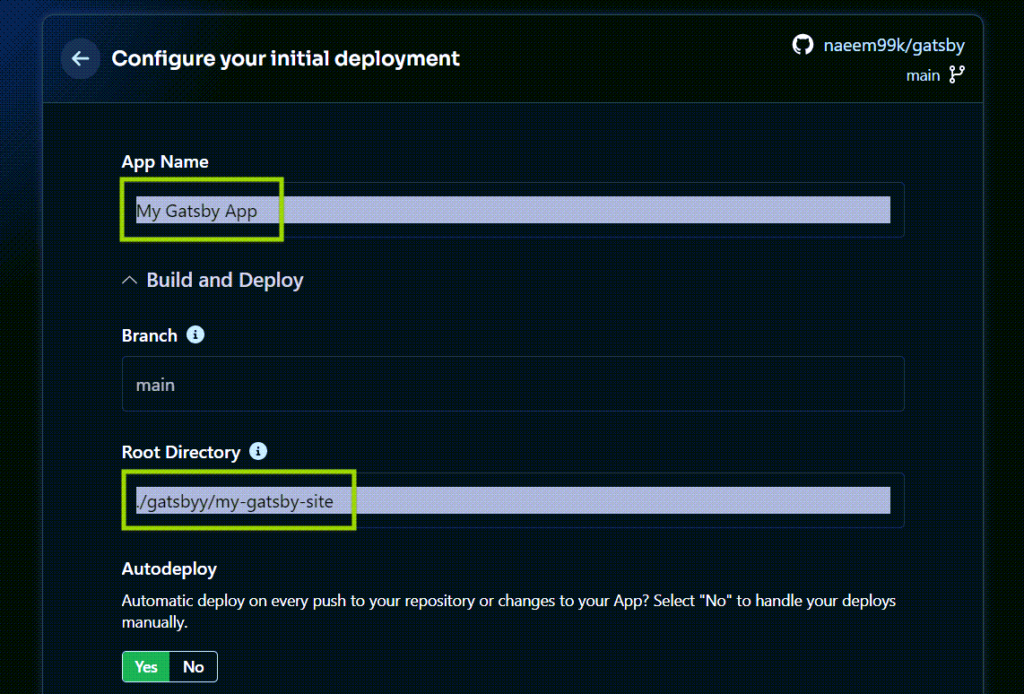
- In the “Container Apps” section of Back4app, find and select your ‘gatsby’ repository.
- Name your application, specify the branch name you want, and set the source directory based on your needs.
- To launch the Gatsby application on the Back4app Container, press the “Create App” button.
- In the “Container Apps” section of Back4app, find and select your ‘gatsby’ repository.
- Name your application, specify the branch name you want, and set the source directory based on your needs.
- To launch the Gatsby application on the Back4app Container, press the “Create App” button.

After the deployment process completes, use the application’s link provided by the Back4app platform.
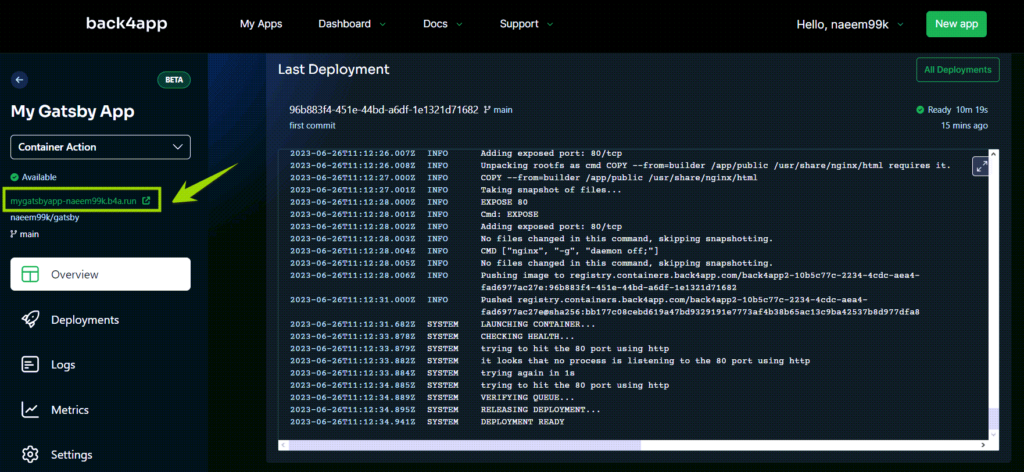
This link will lead you to the default homepage of Gatsby.
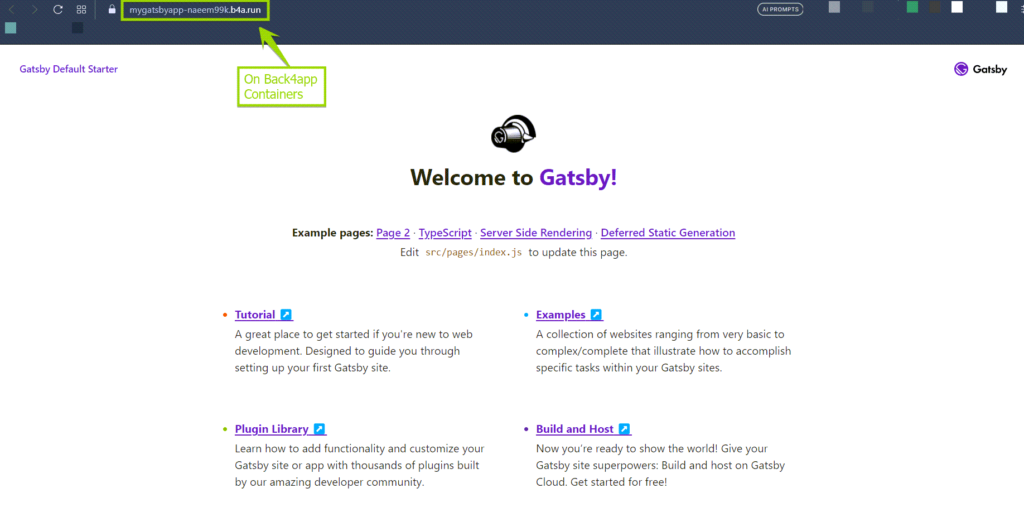
Well done! Your Gatsby project is now successfully deployed on the Back4app Containers.
Conclusion
In conclusion, deploying a Gatsby application on Back4app Containers provides an efficient, scalable, and flexible solution for serving static web content.
This article walked you through the crucial steps of setting up your development environment, creating a Gatsby application, containerizing it with Docker, and finally, deploying it on Back4app Containers. Back4app not only offers robust hosting capabilities but also ensures seamless deployment.
By leveraging the functionalities of Gatsby and Back4app, you can optimize your web development process and deliver high-performing, scalable, and reliable applications.
FAQs
What is Gatsby.js?
Gatsby.js is a potent, free-source platform designed for creating swift, optimized websites and apps utilizing advanced technologies like React.js and GraphQL.
What are the Advantages of Gatsby.js?
– Enhanced Speed: Gatsby.js expedites web apps by pre-compiling them into static HTML, CSS, and JavaScript files.
– Expansive Ecosystem: Due to its interoperability with the React library and GraphQL, Gatsby provides a wide range of plugins and tools for extra functionality.
– SEO Optimized: Gatsby’s static page delivery ensures superior SEO outcomes, improved indexing, and a better user experience.
How to deploy a Gatsby.js application?
– Configure the development environment with essentials like Node.js, npm, and Gatsby CLI.
– Initiate a new Gatsby application using the Gatsby CLI.
– Employ Git for version control of your application.
– Use Docker to containerize the Gatsby application.
– Lastly, make use of a platform such as Back4app, which supports Docker images, to deploy the Gatsby application.


