How to deploy an Angular application?

In this tutorial, we’ll walk you through the process of deploying an AngularJS application utilizing Back4app’s Containers feature, a method that combines AngularJS’s nimbleness with Back4app’s full hosting services.
AngularJS is a powerful, open-source framework that uses JavaScript as its base language, and it’s specifically developed to facilitate the creation and testing of single-page web applications.
It is designed to uncomplicate the development and testing process by offering a client-side infrastructure for MVC (Model View Controller) and MVVM (Model View ViewModel) patterns.
Contents
- 1 Key Takeaways
- 2 Prerequisites:
- 3 Step 1: Create an Angular Project
- 4 Step 2: Launch the Development Server/ Run your Project Locally
- 5 Step 3: Dockerize the Application
- 6 Step 4: Pushing Project to GitHub
- 7 Step 5: Deploying the Project to the Back4app Platform
- 8 Conclusion
- 9 FAQ
- 10 What is Angular?
- 11 What are the advantages of Angular.js
- 12 How to deploy an Angular.js application?
Key Takeaways
- Learn to deploy an Angular application using Back4app’s Containers feature, combining Angular’s agility with full hosting services.
- Understand the process of Dockerizing your Angular application, enabling efficient containerization for deployment.
- Master the steps of pushing your project to GitHub and deploying it on the Back4app platform for a hassle-free application launch.
Prerequisites:
To complete this tutorial, you’ll need:
- Node.js and npm: To get the most recent version of Node.js, visit the Node.js site. It’s noteworthy that npm comes as part of the package with Node.js.
- Angular CLI: To set up the Angular CLI on your system, launch your terminal or command prompt and execute this specific command:
| npm install -g @angular/cli |
- GitHub Account: Create an account for maintaining the code version history.
- Back4app Account: Create an account on the Back4app Platform for deploying the application.
- Docker Desktop: Download and Install Docker on your machine.
- Visual Studio Code: A text editor for building and compiling the code.
Step 1: Create an Angular Project
Launch your VS Code’s terminal or command line application and change your current directory to the location where you want to create the new Angular project.
For instance, if you prefer to create the project within a directory named “my-projects,” use the cd command to move into that directory:
| cd /path/to/my-projects |
Utilize the ng new command to generate a new Angular project. For example, to create a project named “my-angular-app,” execute the following command:
| ng new my-angular-app |
The ng new command will prompt you for optional features to include in the initial app. You can press Enter or Return to accept the default selections.
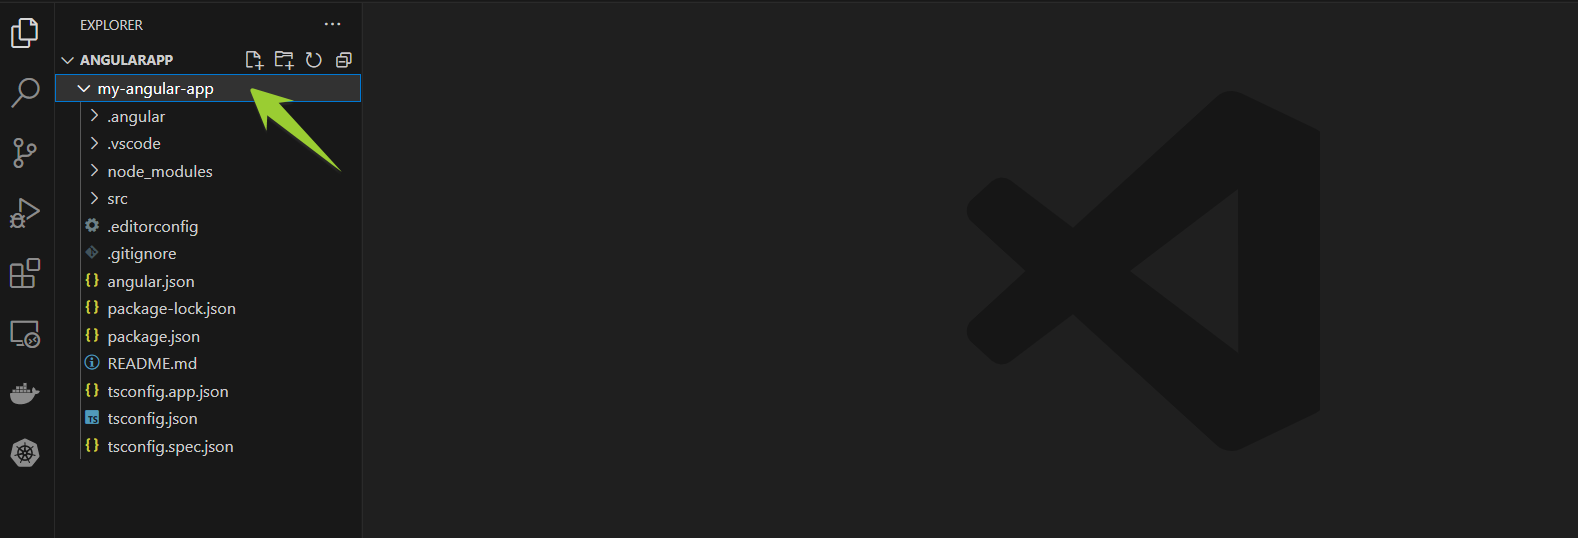
Move into the newly created directory, which shares the same name as your project:
| cd my-angular-app |
Step 2: Launch the Development Server/ Run your Project Locally
Start the application using the ng serve command:
| ng serve –open |
The ng serve command will initiate the server, monitor your files, and automatically rebuild the app as you make changes.
This command will automatically open your default web browser and load http://localhost:4200/. You will see your newly created Angular application running in your web browser.

Step 3: Dockerize the Application
To containerize your Angular application with Docker, you need to create a Dockerfile in the root directory of your project. Open the Dockerfile in a VS Code and add the following content:
| # Build the app in image ‘builder’ (multi-stage builds) FROM node:20 as builder # Define working directory WORKDIR /app # Duplicate the package-lock.json and package.json prior to other files COPY package*.json ./ # Duplicate all necessary files COPY . . # Set up project dependencies RUN npm install # Compile the Angular application RUN npm run build –prod # Use nginx server to deliver the application FROM nginx:alpine # Transfer the output of the build step COPY –from=builder /app/dist/my-angular-app/ /usr/share/nginx/html # Replace the default nginx configuration with the one provided by tiangolo/node-frontend COPY ./nginx.conf /etc/nginx/conf.d/default.conf |
Create an nginx.conf file in the root directory of your project. This configuration will route incoming traffic on the Docker container to the dist/ directory created during the build. Add the following content to the nginx.conf file:
| server { listen 80; location / { root /usr/share/nginx/html; index index.html index.htm; try_files $uri $uri/ /index.html =404; } } |
Now, you can construct your Docker image. Return to your command line interface and verify that you are still situated within the project folder. You can assemble the Docker image by implementing the command provided below:
| docker build -t my-angular-app . |
This command uses the Dockerfile to build a new Docker image. The -t option lets you tag the image with a name so it’s easier to find later.
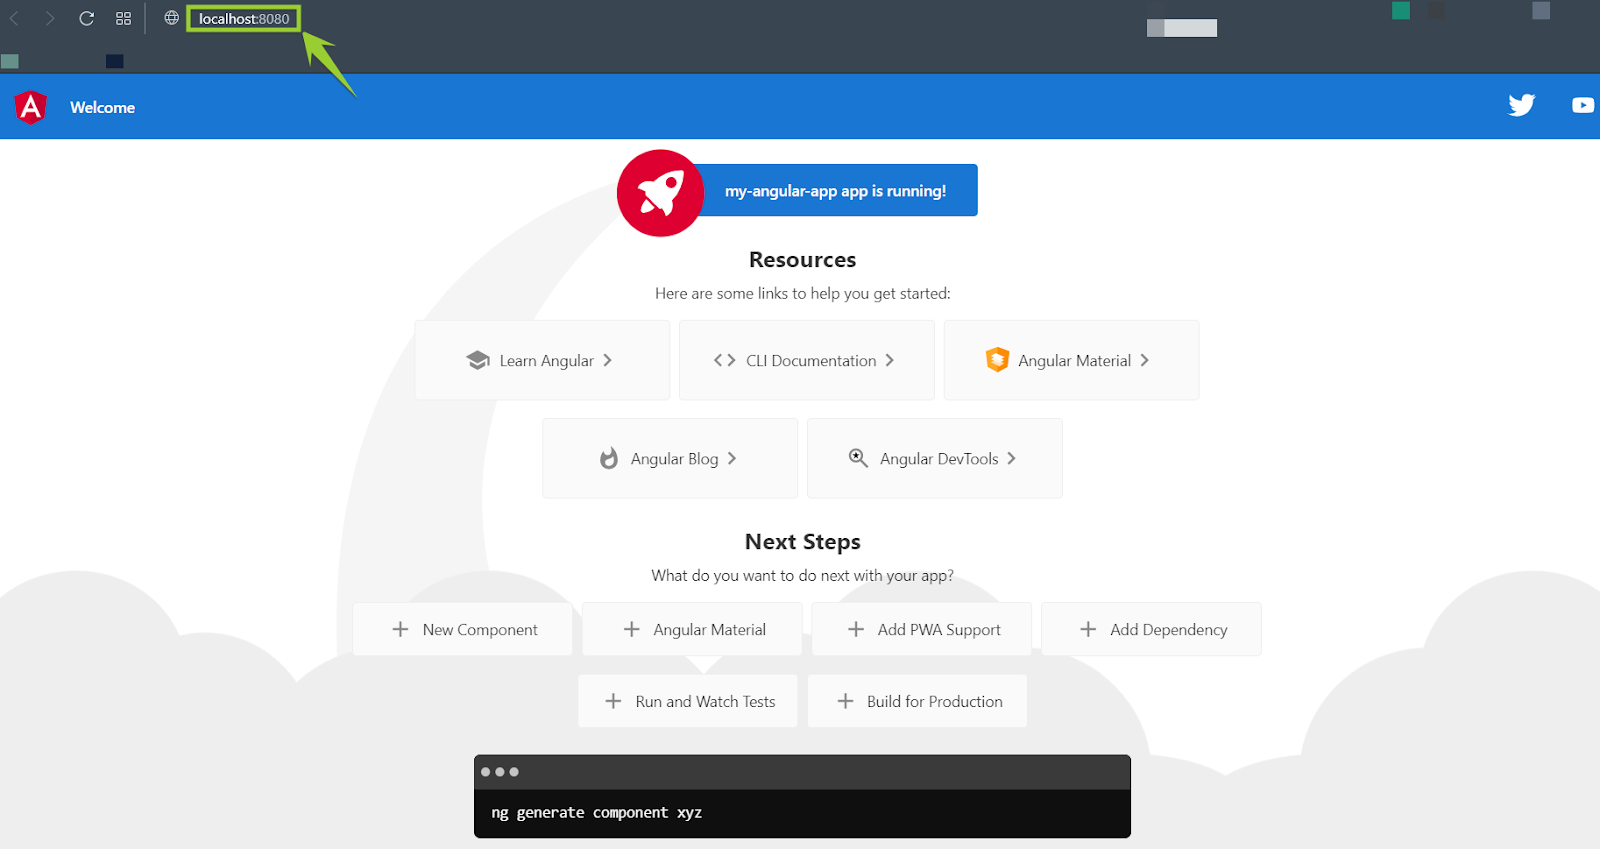
Once the Docker image has been built, you can run the Docker container with the following command:
| docker run -p 8080:80 my-angular-app |
This command runs the Docker container and maps port 8080 of your machine to port 80 in the Docker container.

Now, your Angular application is running inside a Docker container and is accessible at http://localhost:8080.
Step 4: Pushing Project to GitHub
- Initialize Git Repository: Open your terminal or command line and navigate to the root directory of your Angular project. Then, run the following command to initialize a Git repository:
| git init |
- Add Files: Use the following command to stage all files for the initial commit:
| git add . |
If you want to add specific files, you can replace ‘.’ with the file names.
- Commit Changes: Commit the changes with a descriptive message using the following command:
| git commit -m “first commit” |
Make sure to provide a meaningful message within the quotes.
- Set the Branch: If you want to set the branch name to “main,” run the following command:
| git branch -M main |
- Add Remote Repository: Connect your local repository to the remote repository on GitHub. Replace the repository URL in the command below with your own repository URL:
| git remote add origin https://github.com/naeem99k/angularapp.git |
This adds a remote named “origin” with the given URL.
- Push to GitHub: Finally, push your local repository to GitHub using the following command:
| git push -u origin main |
This command pushes the commits from your local “main” branch to the remote “origin” repository.

After completing these steps, your Angular project will be successfully pushed to your GitHub repository.
Step 5: Deploying the Project to the Back4app Platform
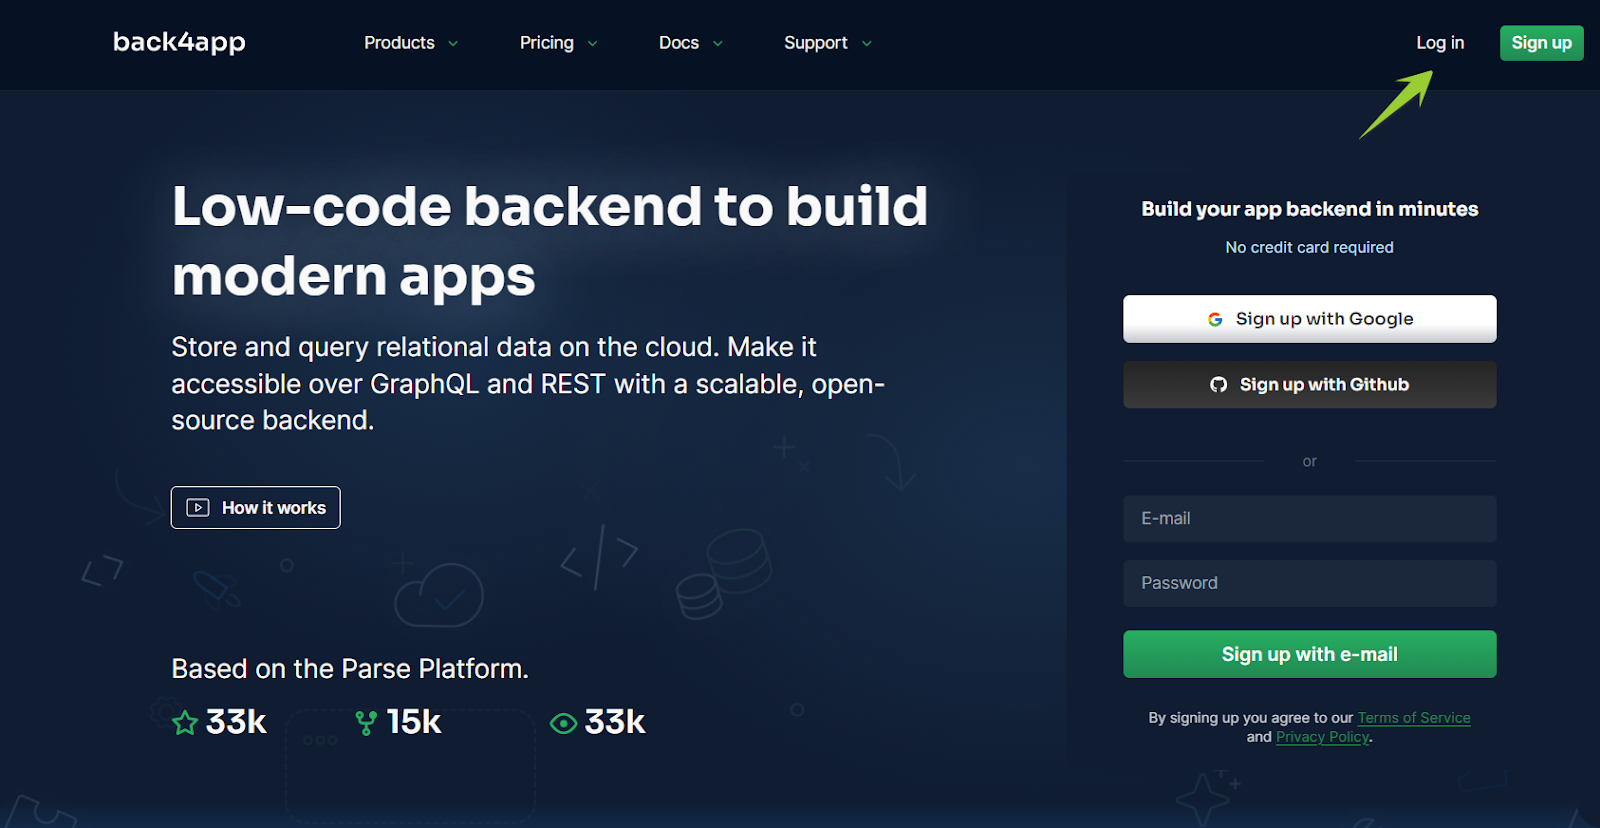
Once you have successfully pushed the code, navigate to the Back4app Platform.
Initiate the app creation process using ‘Containers as a Service.’

You will be prompted to connect your GitHub account. Follow the instructions to connect your account and grant Back4app access to your repositories. You can grant access to all repositories or select specific ones you intend to deploy.
Proceed by clicking “Save” to return to your Back4app dashboard and continue setting up your app.

In the Back4app “Container Apps” section, choose your angular repository. Assign your app a name, select your preferred branch name, and specify the source directory accordingly.
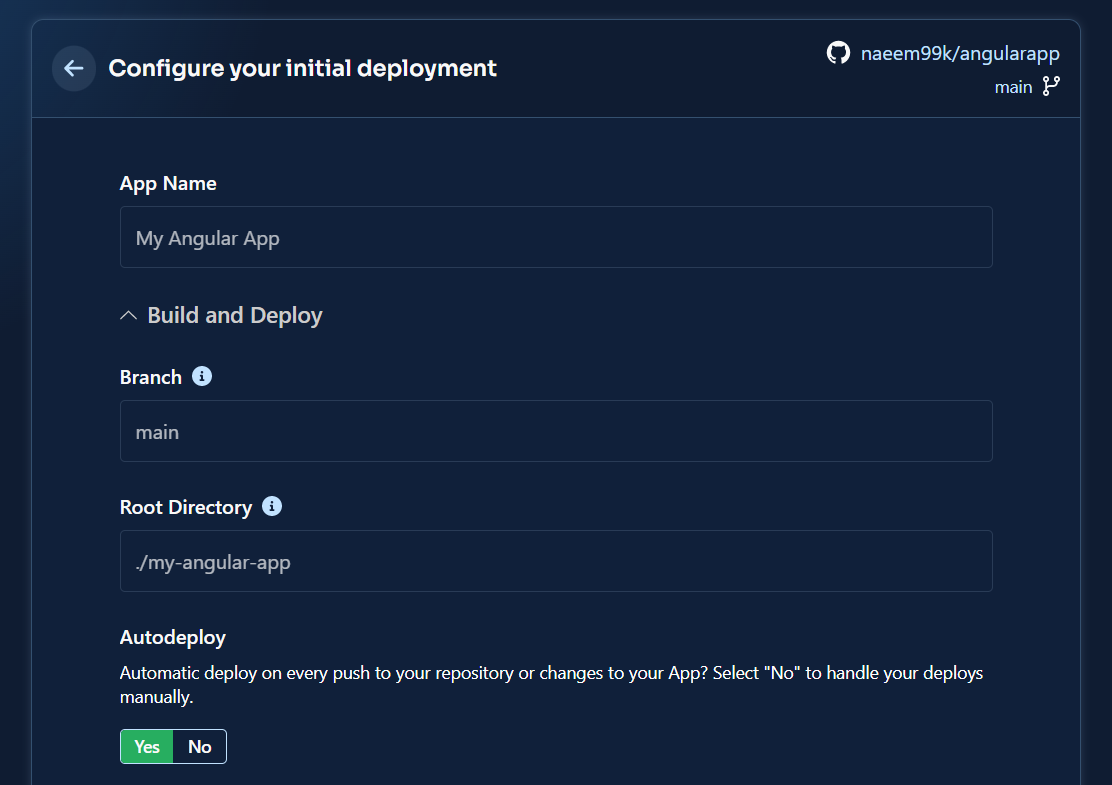
Finally, to deploy the angular app on the Back4app Container, click on the “Create App” button.
After completing that deployment task, click on the link to your application supplied by the Back4app Platform.
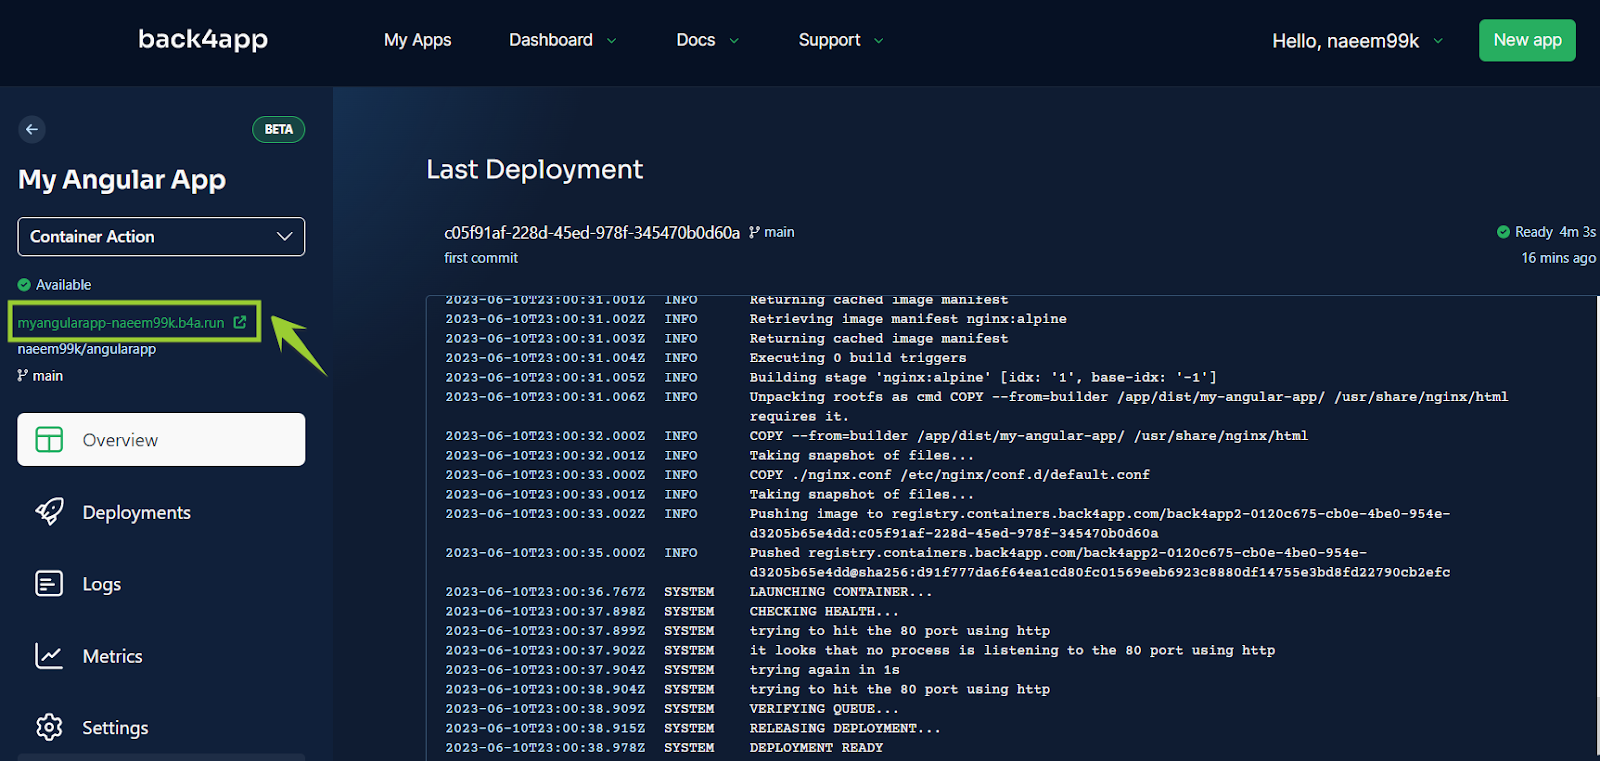
You will be directed to the default landing page of Angular upon clicking this link.

The Angular Project has been deployed on the Back4app Containers.
Conclusion
In conclusion, the deployment of an AngularJS application using Back4app Containers offers a reliable and efficient way to launch web applications.
The process is straightforward, involving the development of your application, the configuration of Back4app containers, and the uploading of your application for deployment.
This method provides a hassle-free and robust environment for application deployment that benefits from the inherent advantages of containerization and Back4app’s ease of use.
FAQ
What is Angular?
Angular.js is a powerful open-source JavaScript-based framework conceived by Google, used for constructing dynamic web applications within an MVC (Model-View-Controller) setup.
What are the advantages of Angular.js
Real-Time Data Sync: Angular.js enables automatic real-time updates between the model and the view.
Built-in Dependency Resolution: Angular.js incorporates a native dependency resolution system that eases the development and testing stages.
Divide and Rule: Angular.js supports segregating applications into distinct modules, enhancing ease of management and code reuse.
How to deploy an Angular.js application?
Step 1: Set up an Angular project using the terminal with ng new my-angular app in your desired directory.
Step 2: Launch the local development server and run your project with ng serve –open.
Step 3: Containerize the application by creating a Dockerfile in your project root and adding the necessary commands.
Step 4: Create an nginx.conf file for routing, then build and run your Docker image with docker build -t my-angular-app. and docker run -p 8080:80 my-angular-app, respectively.
Step 5: Initialize a Git repository, stage and commit your changes, set the branch, connect your repository to GitHub, and push using Git commands.
Step 6: Deploy the project to the Back4app platform by connecting your GitHub account, setting up your app, choosing your repository, and clicking “Create App”.

